Some of the links in this post may be affiliate links.
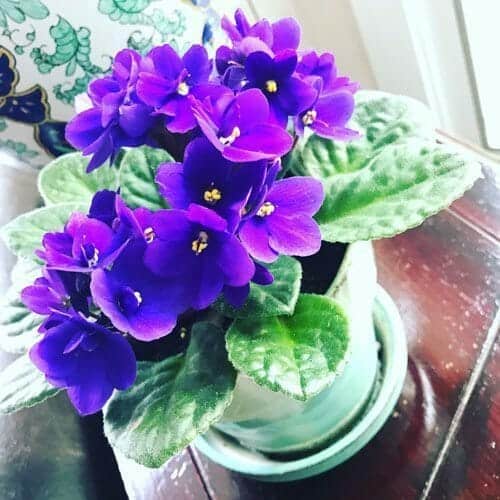
African violets are one of the best flowering plants to grow indoors, but they’re a little touchy with watering. They despise drying out, but they also don’t want to stay too wet, and this makes watering a little tricky. But, that’s where growing African violets in self-watering pots comes in!
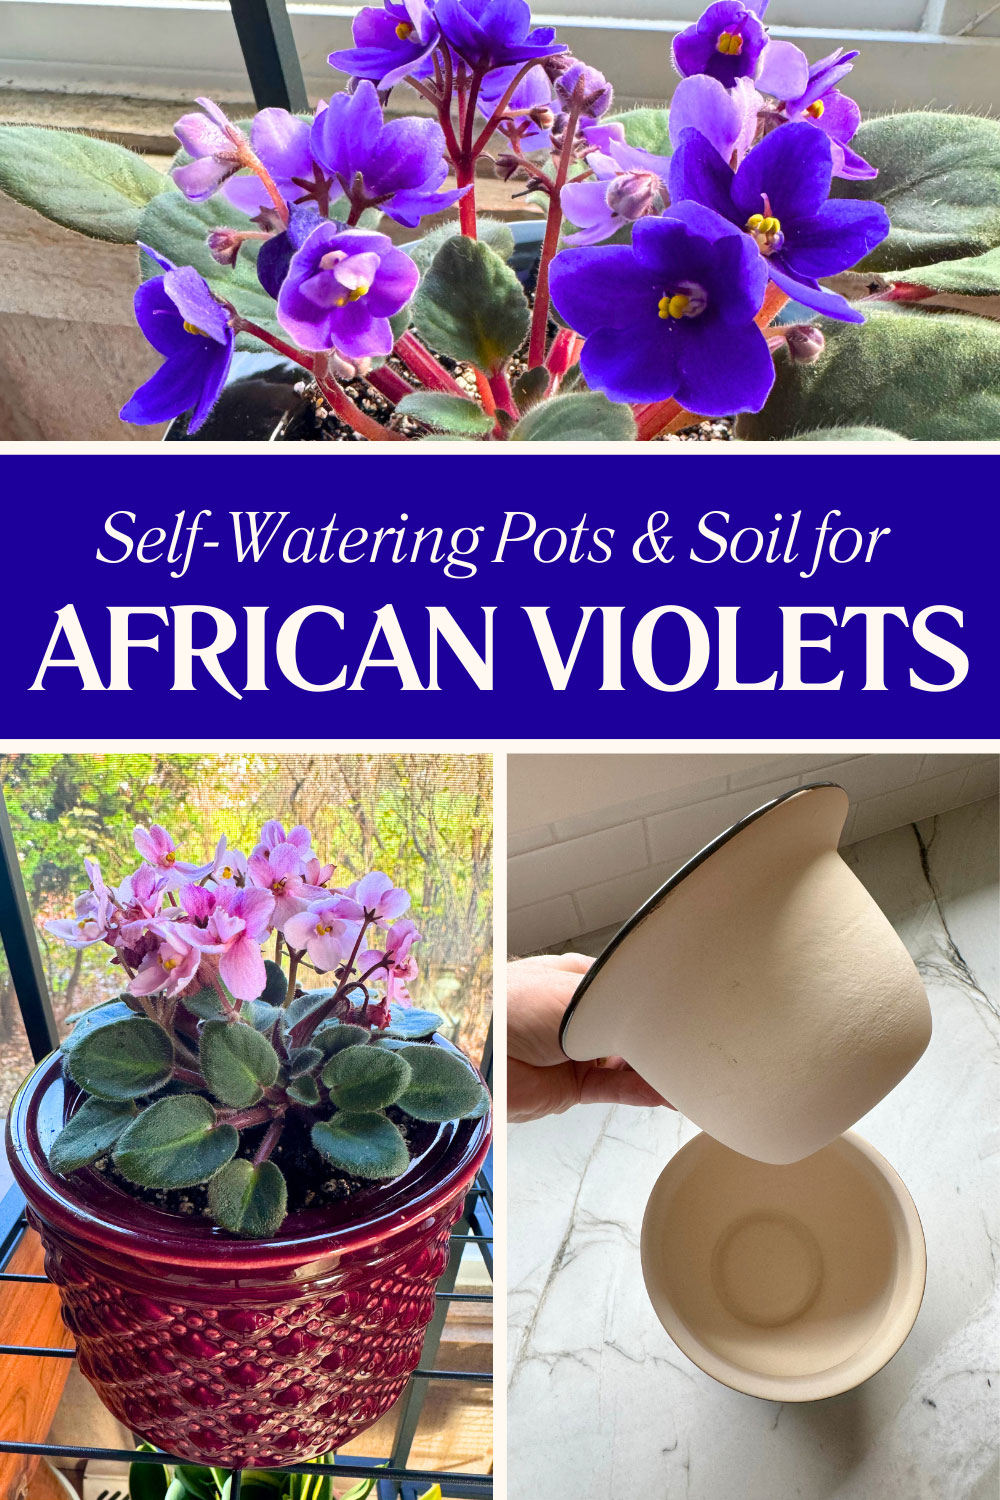
The key to using a self-watering pot successfully is to use the right kind of potting mix. If you fail to use the right kind of potting mix, your plant can rot. I’ll walk you through the entire process, and I’ll get to my tips on a good potting mix blend, along with the reasons why it is absolutely necessary.
Table of Contents
Self-Watering Pots for African Violets
Here are the steps to take to transition your African Violet plant to a self-watering planter.
1. Choose a Self-Watering Pot
There are many types of self-watering pots including ceramic ones that I used in this post, and pots with wicks. All of them can work, but this post focuses on wickless ceramic pots.
The specific ceramic pots that I’m showing in this post were purchased at a local garden center, but you can find plenty of them online. The pots I purchased are ceramic and they are manufactured by Border Concepts, Inc.
Here is one of the pots, and I’ll explain how it works. Look at the photo below. This self-watering system contains two parts. One is the upper pot that I’m holding in my hand, and then the lower pot that the upper pot rests on.
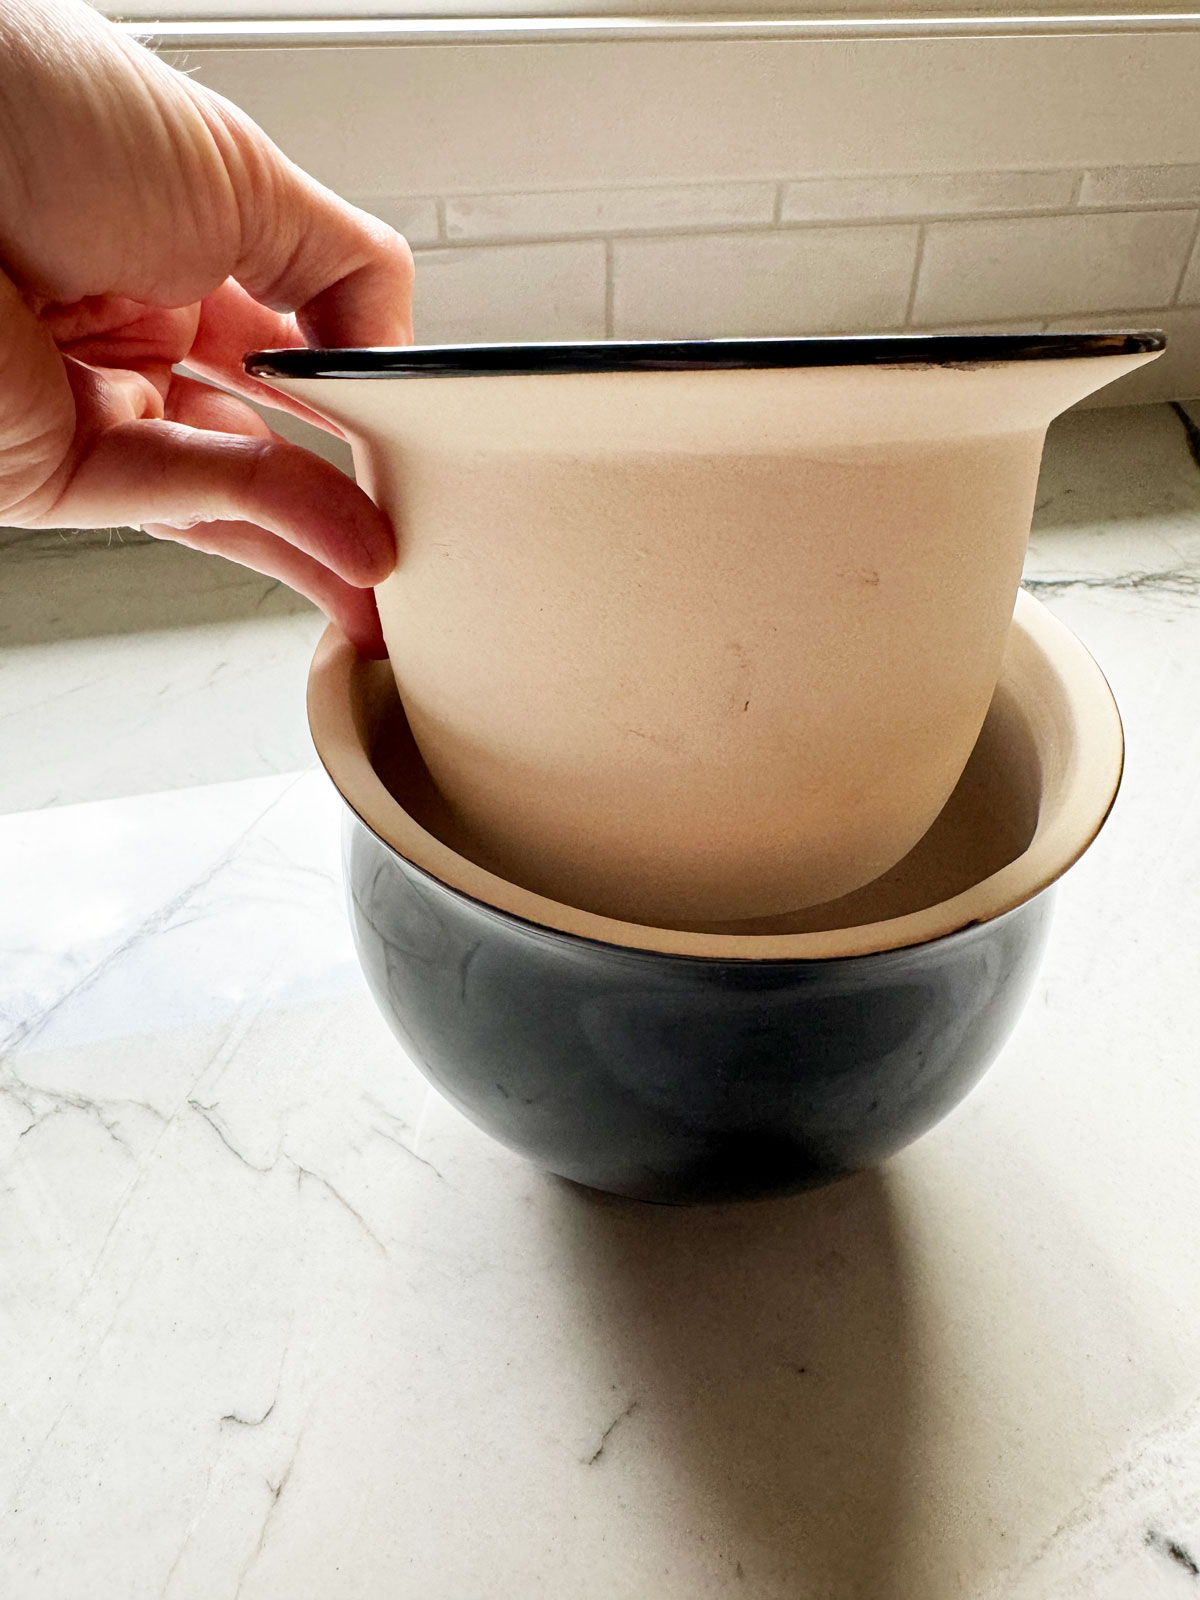
There are no drainage holes in these pots. YES, I know what you’re thinking. But these are self-watering pots and they are designed that way. In the photo above, in my hand I’m holding the upper pot that you’d plant the African Violet in directly. This upper pot is unglazed ceramic. Since it is not glazed, the upper pot is porous (similar to terracotta pots) so that it absorbs water from the lower pot in order to water the plant.
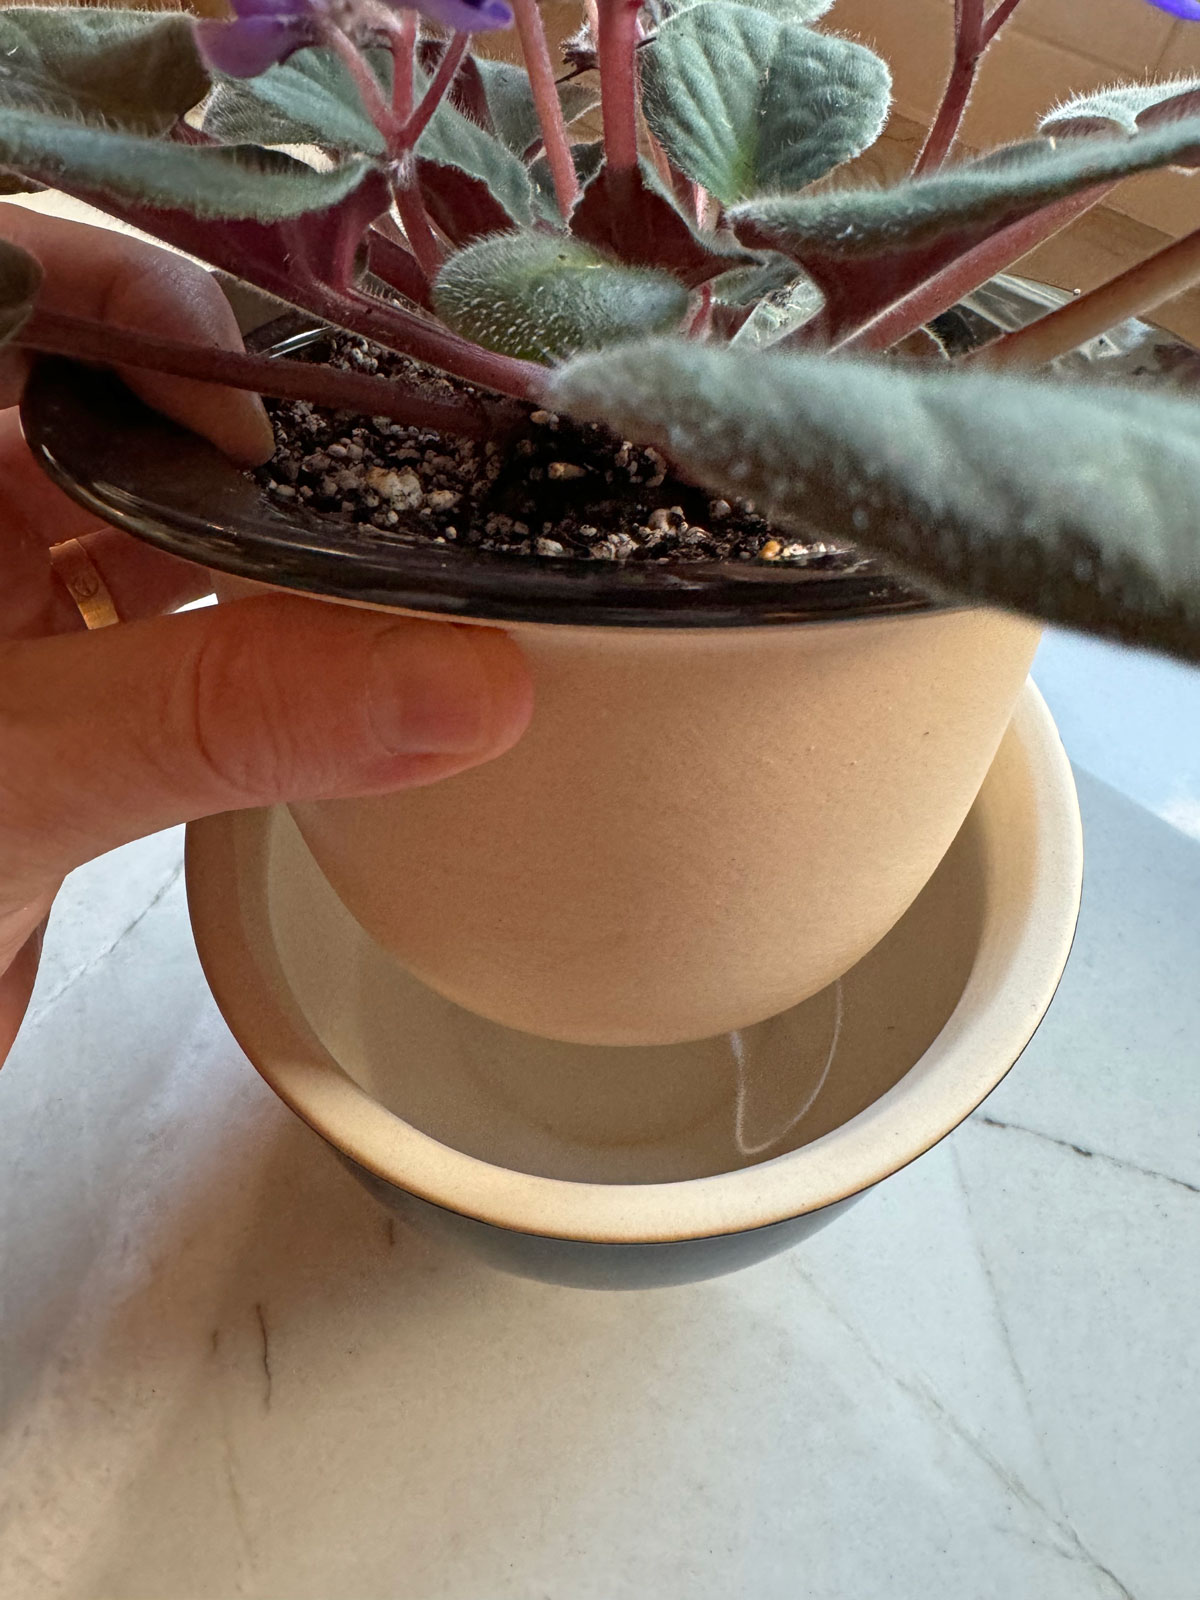
The lower pot is where you would add water. You would keep enough water in the lower pot so that the bottom of the inner pot is always in contact with the water.
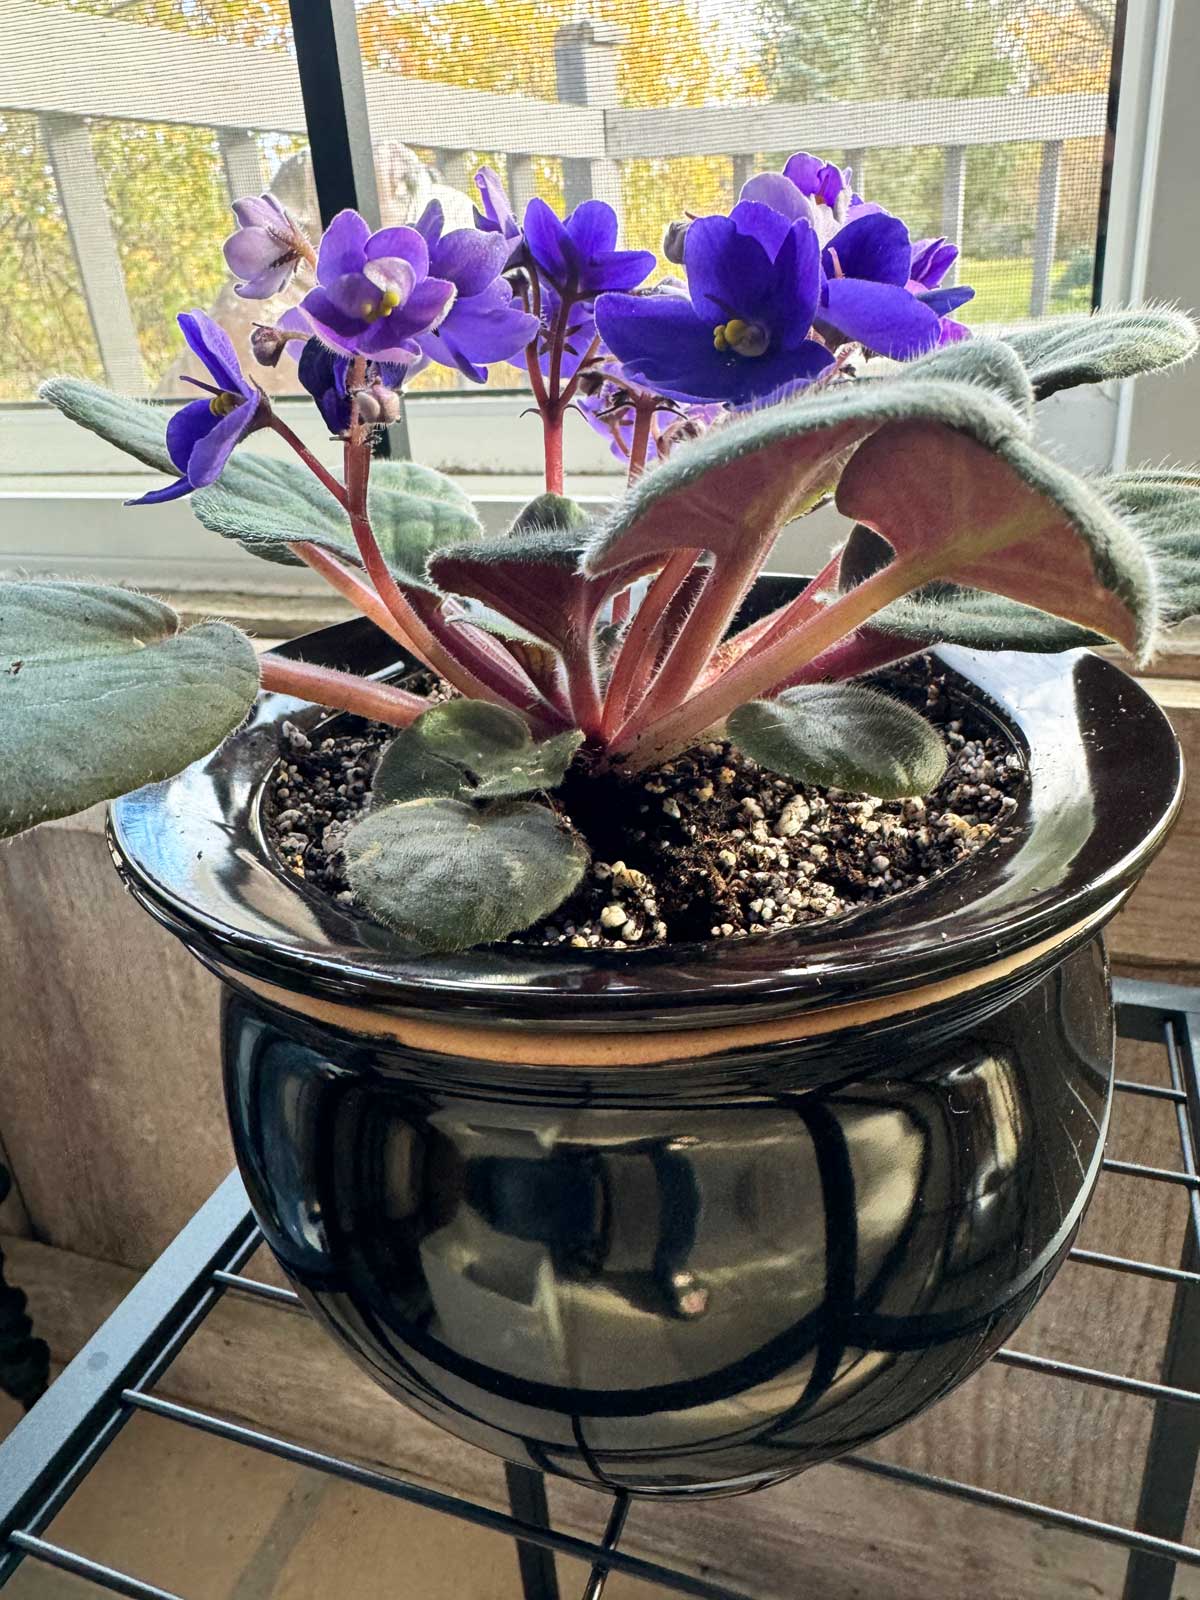
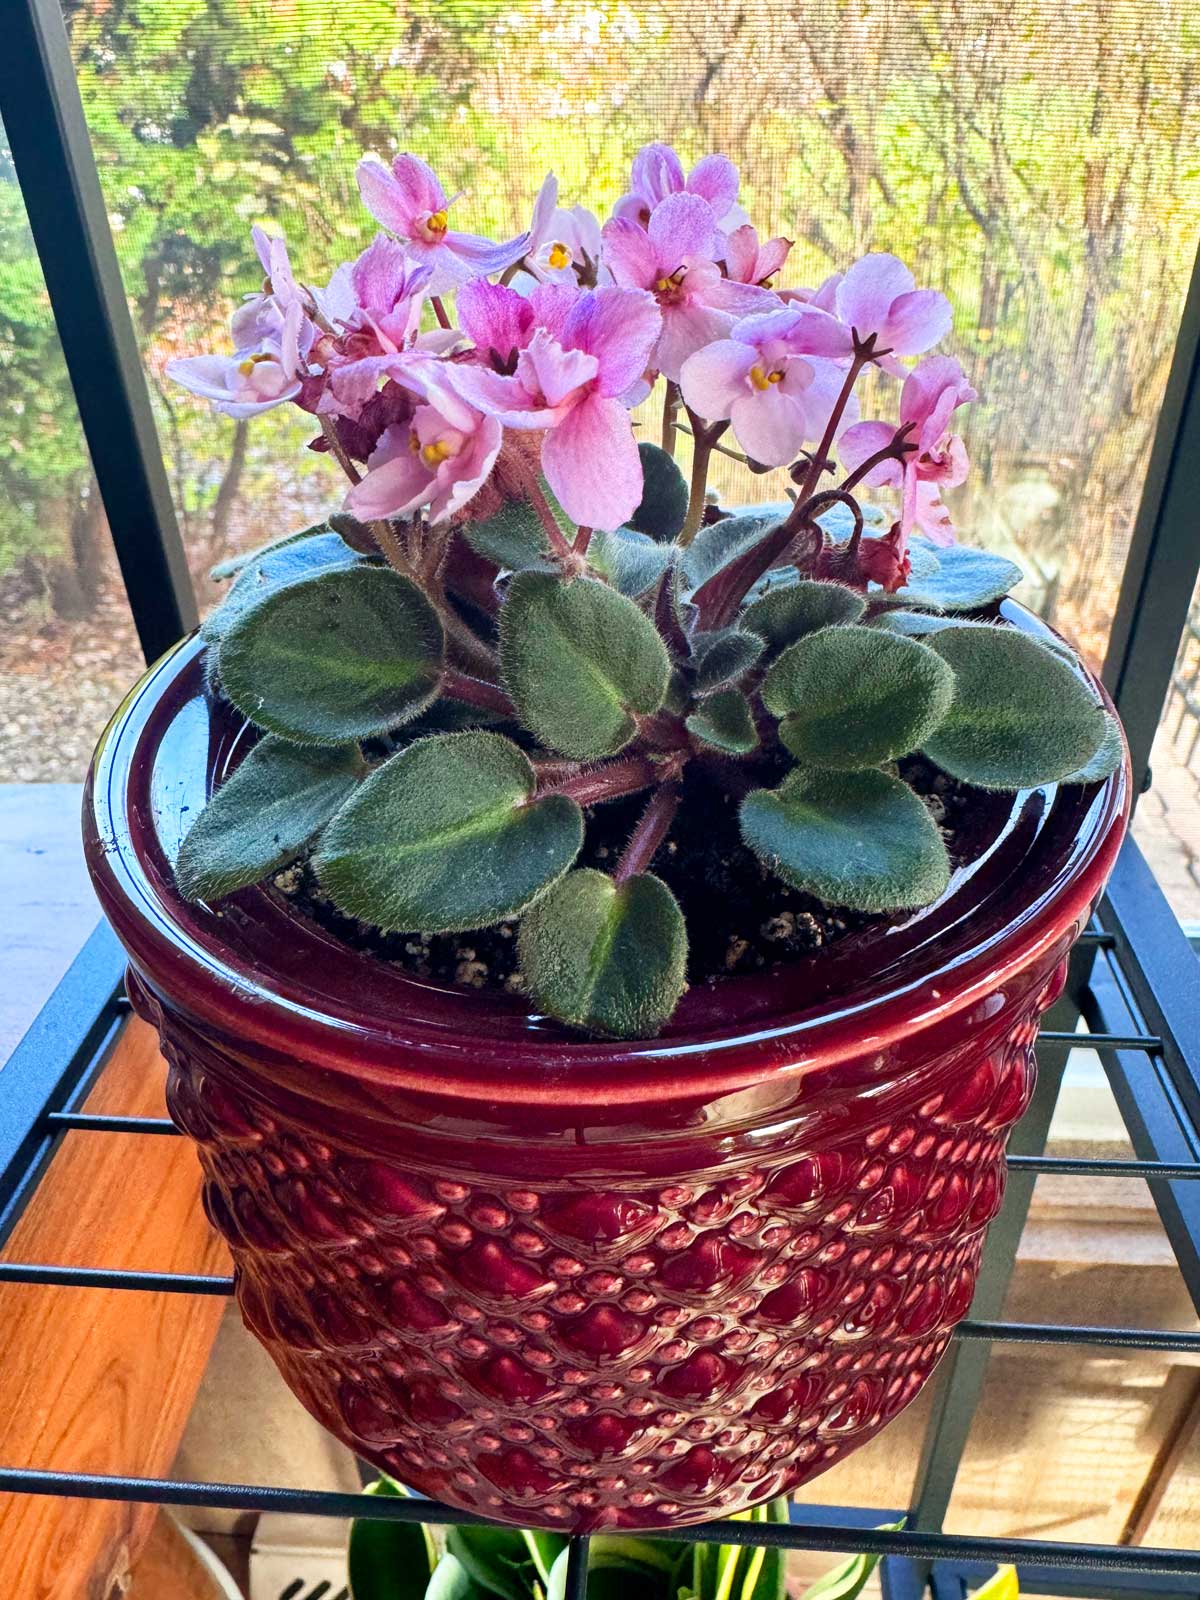
Here is what the finished product with a plant looks like. Also remember that the size of your new pot matters! The plant was previous growing in a 4 inch diameter pot, and the new self-watering pot has an inner diameter of 5 inches, which is great. You want a little more room in the new pot, but not too much.
And in the photo below, I lifted the inner pot so you can see the standing water in the lower pot.
Now that I’ve explained how this self-watering planter works, let me show you exactly how I potted up some African Violets into these pots.
2. Mix Up Your Potting Mix
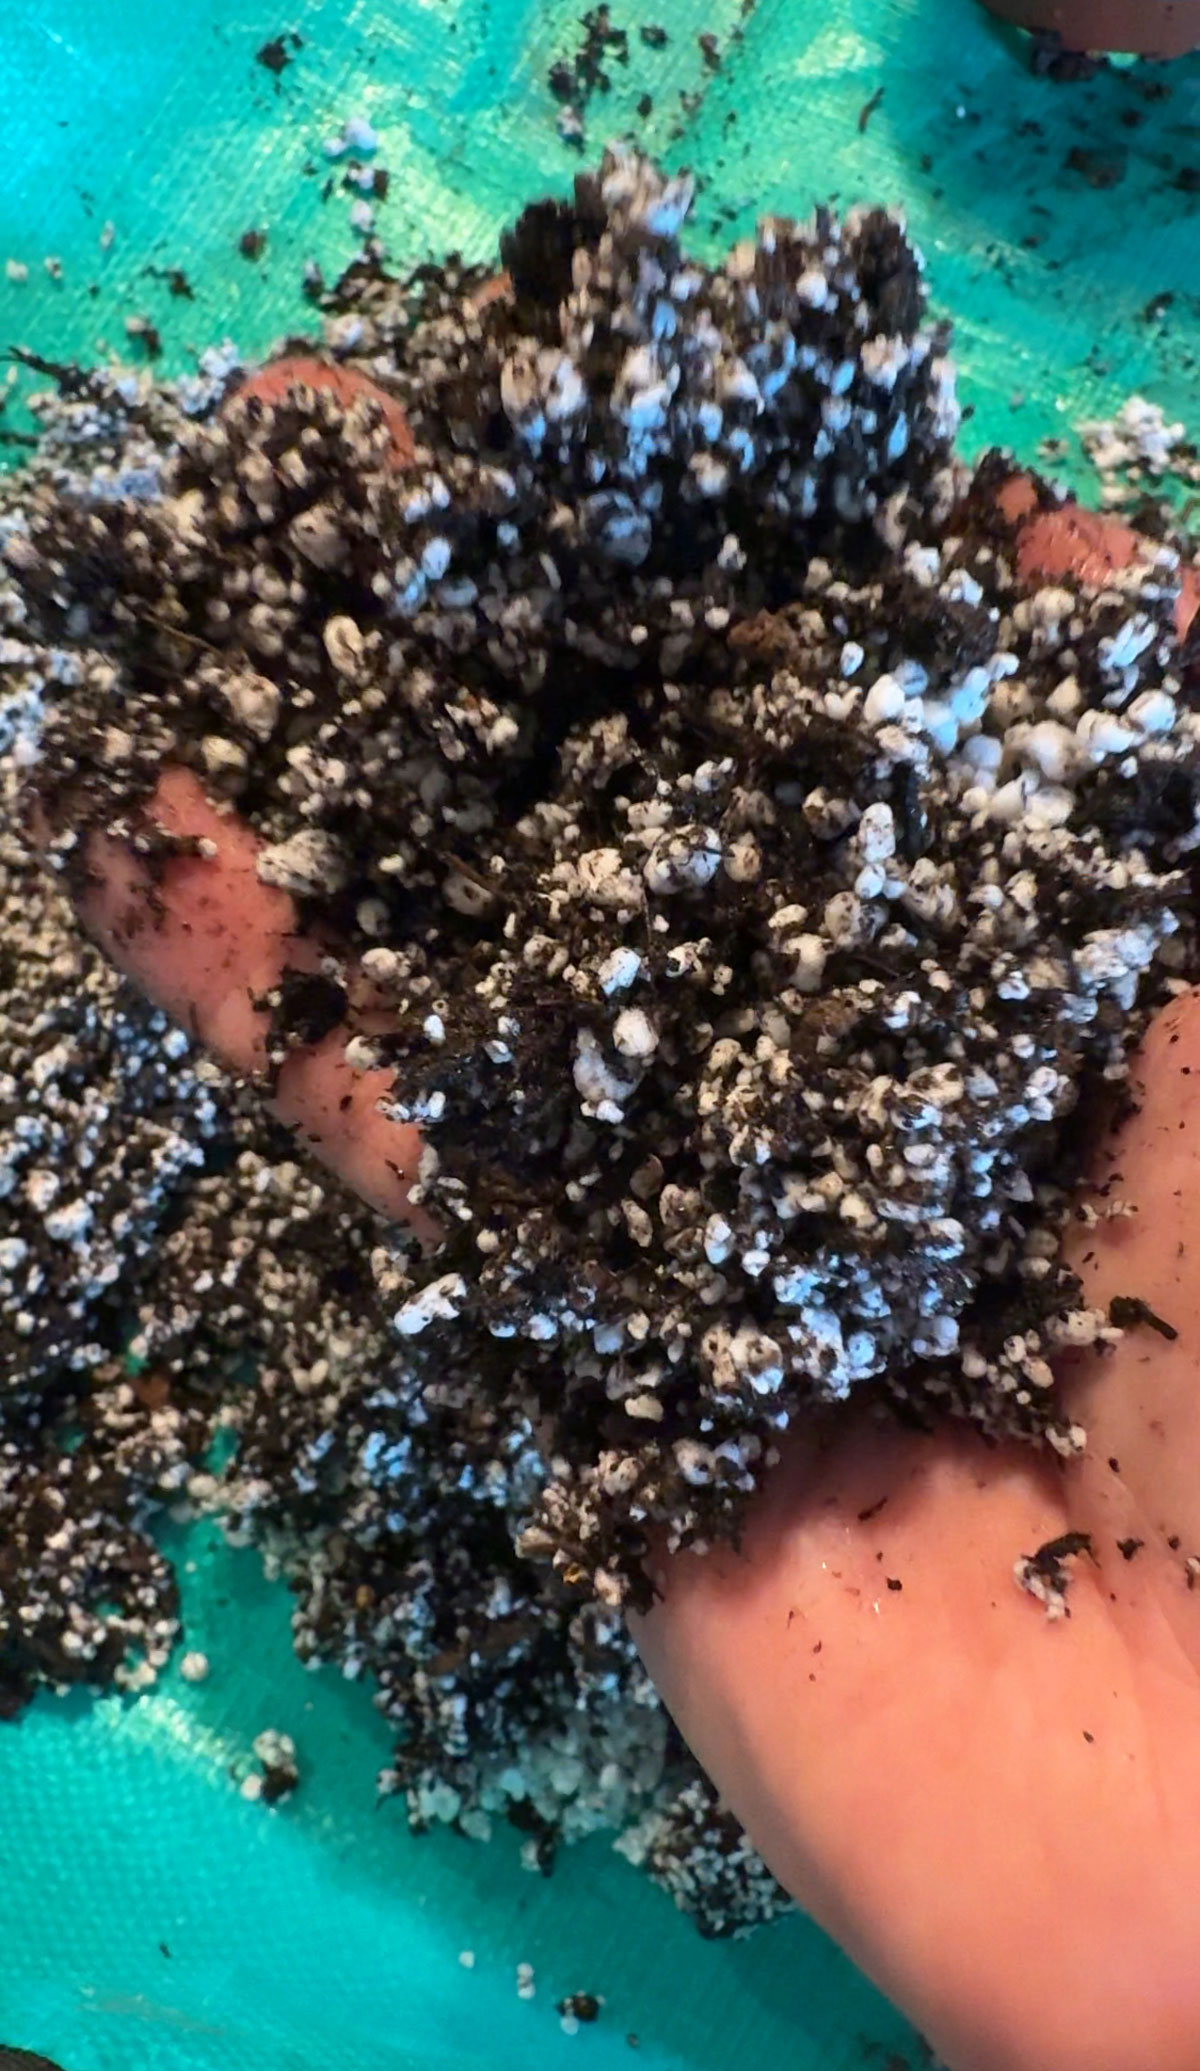
Using the correct potting mix is absolutely crucial. Do not use African Violet soil straight out of the bag for self-watering pots. If you’re using self-watering pots, I recommend using about a 50/50 blend of perlite and African Violet soil.
In my case, I used the African Violet soil from Miracle-Gro. This already has a little perlite in it, but it’s not nearly enough. So I blended 1 part of this soil with 1 part perlite. This resulted in a mix with roughly a little more than half perlite.
This is necessary because the wetter you keep your soil, the more coarse material (like perlite) is needed so that your roots don’t rot. A large amount of perlite will give your mix the needed porosity, and this allows you to keep the roots evenly moist at the same time.
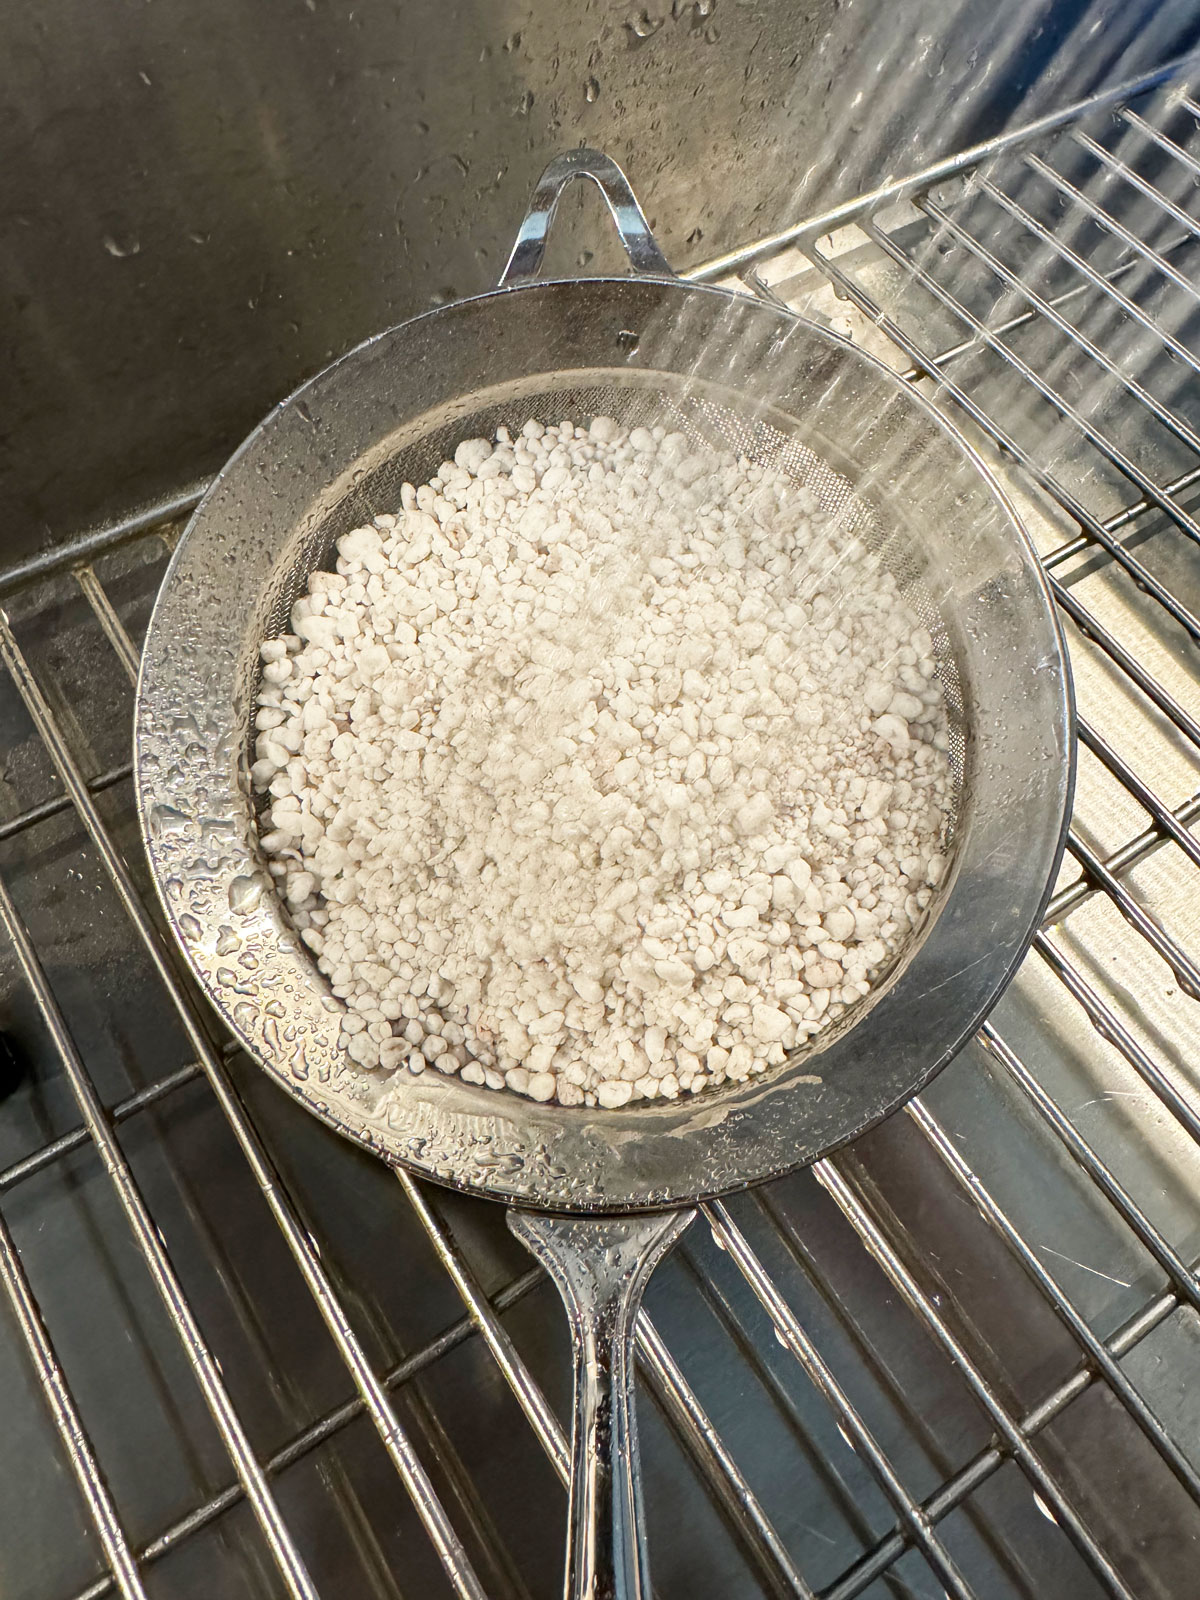
First, I placed the perlite in a fine mesh sieve in order to rinse it with water. This removes the really fine particles and it will help make your final mix fluffier. Perlite dust will turn sludgy when wet, so your final potting mix will have a better structure when you rinse the perlite dust away. Be careful not to breathe in the perlite dust. Work outdoors, in a well-ventilated area, and you may want to wear a dust mask.
Next, you also want to thoroughly moisten your African Violet soil. This can be tricky to work with because usually they are peat moss based, and when peat moss gets really dry, it becomes hydrophobic (repels water), so it can be a pain to moisten!
I top watered the soil in my sink a few times like in the photo below.
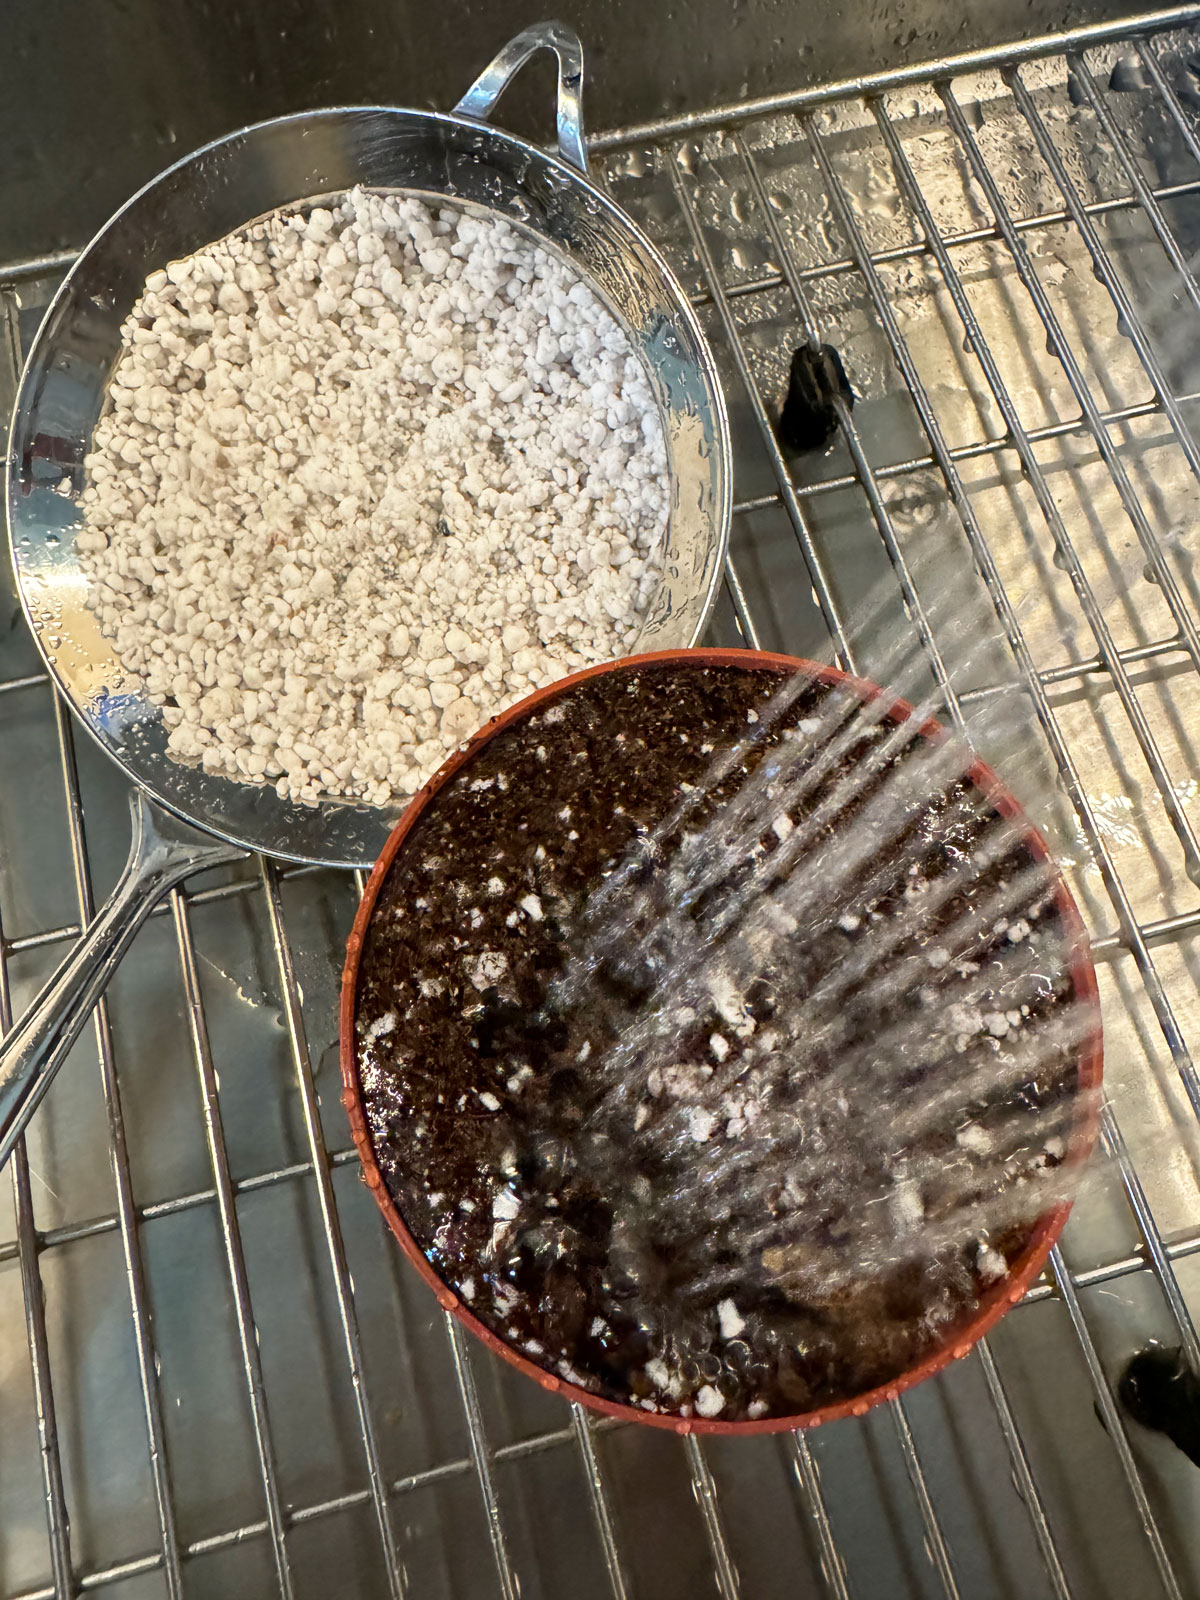
When I went to dump it out in order to mix the soil with the perlite, the soil was largely dry underneath. So at that point, I stuck the pot of soil into a pot with no drainage hole and I essentially bottom watered it and left it for a while. And then I top watered again to ensure that all of the African Violet soil was moistened.
It is absolutely crucial that you pre-moisten your potting mix otherwise the self-watering system will not work properly. So don’t skip this step!
3. Pot Up Your Plant
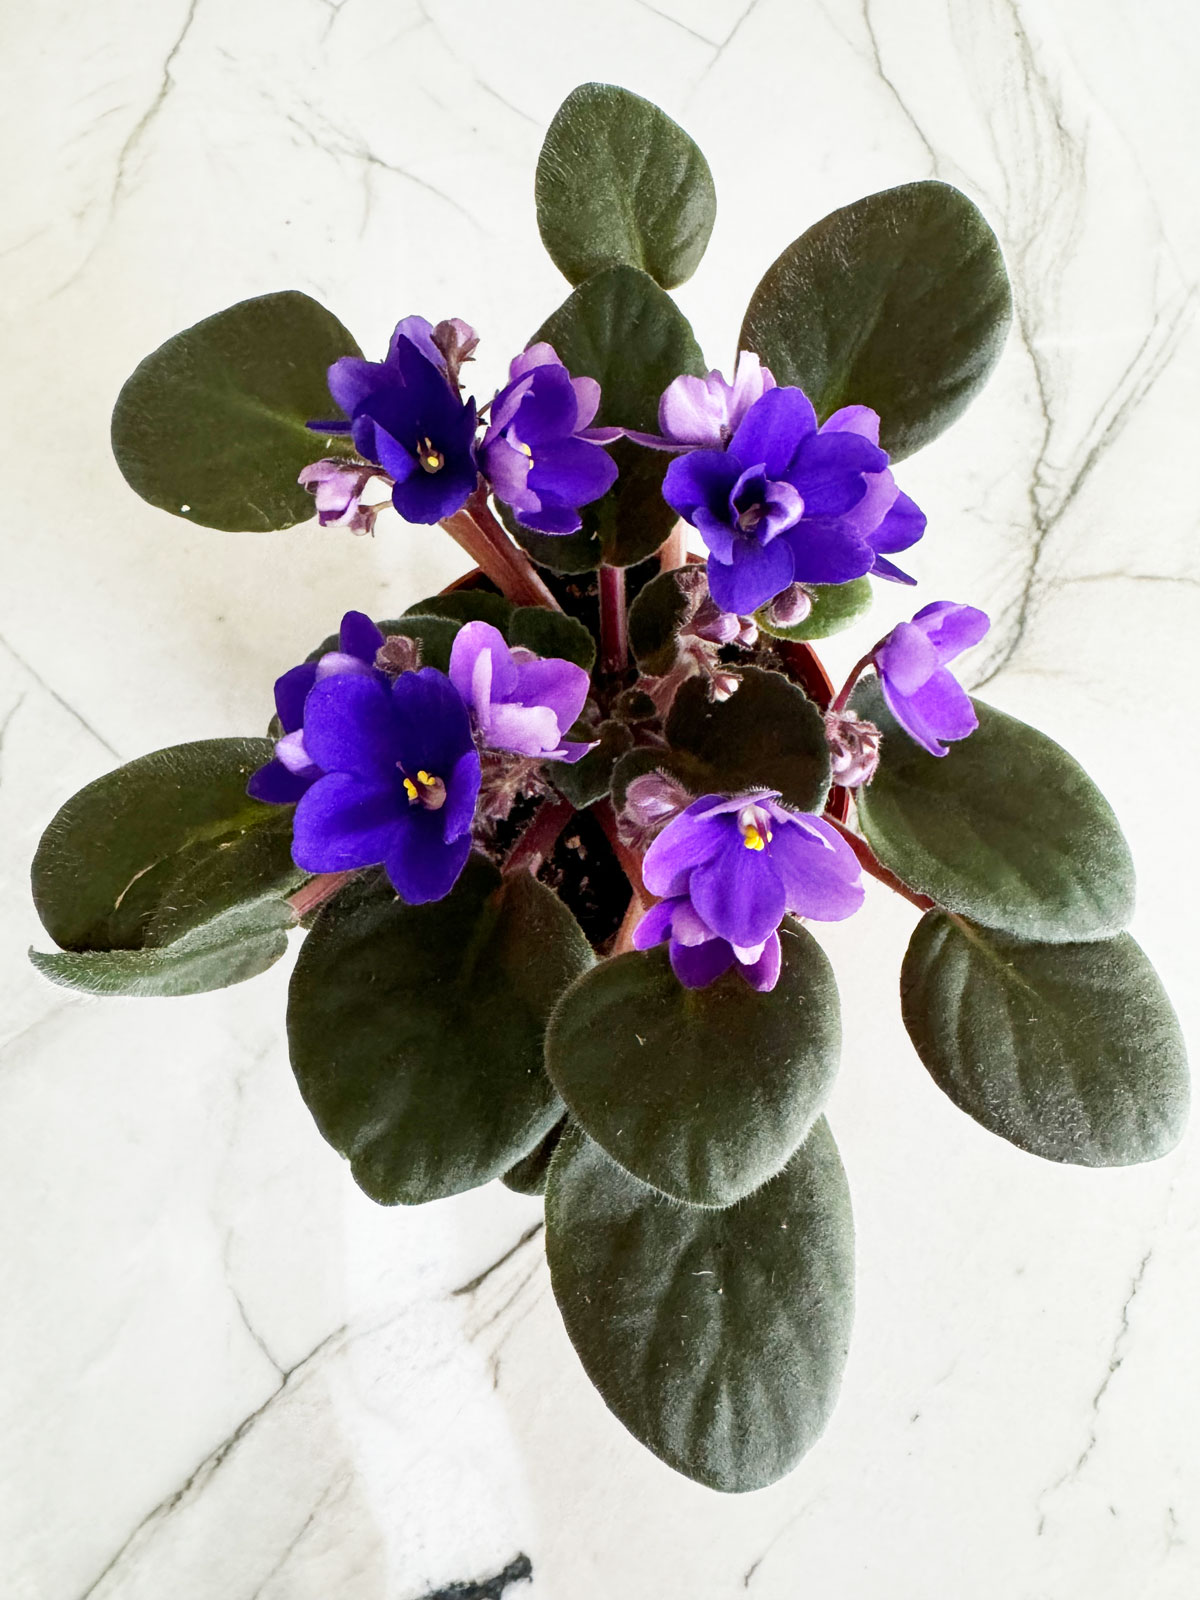
At this point, I follow my normal “repotting” routine. Here is the plant that I started out with. It was in a 4 inch pot.
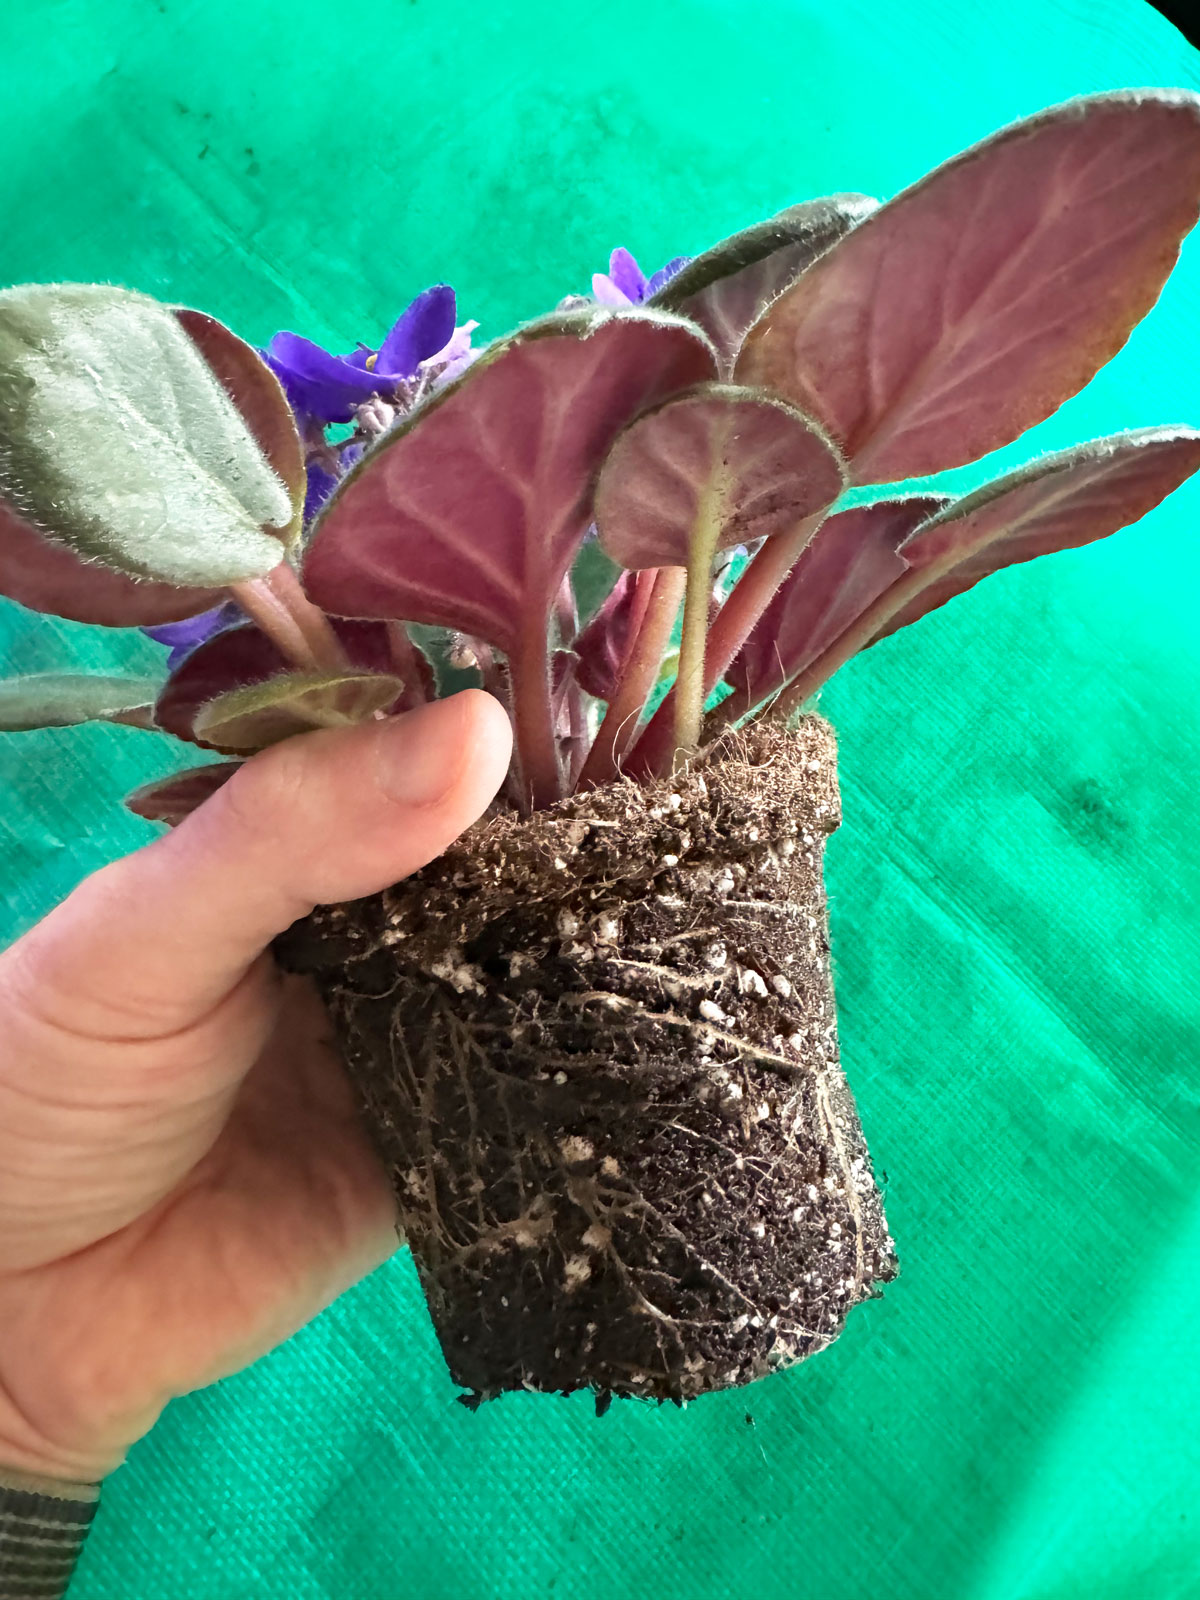
First, I took the plant out of its plastic pot. Notice the nice, healthy root system.
Then I gently loosened the root ball and removed some of the soil at the bottom. It may look like I took away too much, but the plant was just fine.
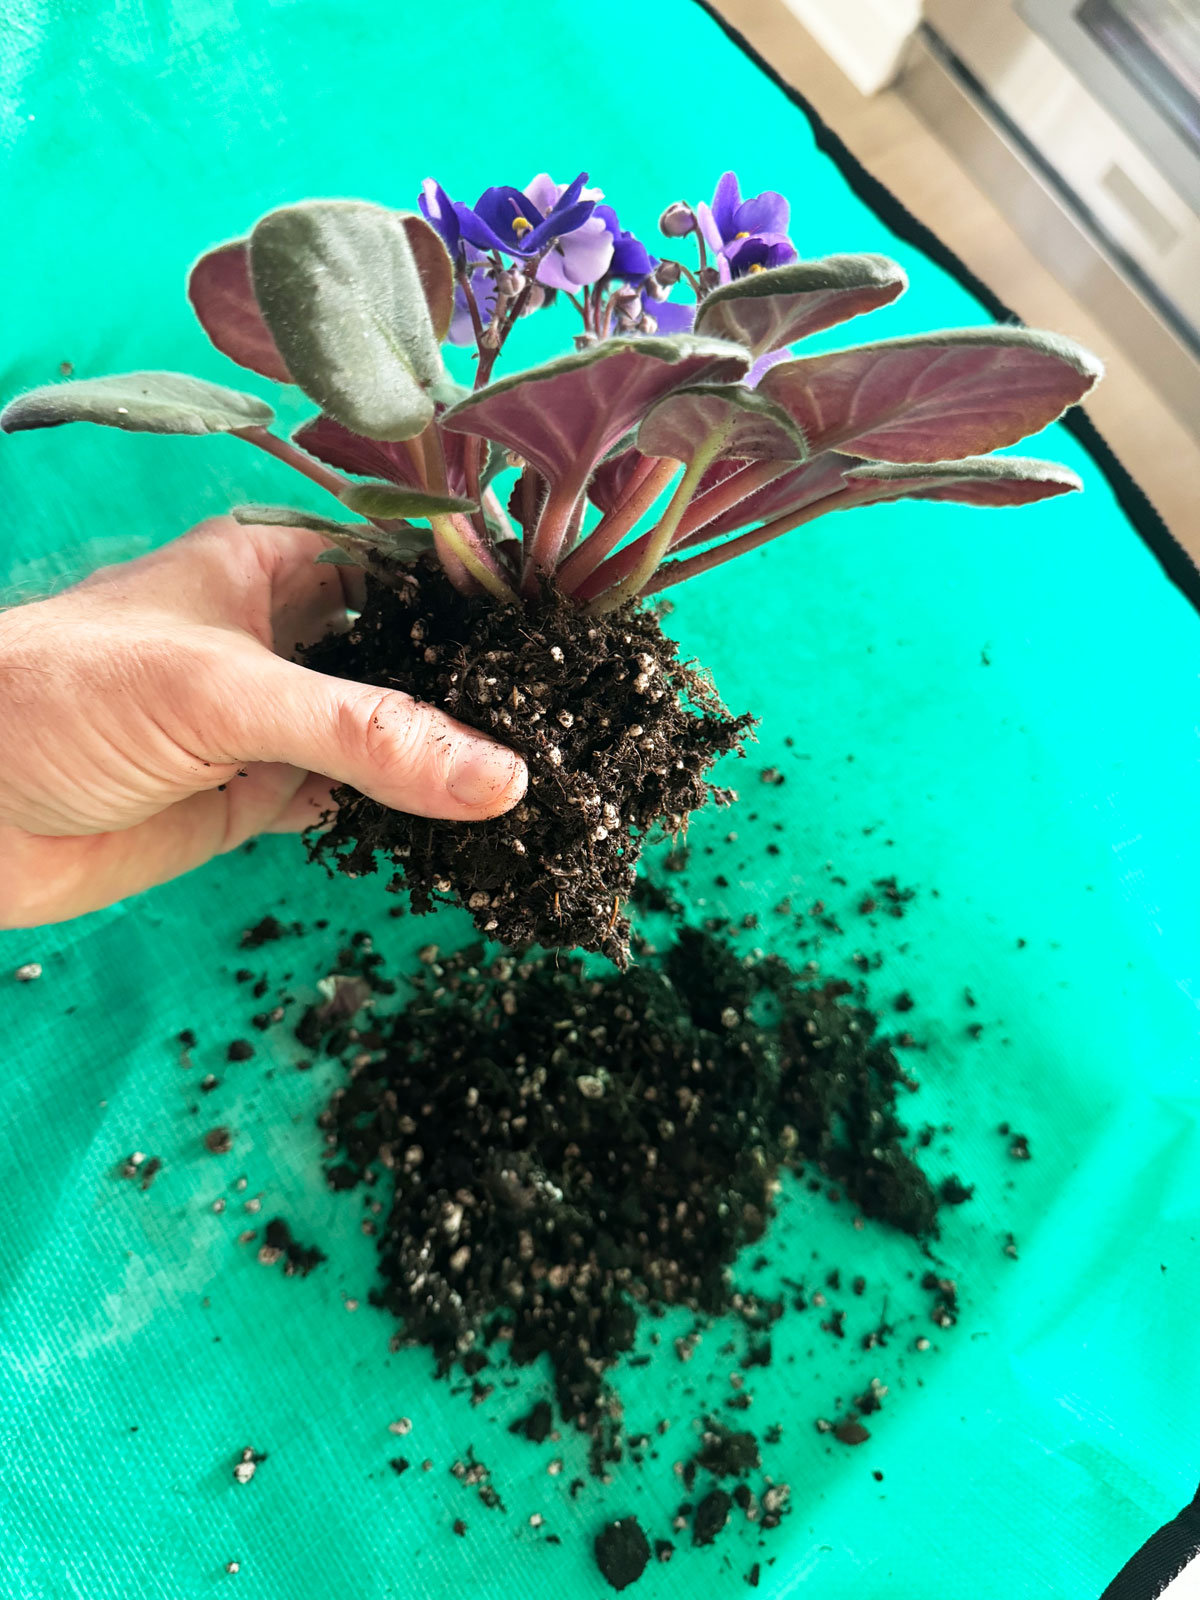
I did this for 2 reasons. The first reason is to loosen the roots so that the new roots can easily grow into the new potting mix in the new pot. The second reason is that I wanted to remove at least some of the old soil. There isn’t enough porosity in this old soil mix and it can stay too wet in the self-watering planter. So I removed as much as I could without harming the plant.
Next, I simply mixed up the rinsed perlite and the African Violet soil together.
Then I potted it up inside of the new self-watering pot.

And here is another self-watering pot that works the same way, except I planted two miniature plants in it.
4. Regular Maintenance
- Be sure to keep enough water in the lower pot so that the upper pot where the plant is growing in is always touching the water. Periodically check that it doesn’t dry up. The surface of the potting mix should always feel damp to the touch.
- Repotting or refreshing the potting mix yearly is recommended (especially if you are fertilizing regularly). Build-up of fertilizer salts can damage African Violet roots. Many mixes, including the Miracle-Gro African Violet mix already has fertilizer in it, so your plant should be good to go with no additional fertilizer for a few months. Refreshing the soil yearly often will spur new growth and better flowering!
- If you notice any algae or slime on the inside of the self-watering system, gently scrub it away with warm water and a nylon bristle brush.
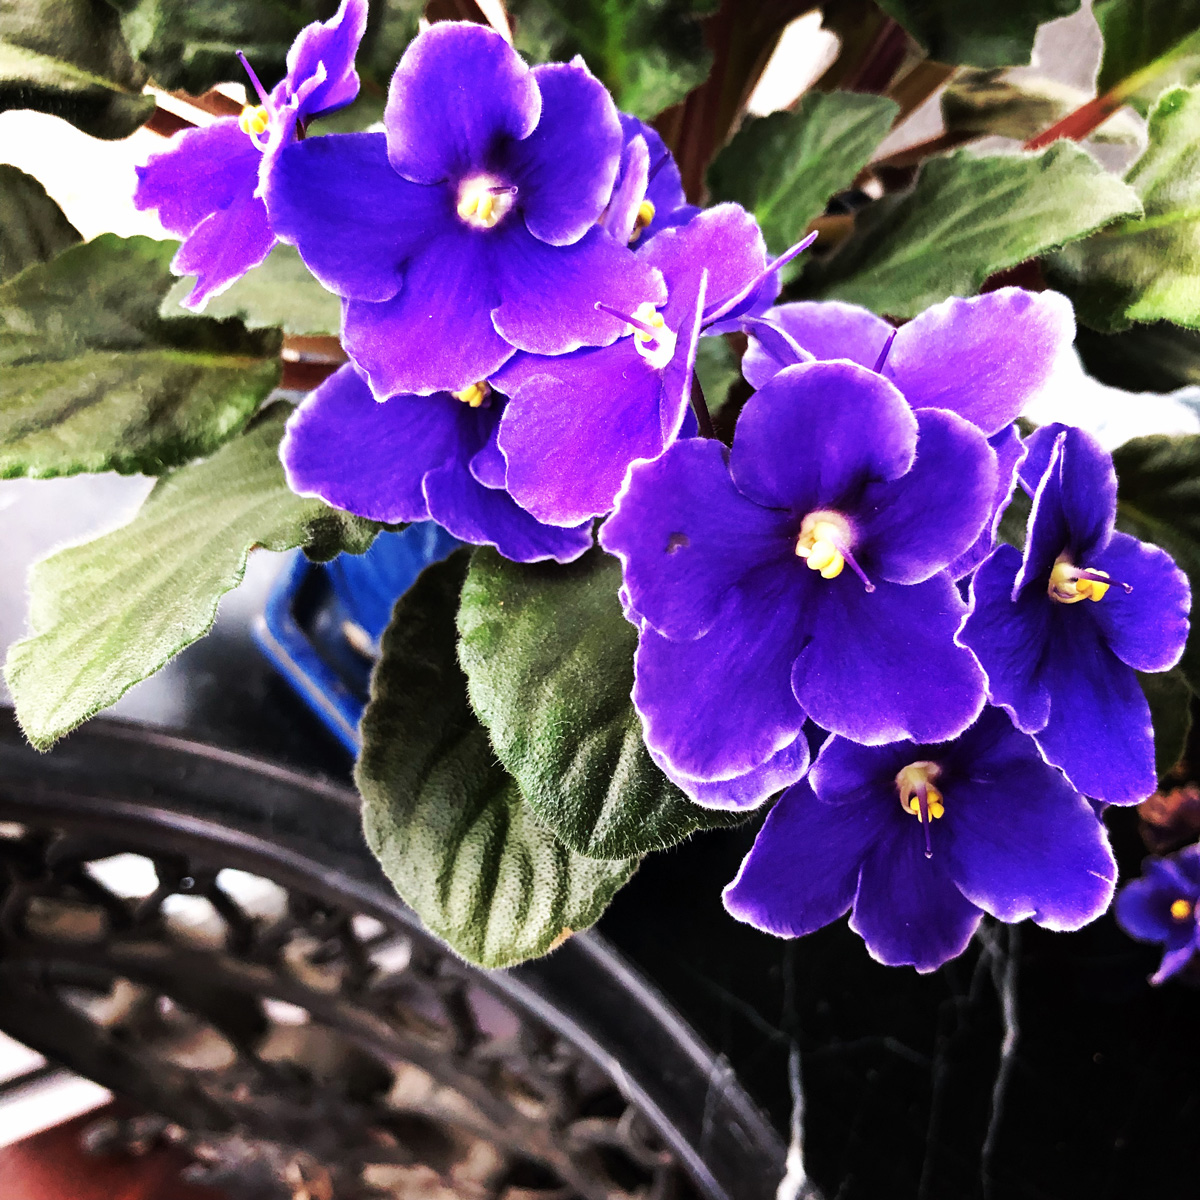
You may want to read my article on African Violet care tips for more tips on light conditions and more so that you can keep your plant healthy and full of blooms!



diana smith
Tuesday 18th of November 2025
My African violets lower leaves became very limp after I repotted. It is a large violet Should I cut the limp leaves off? Hopefully I haven't killed the plant
Raffaele Di Lallo
Tuesday 18th of November 2025
I would leave the leaves for now. Check to make sure that the potting soil hasn't gone completely dry (or maybe wasn't moistened enough initially).
Paula
Tuesday 19th of August 2025
Oh thank you for this wonderful information. I have loved African violet since I was a child. Before I found this article, I had already bought two of the self watering pots and your article changed what I thought would be good I can now understand I would have probably killed them with too much water. Now I feel certain they are going to have a long healthy life. Thanks so much for all your work and sharing it!!
Raffaele Di Lallo
Wednesday 20th of August 2025
You're very welcome Paula! Choosing a good potting mix blend for self-watering pots is REALLY important :-)
Emily
Monday 5th of May 2025
Good Morning! I found this article at just the right time. Do African Violets need repotted to larger pots? Mine is very full, but I just didn't know if it need more room like most other plants. Thank you!
Raffaele Di Lallo
Tuesday 6th of May 2025
If it is root bound (and it's in a 4 inch pot or so), then yes :-) Give it a slightly bigger pot.
Tracy
Wednesday 13th of November 2024
I am so happy that I subscribed to your newsletter Raffaele. Your photos are clear and easy to see when you are showing us the plant, container, water, soil etc. Your detailed descriptions and steps are easy to understand. Thank you.
Raffaele Di Lallo
Wednesday 13th of November 2024
You're very welcome Tracy, and I'm so happy that you enjoy my newsletter!