Some of the links in this post may be affiliate links.
If you’ve had it with trying to figure out when your orchids need water and have failed at growing them, here is how you can convert orchids to water culture. In this post, I will take a moth orchid (Phalaenopsis) that was previously growing in sphagnum moss, and show you how to convert it to water culture.
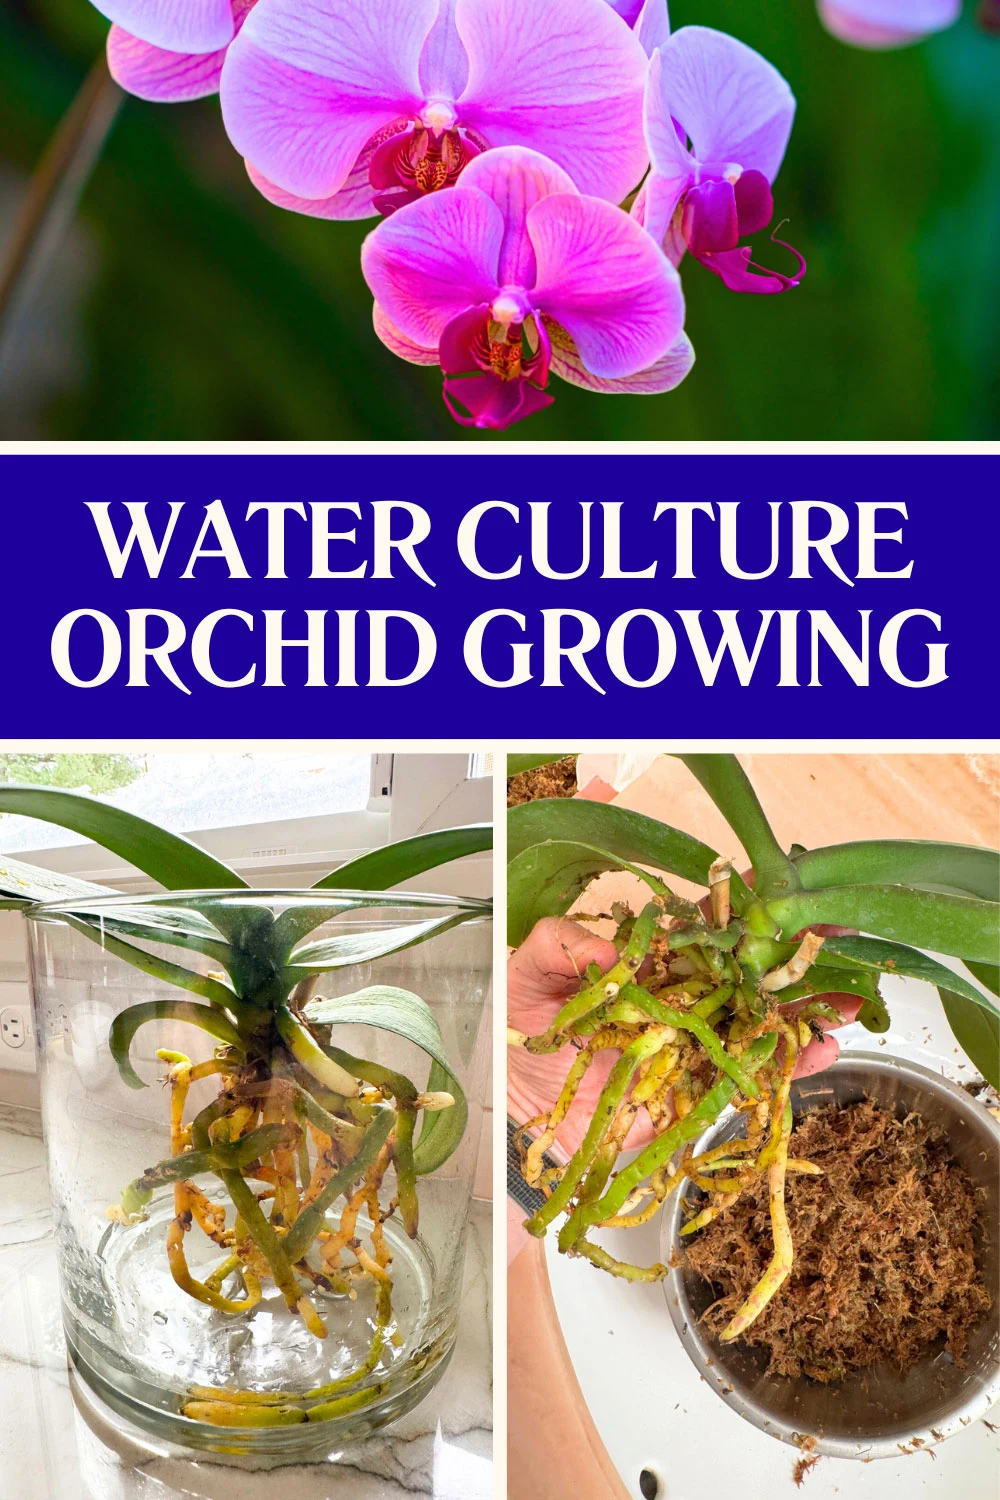
I prefer growing my orchids in a medium such as bark mix or sphagnum moss, but I love experimenting with different ways of growing orchids, so here we are! You can successfully grow and rebloom your orchids with water culture.
And if it gives you the confidence to keep going with your orchids, it may just be what you need! Here are 3 simple steps.
Table of Contents
3 Steps to Convert Orchids to Water Culture
Growing orchids in water is not as simple as plopping your plant in water and leaving it. There are multiple ways to do it, but here are 3 simple steps that you can follow.
1. Soak Your Orchid & Remove the Medium
Whether you have your moth orchid growing in bark or moss, give it a good soaking with room temperature or warm water. In this specific example, I have an orchid growing in sphagnum moss that I rescued. It didn’t even have a pot when it was give to me, so I placed it in a bowl of water and let it soak for at least half an hour.
If you already have your orchid in a pot, slip it inside of another pot that has no drainage holes, and add water and allow it to soak for at least half an hour.
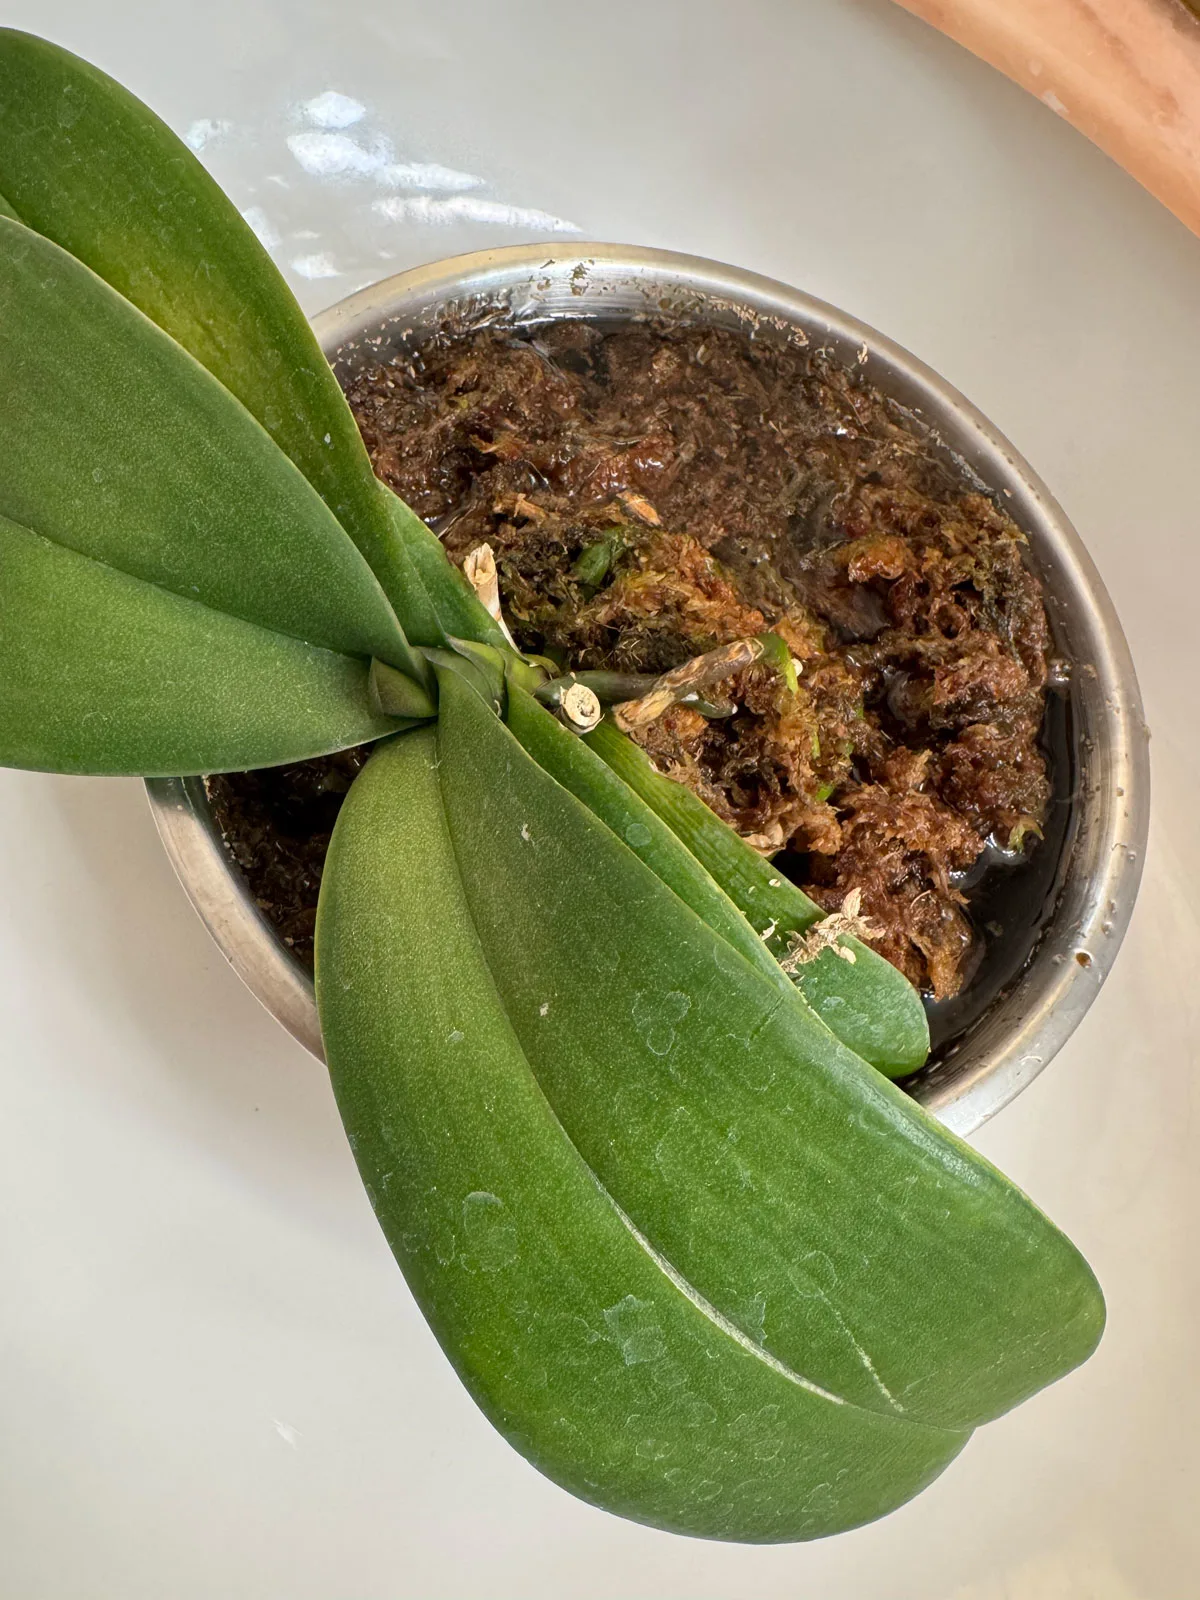
Soaking your orchid allows the bark or moss to come off much more easily than trying to take the medium off while it is dry. Don’t skip this step!
My plant was in a 6 inch pot. After soaking for a while, I peeled away the outer layers of moss, and I still had some work to do. You can see in the photo below that this was probably what the plant looked like in its original 4 inch pot before it was placed in a larger pot.
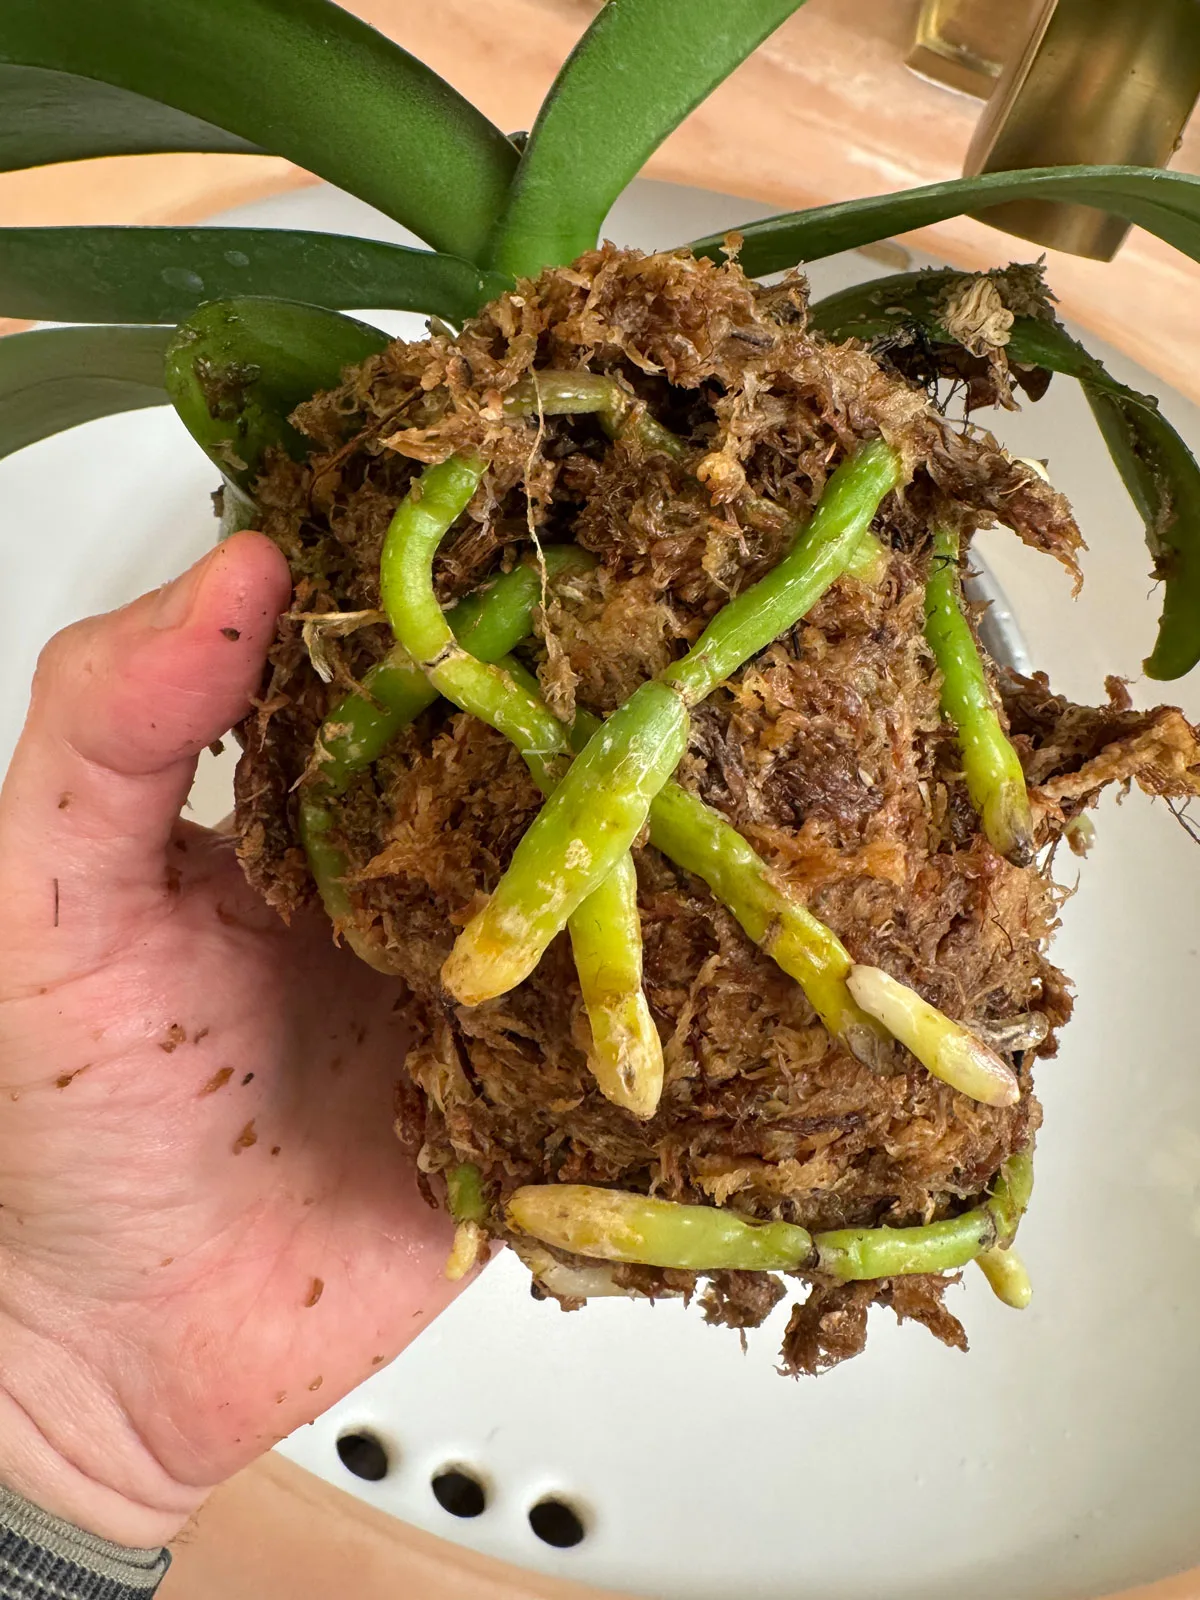
If your orchid is in moss too, and the center of the moss is still dry after you’ve peeled away the outer layers of moss, place the roots back in water to moisten whatever moss is left.
After carefully removing all the moss, here is what my Phalaenopsis orchid looks like at this point.
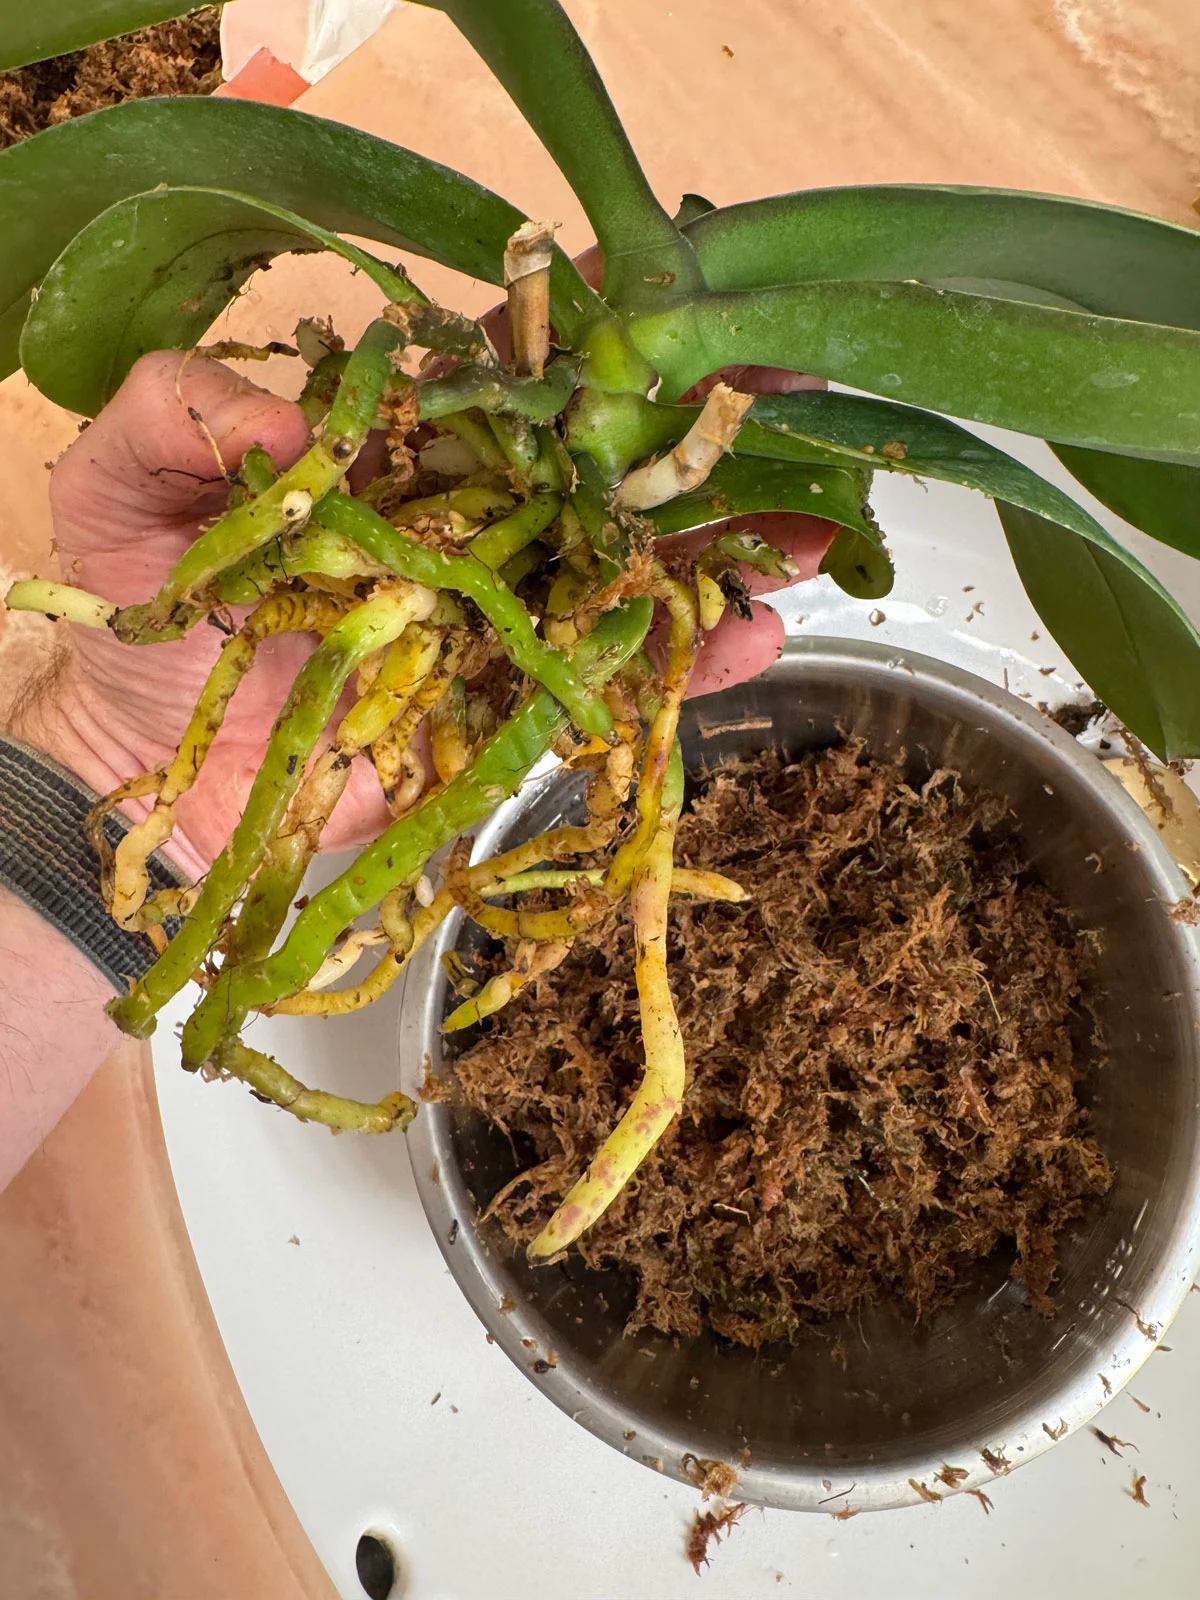
You can see that some of the roots are yellow and some are green. As long as the roots are plump and firm, they are fine. I didn’t have any dead or rotten roots, but if you do have them, carefully trim them off with a pair of sterilized pruners.
At this point, rinse the orchid roots to remove any residual bark or moss, and you are ready to move onto the next step.
2. Place Your Orchid in a Clear Glass Vase and Add Water
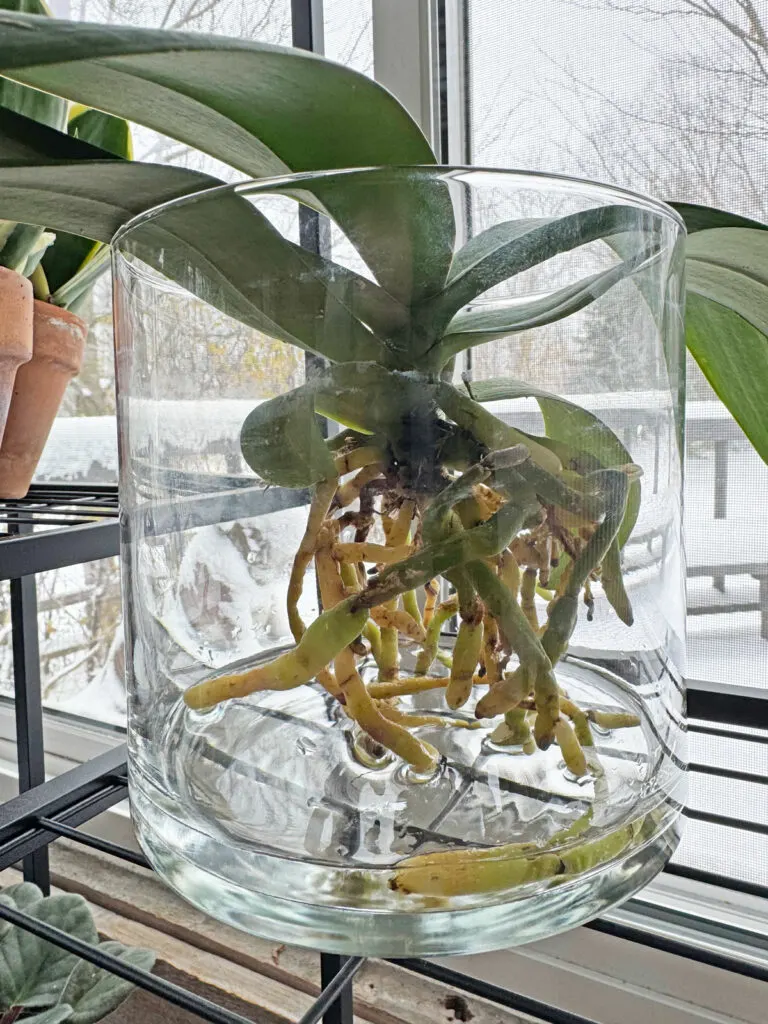
This is the fun part. Choose a clear glass vase to place your orchid in. It doesn’t necessarily have to be clear, but I highly recommend it because you can easily inspect the orchid roots and you can also monitor the water level, which is important.
Choose a glass container or vase where the leaves can rest on the rim and the plant itself isn’t completely encased by the vase. I recommend using a glass container with straight sides (like in the photo below) because it will make taking the plant out of the vase much easier.
If you use a round glass container, I’ve found that it can be difficult to remove the plant, but you can still work with it.
And finally, add a little water at the bottom. Depending on your vase, the amount of water will vary. In my case below, I have less than an inch of water. Simply add enough water so that the tips of some of the roots are touching the water. I recommend using a very dilute fertilizer solution. More details on this in the next section.
3. Perform Routine Maintenance
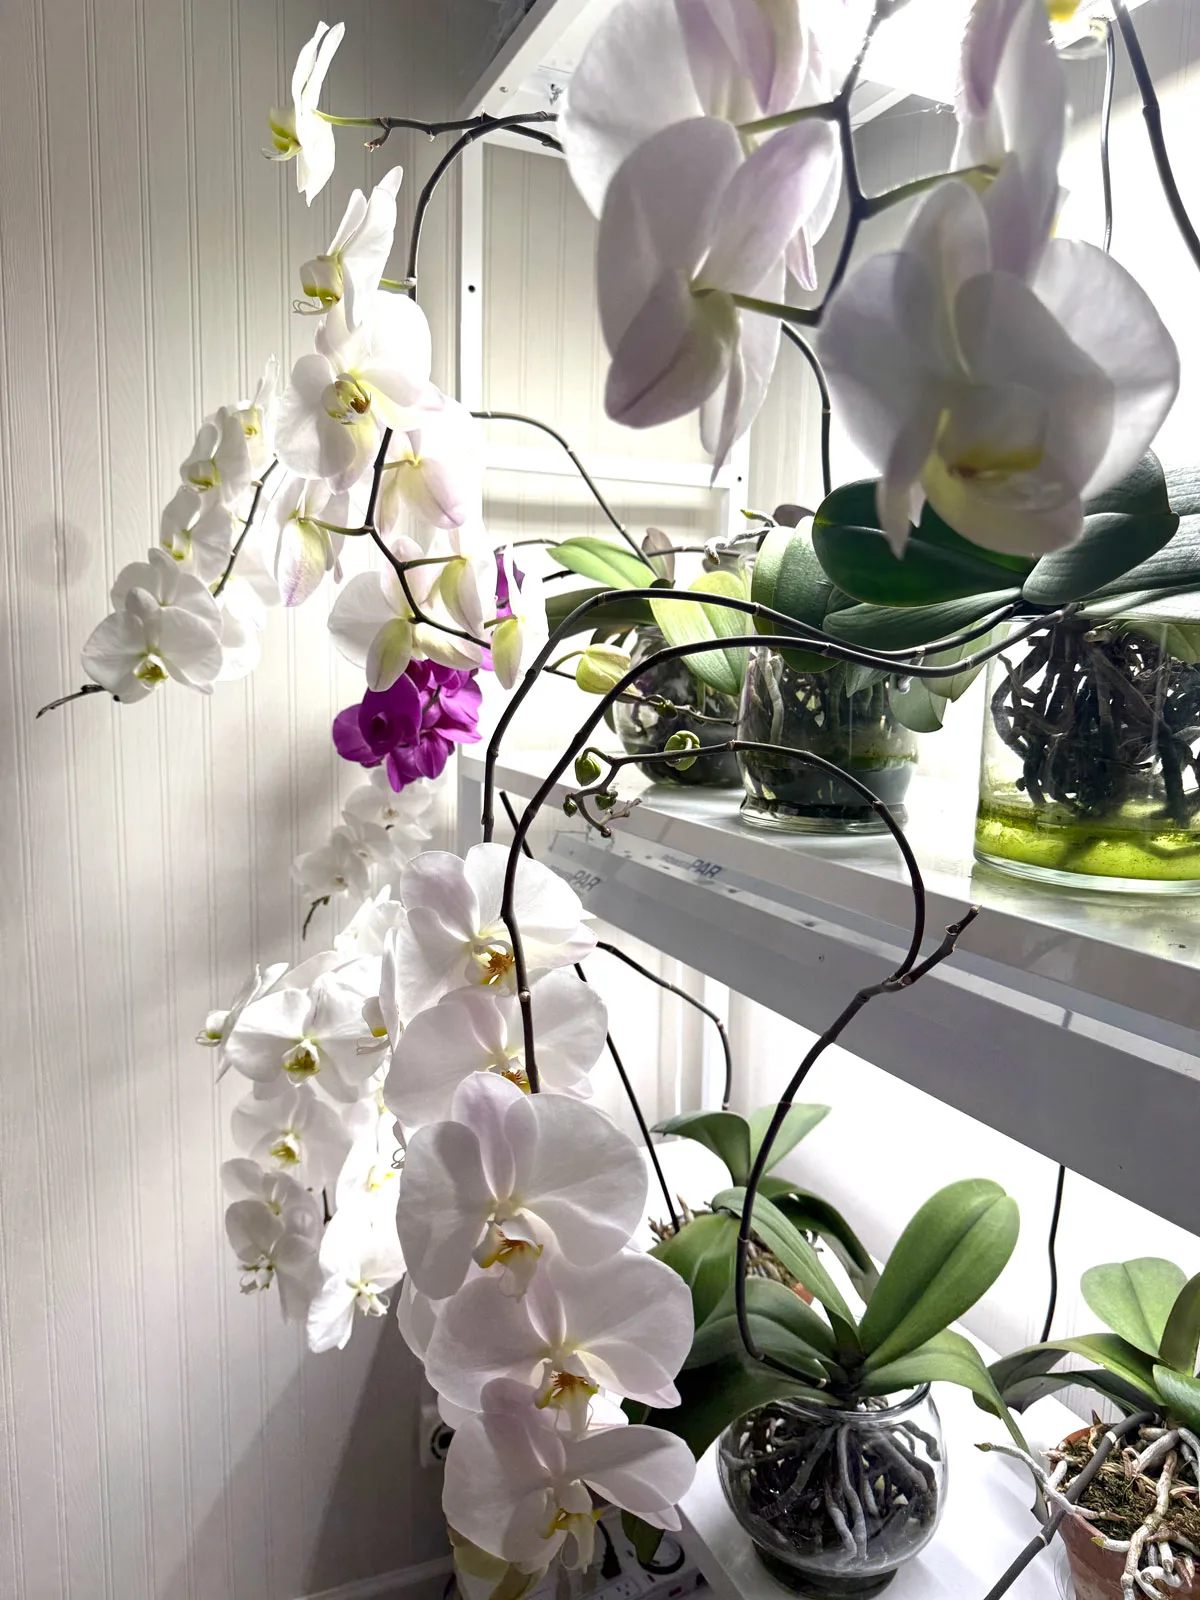
At this point, all there is left to do is regular maintenance. Here are some important maintenance tips and recommendations to ensure success. But before I give you the tips, take a look at all four Phalaenopsis orchids after 8 months in water culture. (Please note that they permanently stay under grow lights and I moved them just for the purposes of taking clearer photos).
Here is one with a single flower stalk that branched and has over a dozen flowers and buds.

Here is another one with two flower spikes and with a total of 16 flowers and buds.

Here is another.

And finally the last one. This is the only one of the 4 with slightly droopy older leaves (these were existing leaves when it was converted over to water culture), but the new leaves that it developed while in water culture and healthy, firm and perky. And as you can see, this one is about to bloom as well.

Here are some important tips why I’ve had success with water culture, and why YOU can too!
Maintenance Tips for Water Culture Phalaenopsis
PROVIDE ENOUGH LIGHT
Place your plant immediately in front of a window or under grow lights. Moth orchids don’t want to be in direct sun all day, but some morning sun works wonders for these plants. Eastern facing windows are great. Western facing windows can be good too, but you’ll want to avoid placing your orchids in too much direct sun, especially if you live in a climate with very strong sun. Refer to my post on orchid sun scald to learn more about light for orchids.
My own water culture orchids are under grow lights. Specifically, I’ve been using an LED grow light from Horticultural Lighting Group (link to Amazon) for the water culture orchids (and for other plants as well). It has provided amazing results! In my set up, the orchid leaves are about 2 feet under light itself.
For a more economical lighting solution, the Barrina Day Light Glow 4000K shop lights are also amazing and highly recommended.
WATER LEVEL & FERTILIZER
The evaporating water at the bottom of the vase will provide a nice humid microclimate for your orchid. When the water level is almost down to nothing, replenish with fresh water. I like to use a very weak solution of fertilizer to water. For example, if your fertilizers says to use 1/4 to 1/2 teaspoon per gallon of water to use with every watering, I will use 1/4 teaspoon per gallons of water.
I’ve been using 1/4 teaspoon of Orchid Pro per gallon of water for my water culture orchids with great results, and recently switched to 1/2 teaspoon of Orchid Plus so I can compare and see which one they respond to the best.
You can mix up the solution in a gallon jug and use it as needed. Orchids are not heavy feeders, but using fertilizer regularly willl go a long way in maintaining beautiful plants!
If you need more guidance on fertilizer (because your choice varies depending on what type of water you use), read my blog post on fertilizing Phalaenopsis orchids.
OTHER REGULAR MAINTENANCE
- Over time, your glass will grow algae. Simply take your orchid out of the base and scrub it down with a soap solution in your sink, and place the orchid back in. If it’s too tricky to take your orchid out of the glass vase, simply fill it with water and dump it out a few times. The algae will not hurt your plant, but some people find it unsightly.
- You may find that some of the old roots will not like the transition to water culture, but you should see brand new roots growing at the base of the plant and these will be well adapted to the new growing environment. If at any point you see any dead roots, simply prune them off.
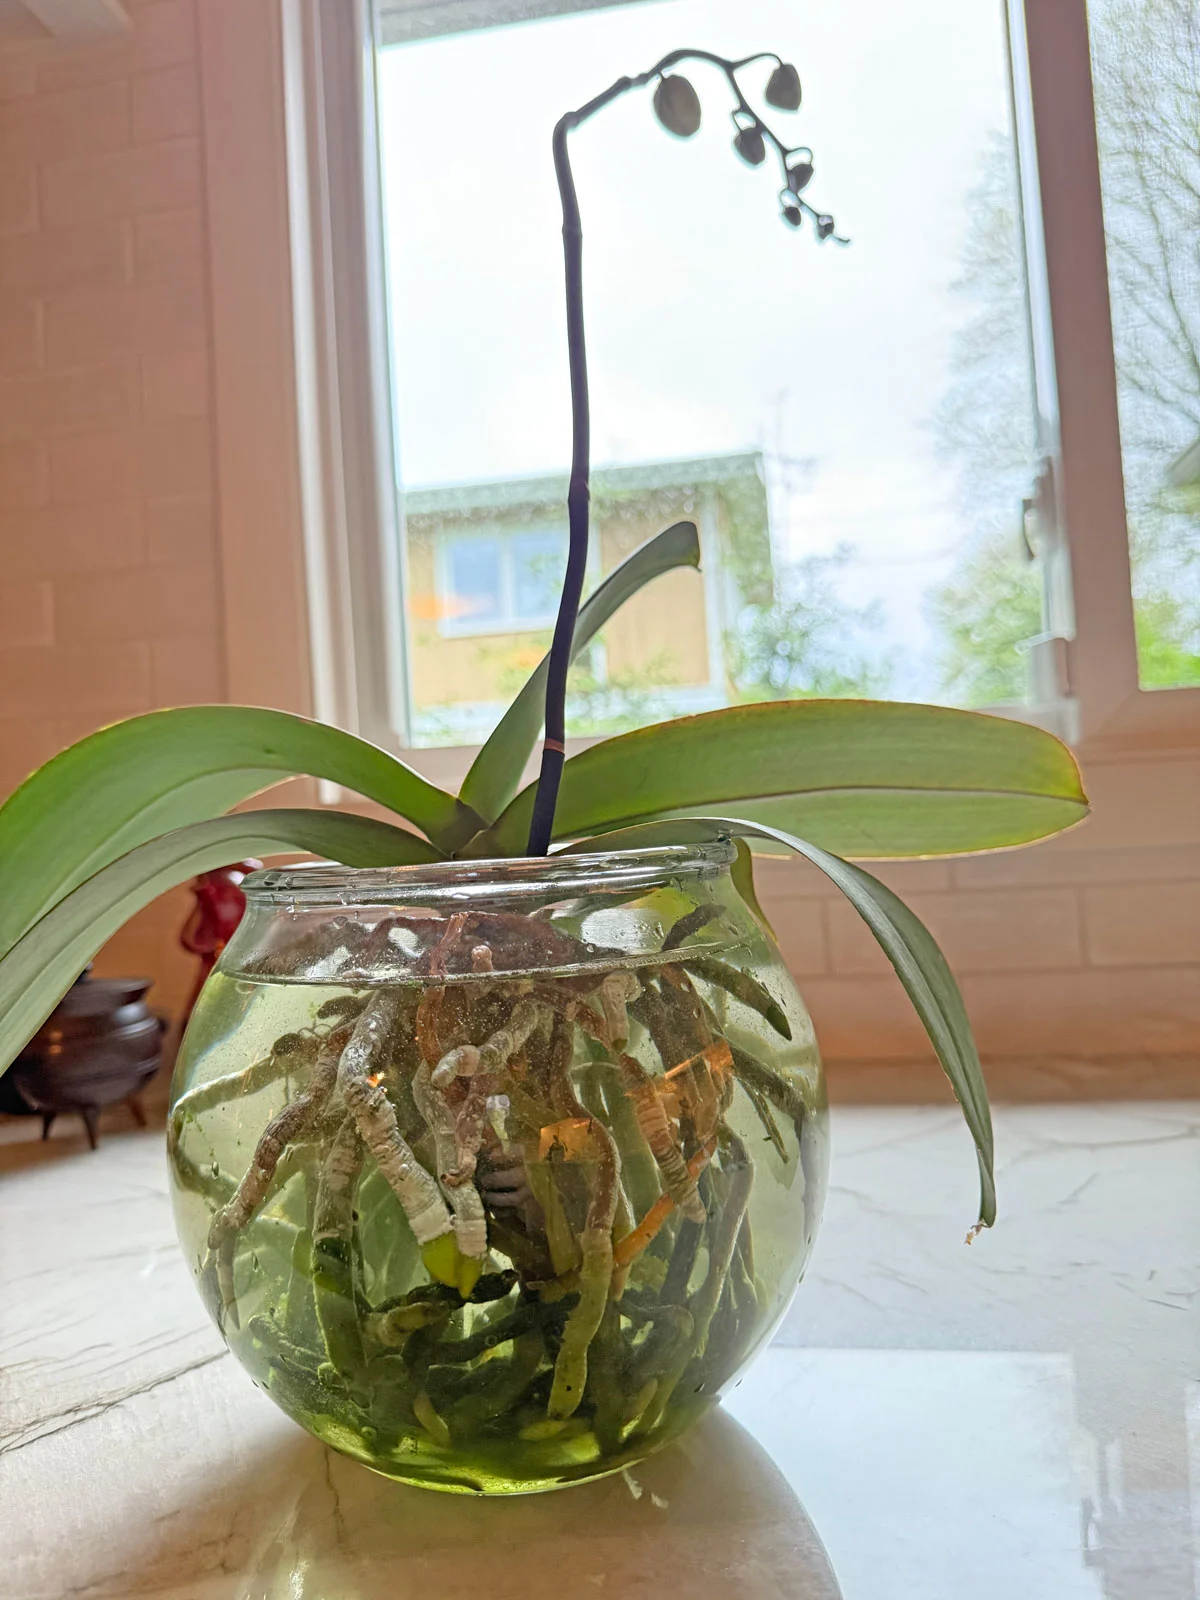
One last thing that I do, about once a month or so, is I’ll fill up all of the vase with water (like you see in the photo below), for about half an hour or so. This will help hydrate all of the roots. Then after half an hour, I’ll discard most of the water and only leave a little water at the bottom. I do not keep all the roots submerged. I only do this for half an hour.
I LOVE experimenting with growing orchids in different ways. I have over 100 orchids in my collection at the time of writing this post, and the number is growing. I grow in a variety of mediums including bark mixes, sphagnum moss, water culture, and I also have mounted them and have many of those configurations in my home and in my greenhouse.
If you want to see some other fun (and unexpected) ways to grow these plants, check out my post on different ways to grow Phalaenopsis orchids.
If you want to learn all about how to get your orchid to rebloom reliably and have healthy, thriving moth orchid plants, don’t miss my signature, online orchid care course, Become an Orchid Master. It also includes bonuses with support from me, personally, to guide you in your orchid journey!
I hope you’ve enjoyed this post on converting orchids to water culture. Have you tried it yet? Comment below and let me know!
If you’ve enjoyed this post, please Pin to your Pinterest!




Cindy
Wednesday 22nd of October 2025
Do you fertilize every time you add water to the container or is it once a month or once a week etc
Raffaele Di Lallo
Wednesday 22nd of October 2025
Hi Cindy! I use the fertilizer water all the time, and then maybe once a month or so, I'll empty the glass vase and use plain water to rinse all the roots.
Dina Nimry
Tuesday 9th of September 2025
Very well and easily explained. Excited to experiment with water culture. Thank you 🙏🏻
Raffaele Di Lallo
Tuesday 9th of September 2025
Glad you enjoyed it Dina!
Roda
Monday 14th of April 2025
Thank you for ur post. Ive tried water culture but ive not had the plants flower maybe becoz i dont fertilize, i didnt know how. What fertilizer are you using so i can try.
Raffaele Di Lallo
Tuesday 15th of April 2025
Hi Roda! For my water culture orchids, I'm currently using Orchid Pro. I have my plants under grow lights so you should also ensure that your plants are getting enough light or they might not bloom.
Susan
Monday 24th of February 2025
I started growing my orchid in water over 2 years ago and it is doing beautifully. Your info has taught me a lot. Thank you sooo much 🙏
Raffaele Di Lallo
Tuesday 25th of February 2025
Glad you're enjoying it Susan! :-)
Mummu
Saturday 21st of December 2024
I was just looking through my tablet and found your article and read it. I have trouble with growing orchids so I’m going to try this. I have read so many articles on the net but don’t get to good results. I will try this and see what happens.
Raffaele Di Lallo
Saturday 21st of December 2024
It's fun to try. Keep me posted on your results :-)