Some of the links in this post may be affiliate links.
Here is my step-by-step tutorial on how to make an easy macrame plant hanger. I’ve included photos for each step, and once you start, you won’t be able to stop making them!
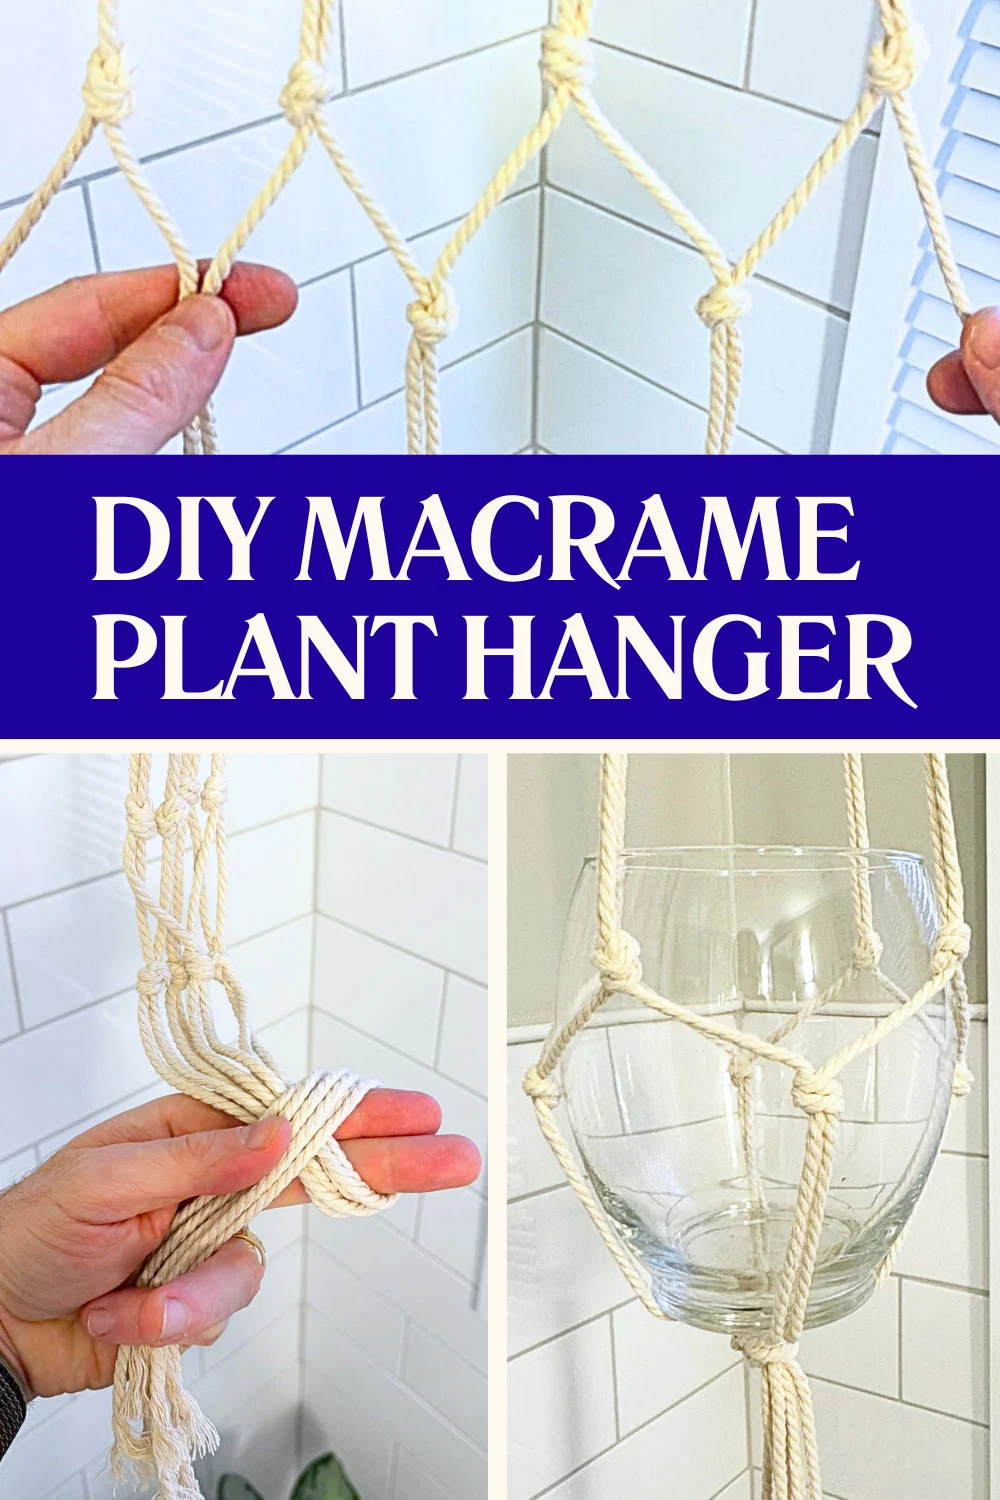
DIY EASY MACRAME PLANT HANGER
All you need for this project is a pair of scissors, macrame cord, and a tape measure. I used a 4mm diameter, 100% cotton macrame cord (link to Amazon), but you can use any other materials. I used a cream colored cord, but it also comes in different colors!
First, calculate the length of cord to cut. You’ll want to measure out 100 inches of the cord then simply add the diameter of the pot that you plan on using in the hanger. In this tutorial, I’m hanging a glass vase that is 5 inches wide, so simply add the two: 100 inches + 5 inches = 105 inches. (If you are using centimeters, you’ll add up 254cm plus the diameter of your pot in centimeters).
Then cut 4 separate cords of that total length. In my case, I cut 4 cords that were all 105 inches long. Next, lay them out on a table or a floor like I show in the photo below. Find the center point and make an upside-down U like you see in the photo below.
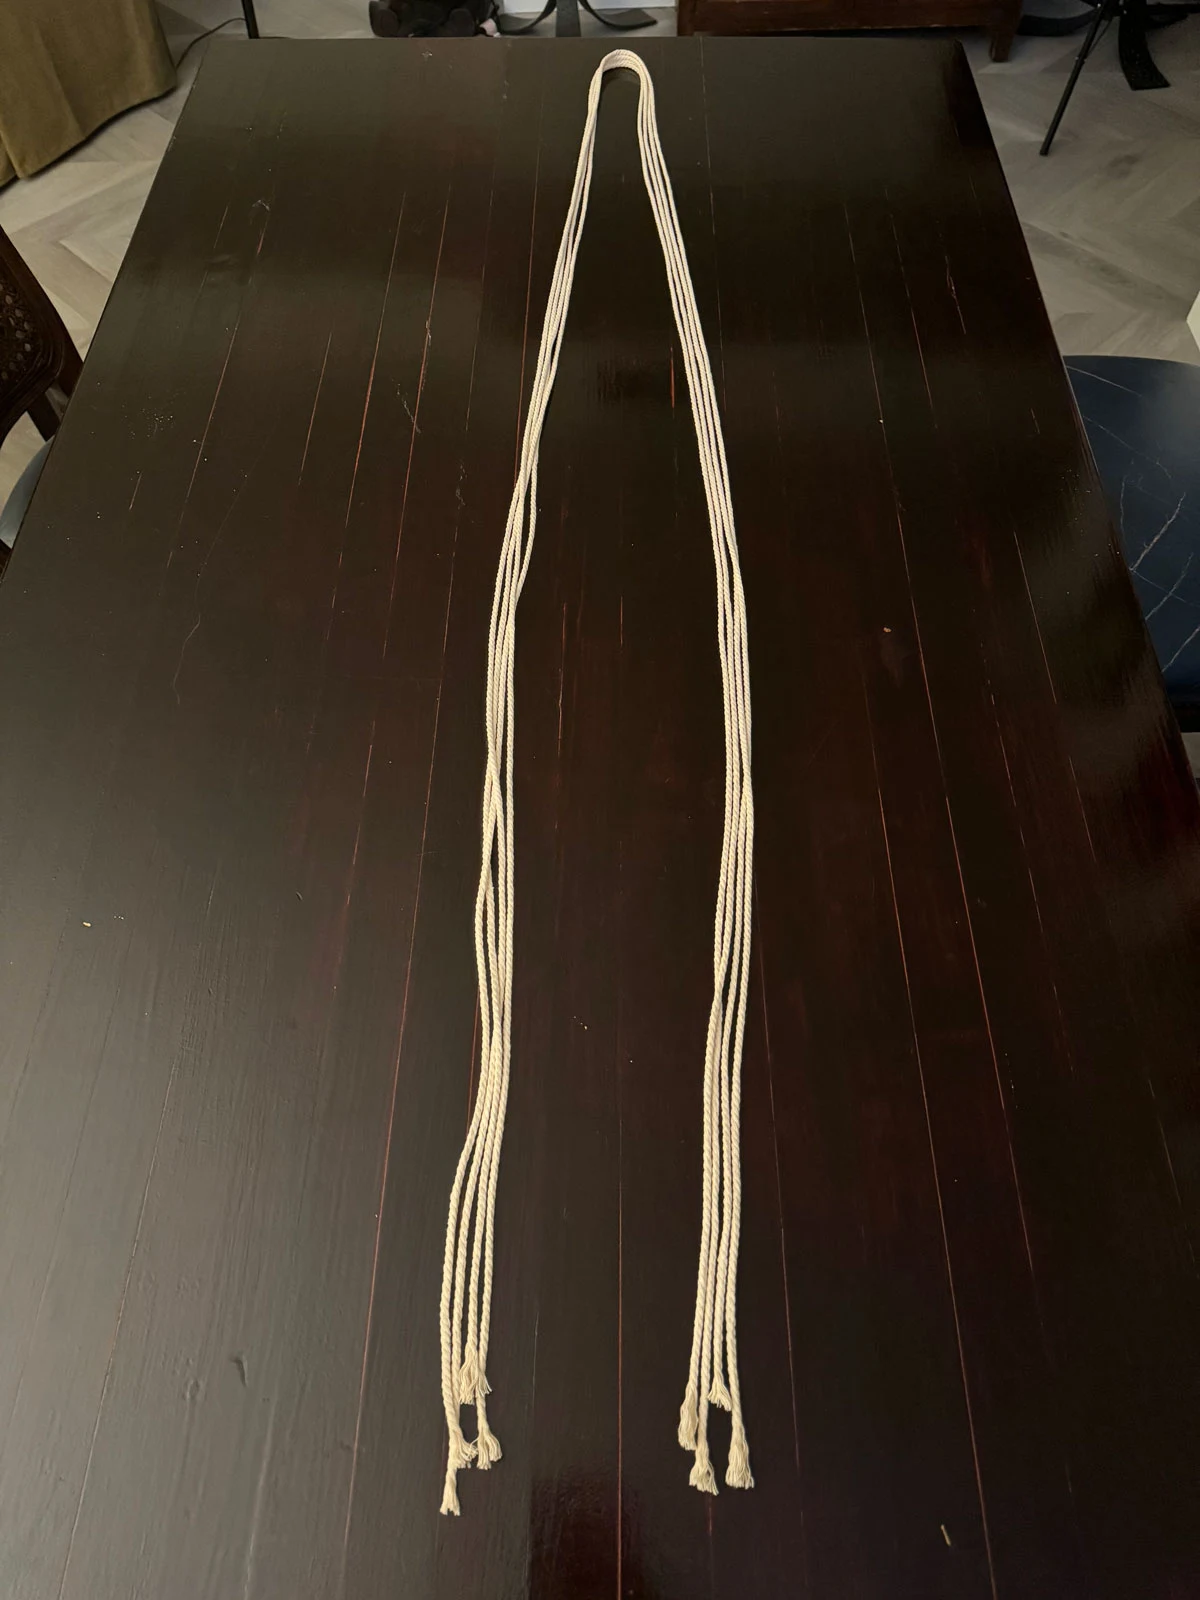
Then you are going to grab the top of the cords, and make one big knot. This will be the top of the hanger that you will hang from the ceiling.
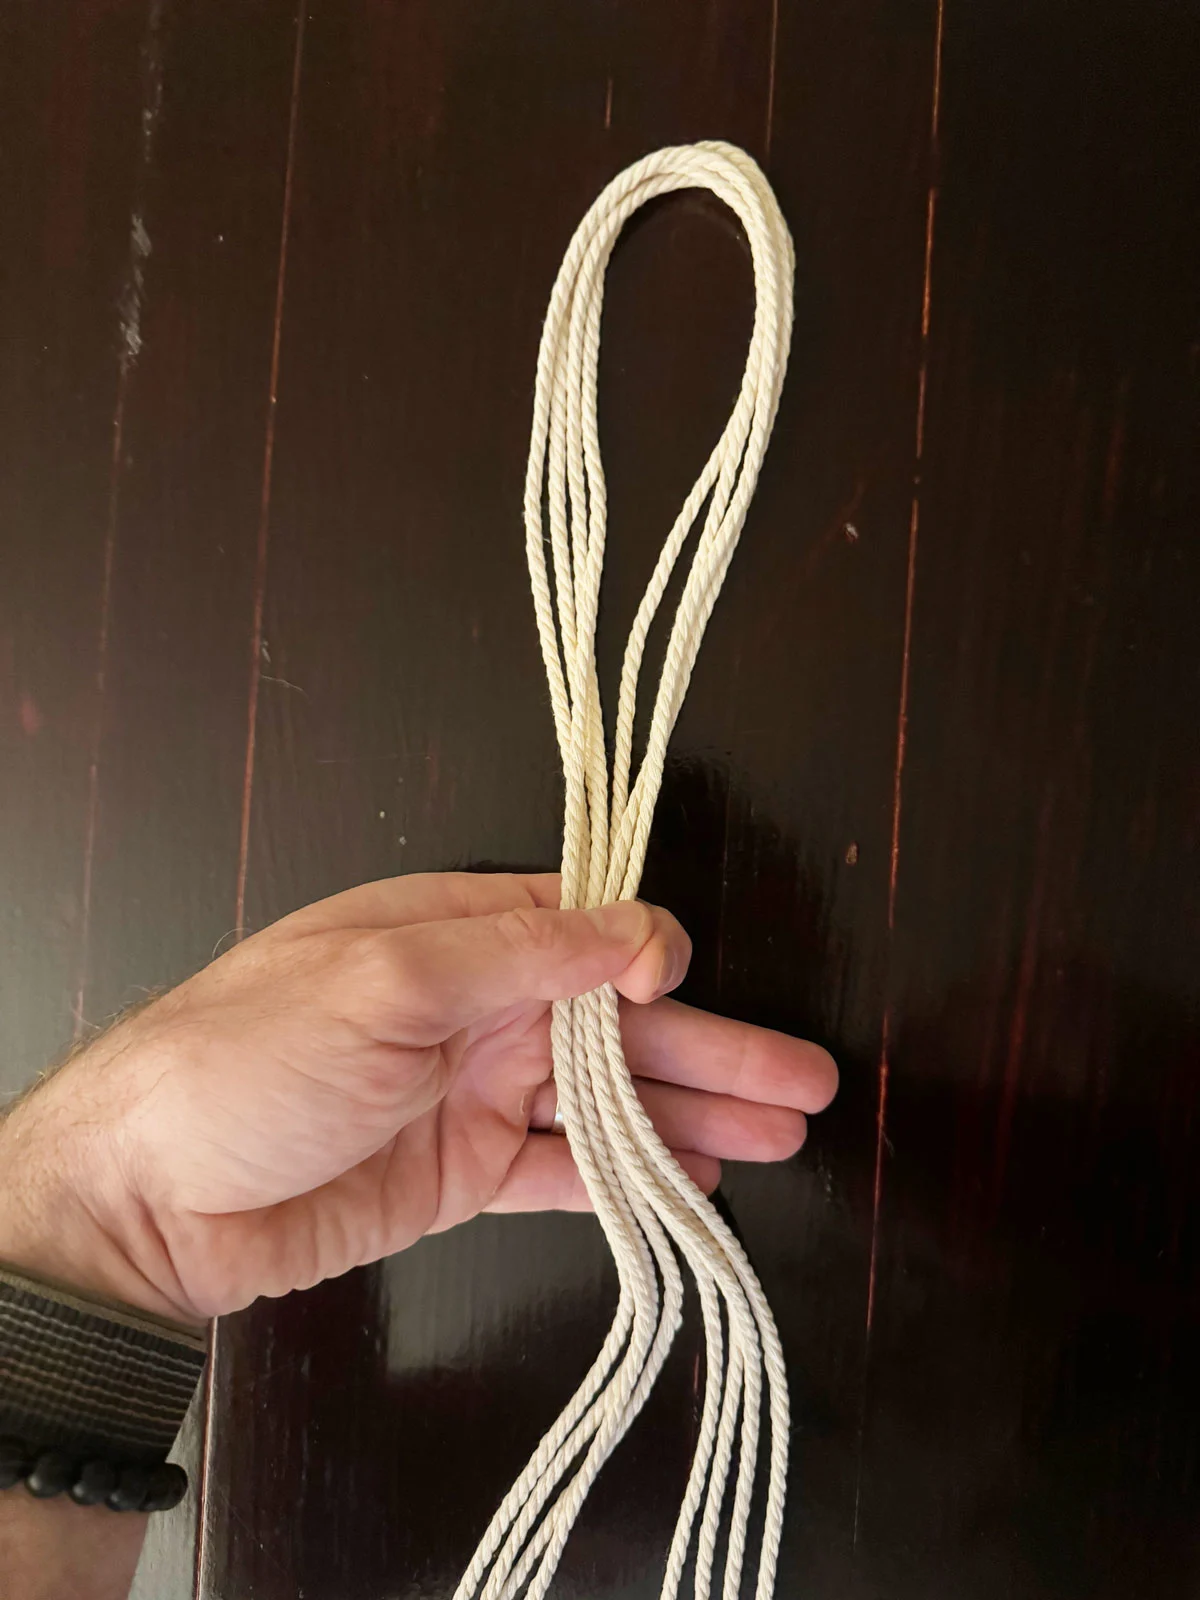
Proceed to make one big knot.
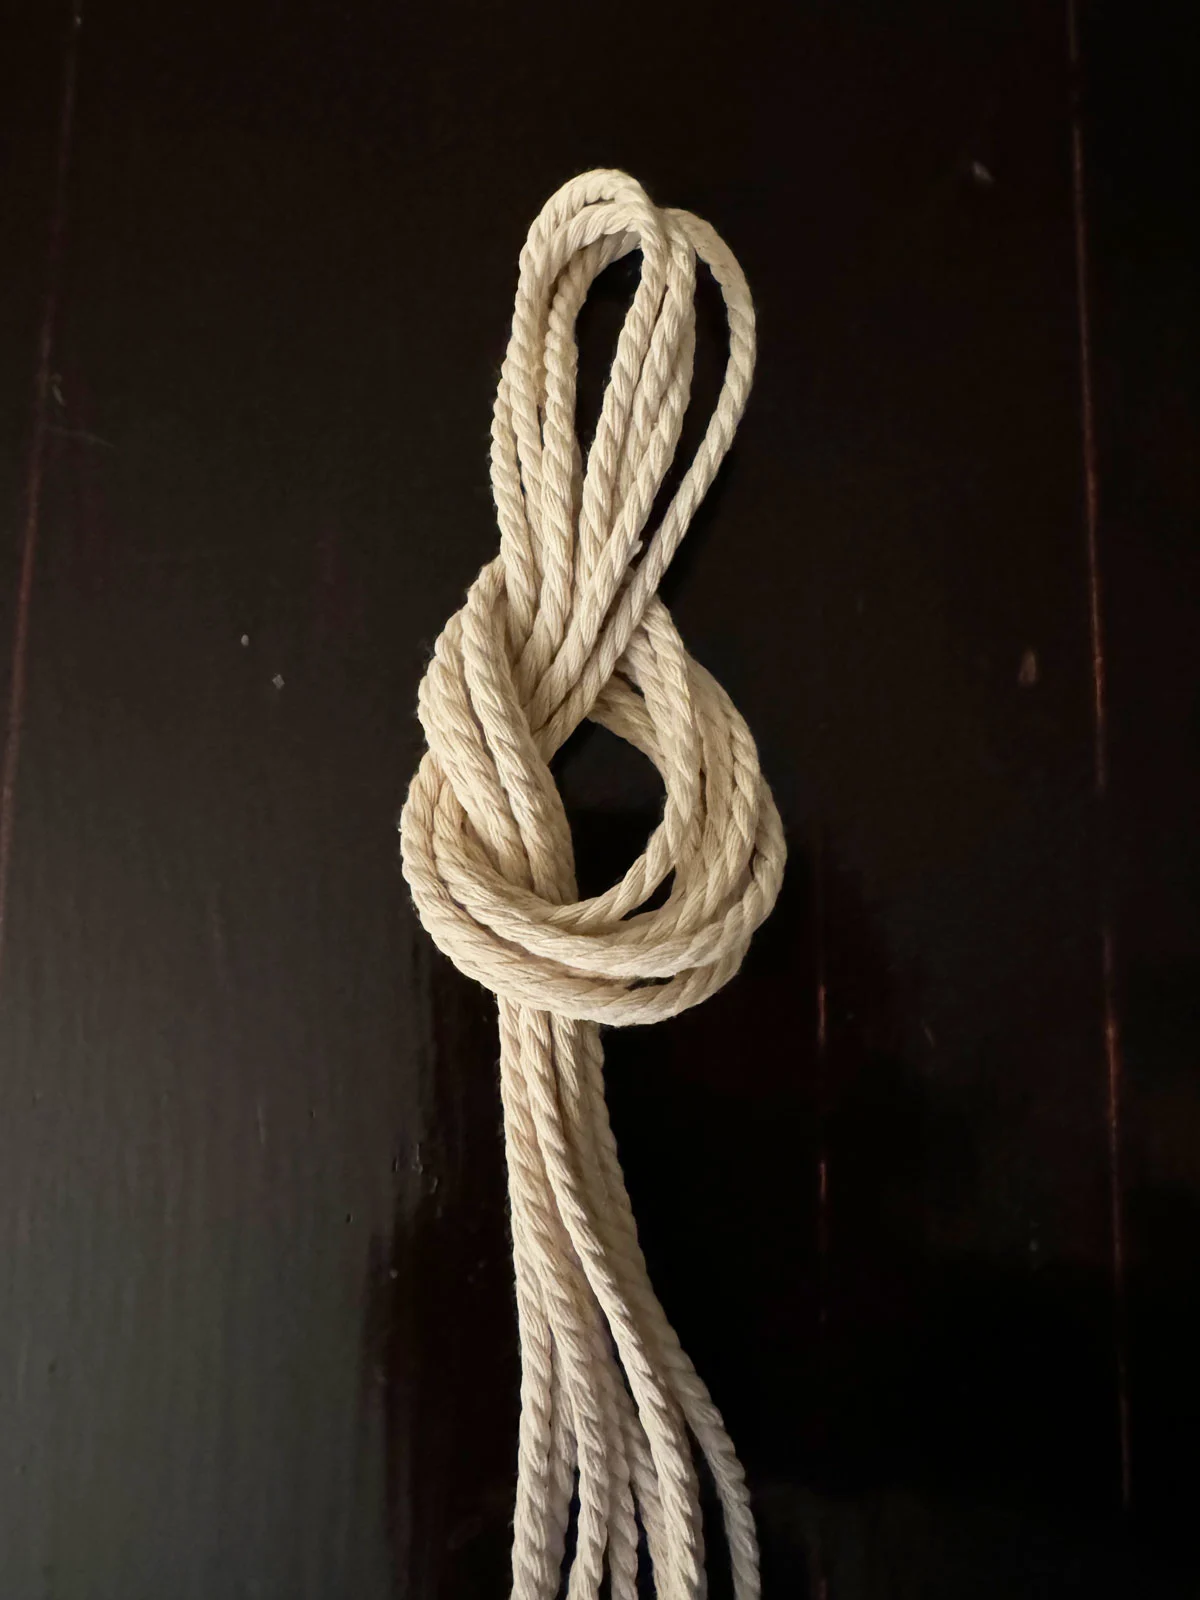
Then tighten up the knot!
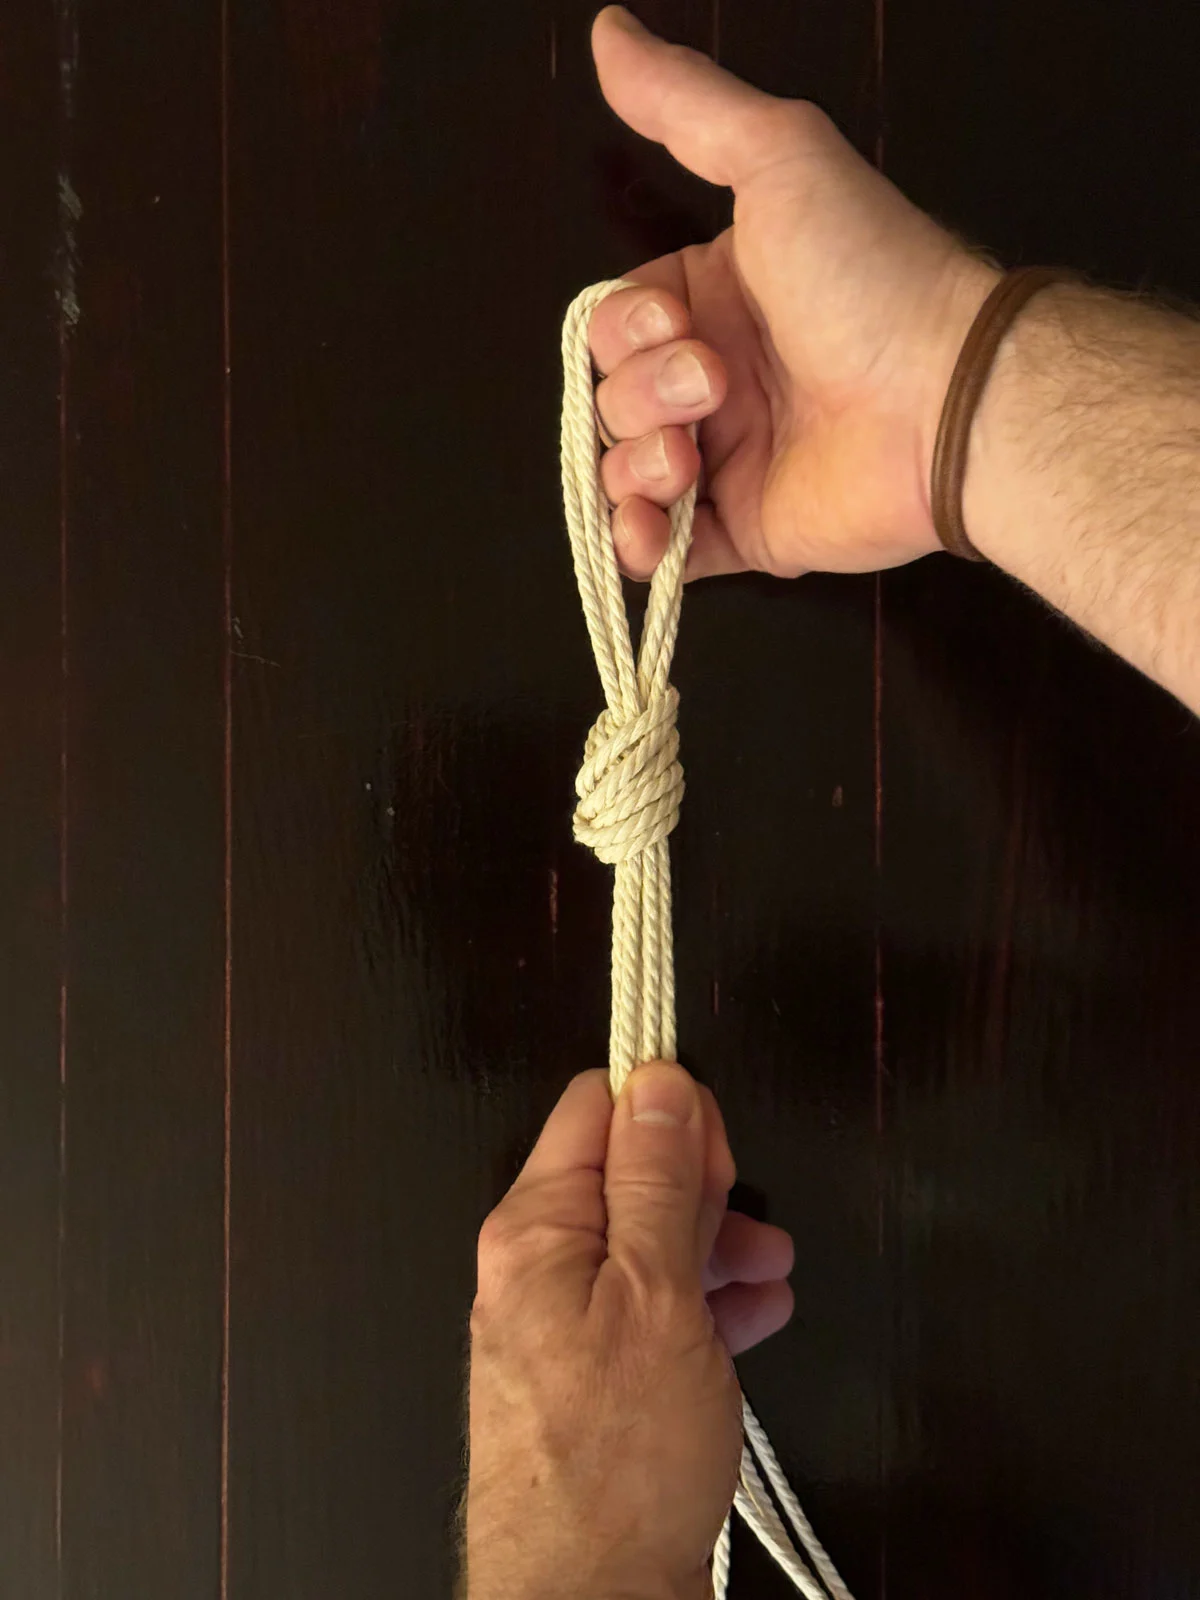
In order to make the knot clean-looking, you can hold the top loop with one hand, and then individually pull on each of the bottom cords, like in the photo below, to make a nice, clean, tight knot.
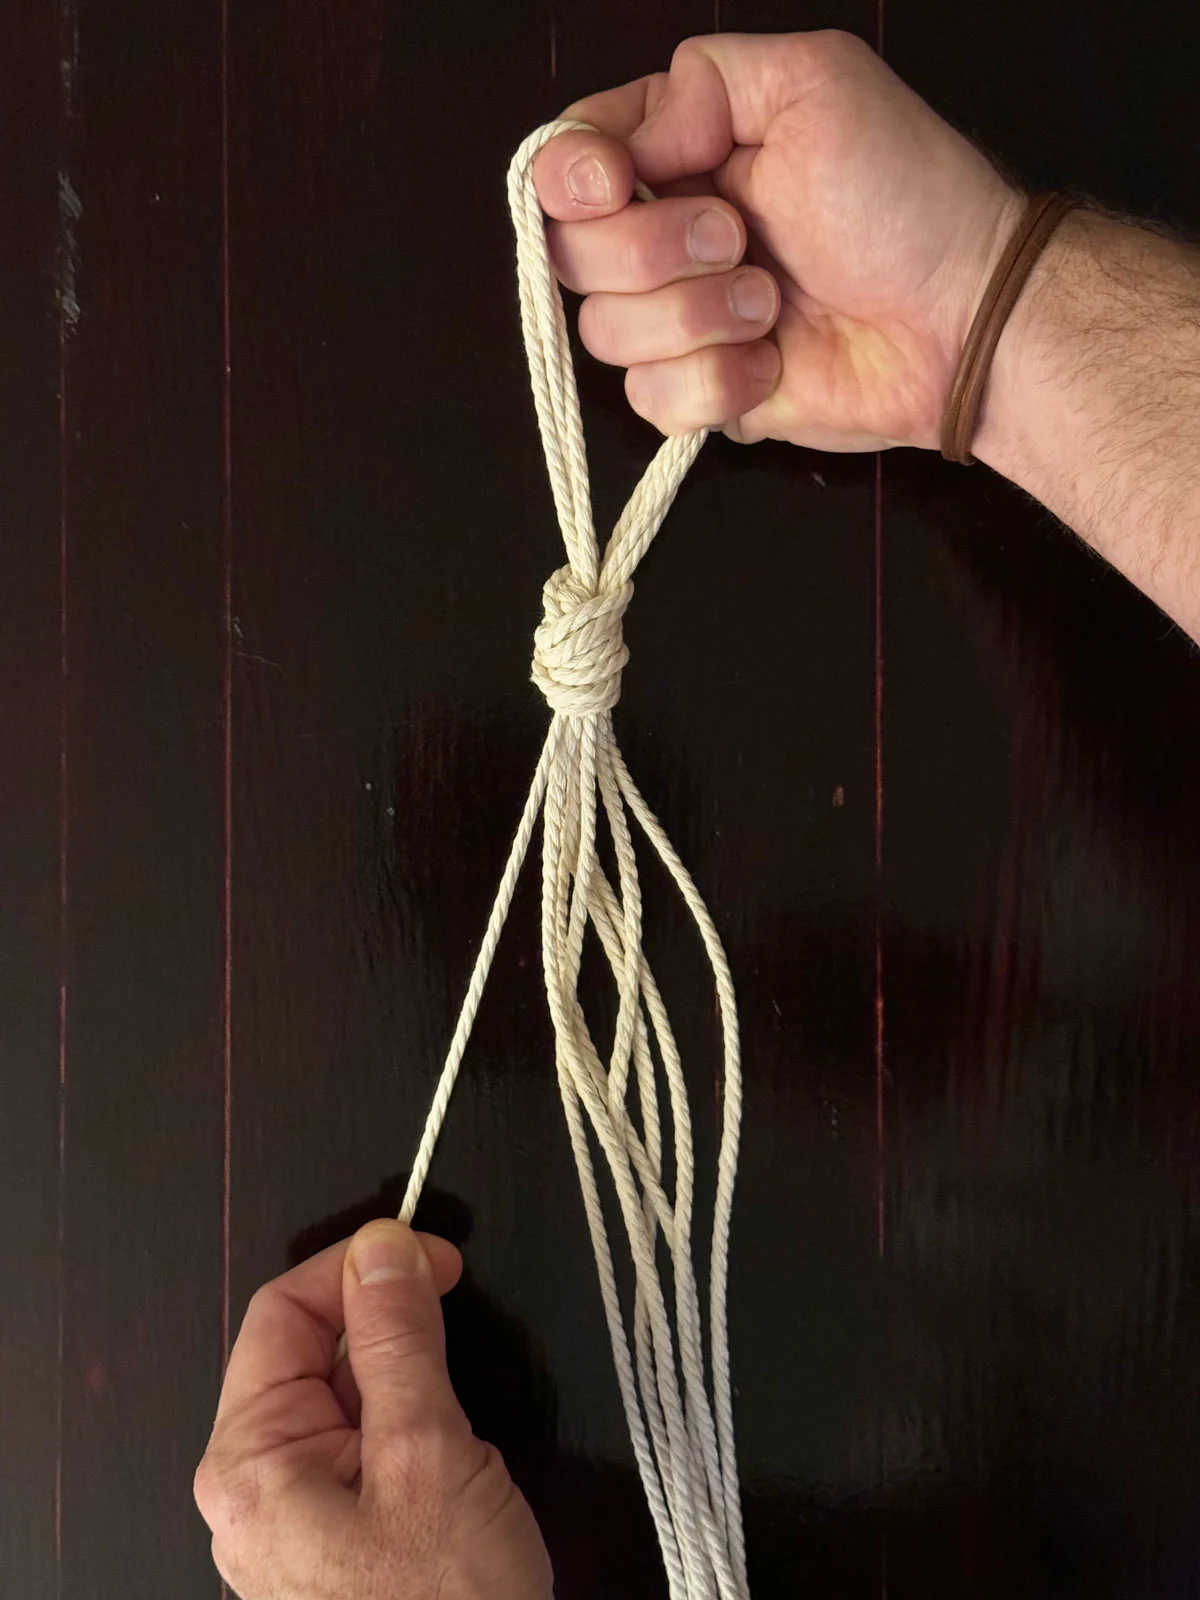
Here is what mine looks like at this point!
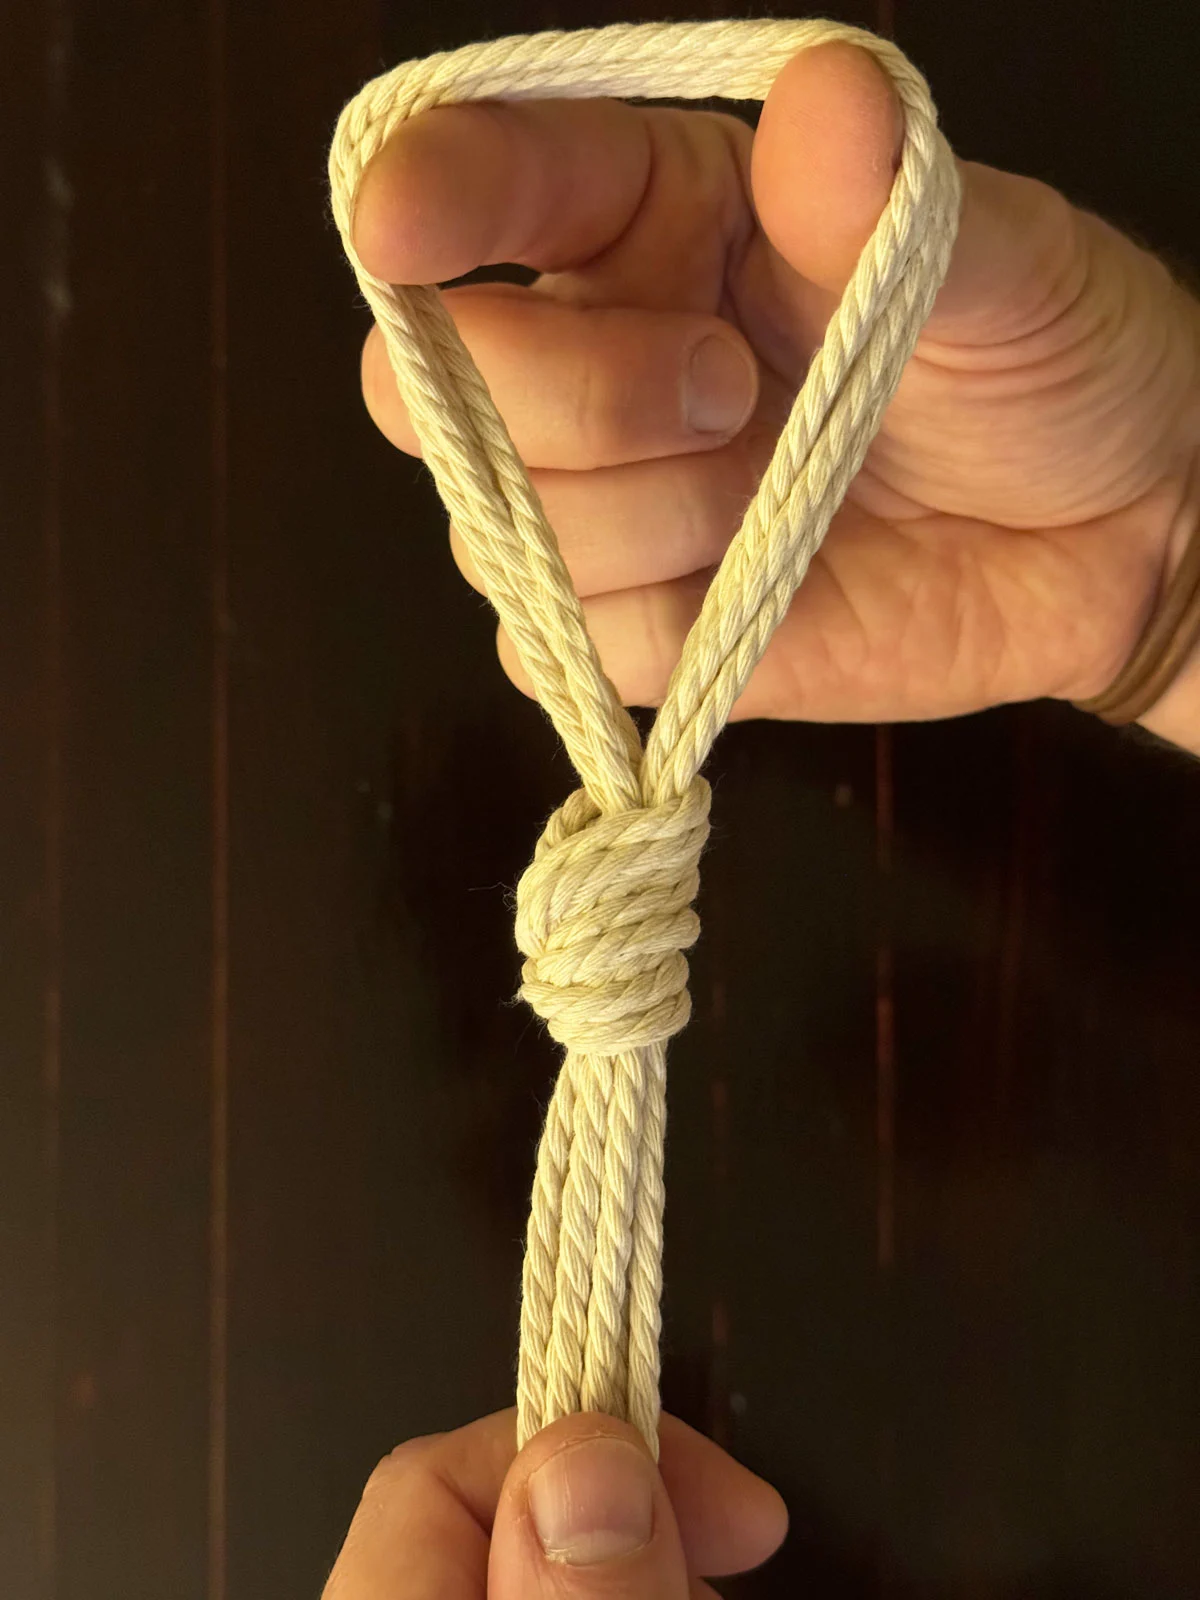
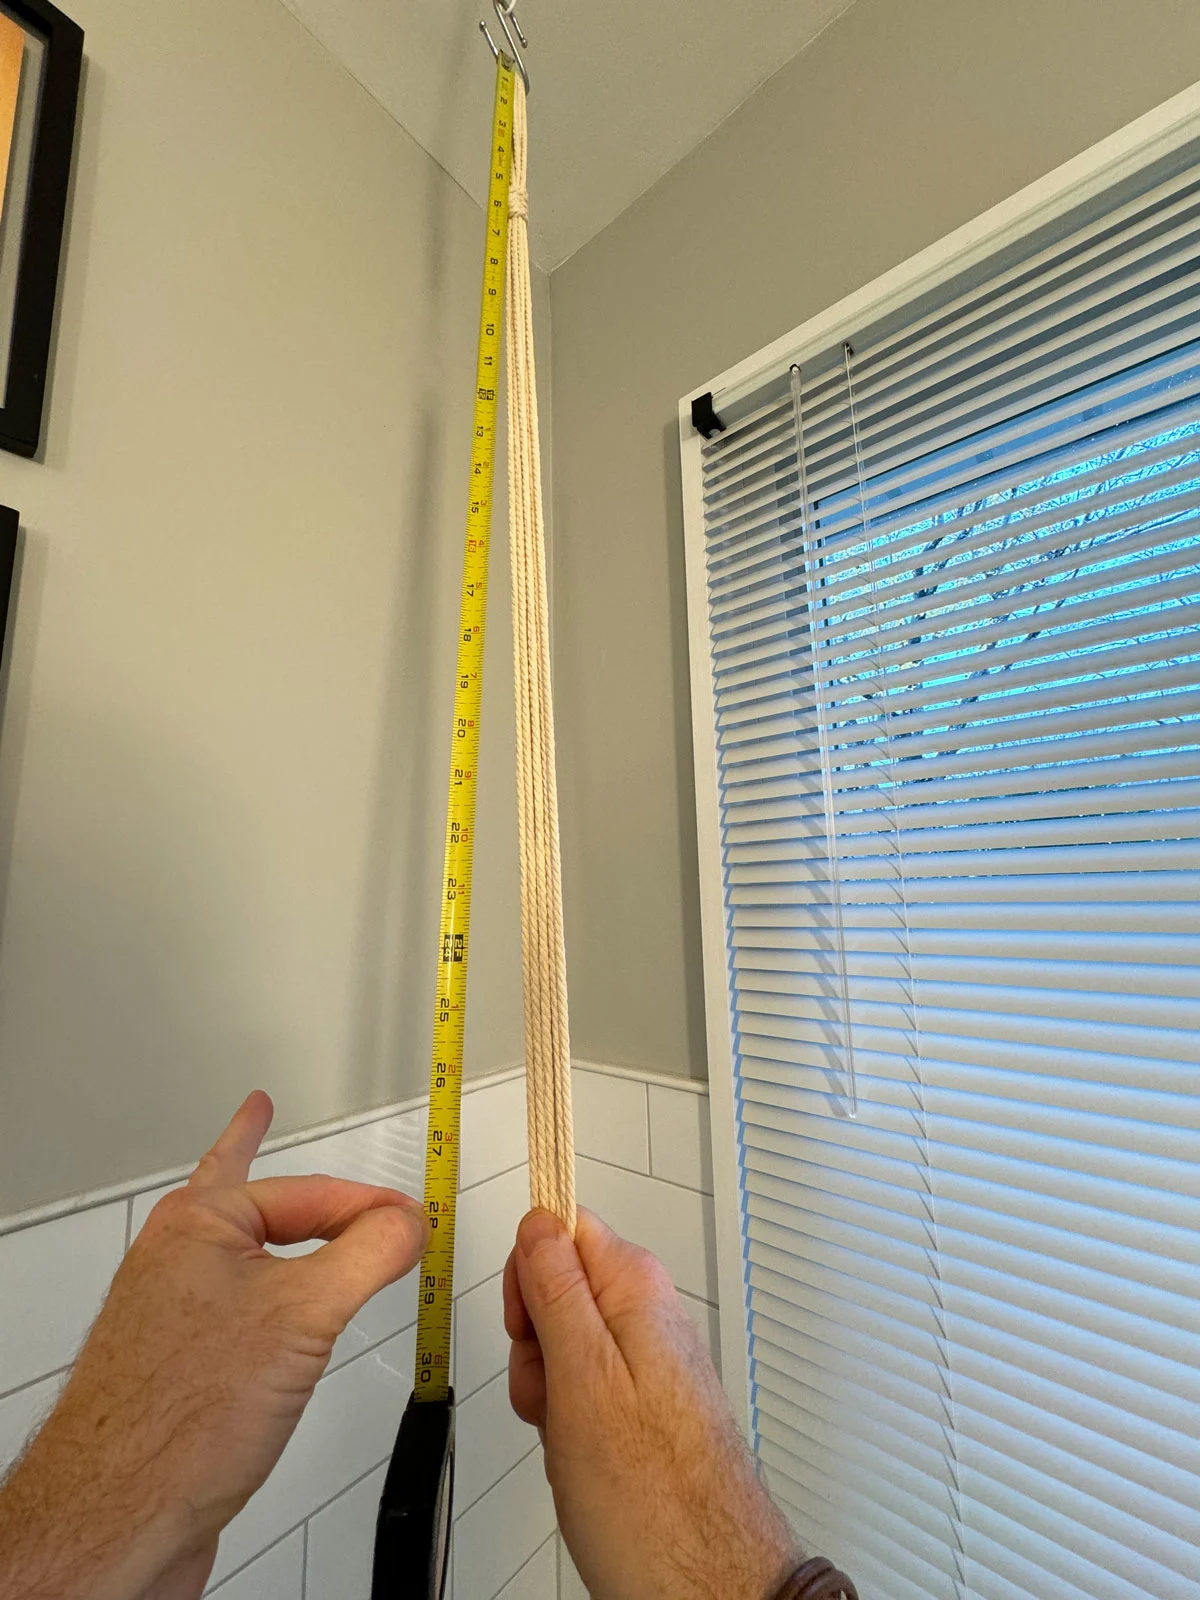
Next, you will want to hang your creation from a ceiling hook so you can keep going with your project. You can play around with the height of where the pot will go, but in this example, I measured 28 inches down from the top of the hanger. At this point, I will start to make additional knots.
For this next part, you will make knots with two cords at the same time. So you’ll make 4 total knots, and the knots will be 28 inches down from the top (you can make it less, or more, depending on your window). I splayed them out like you see below to make sure that the top doesn’t look weird with any cords crossing each other.
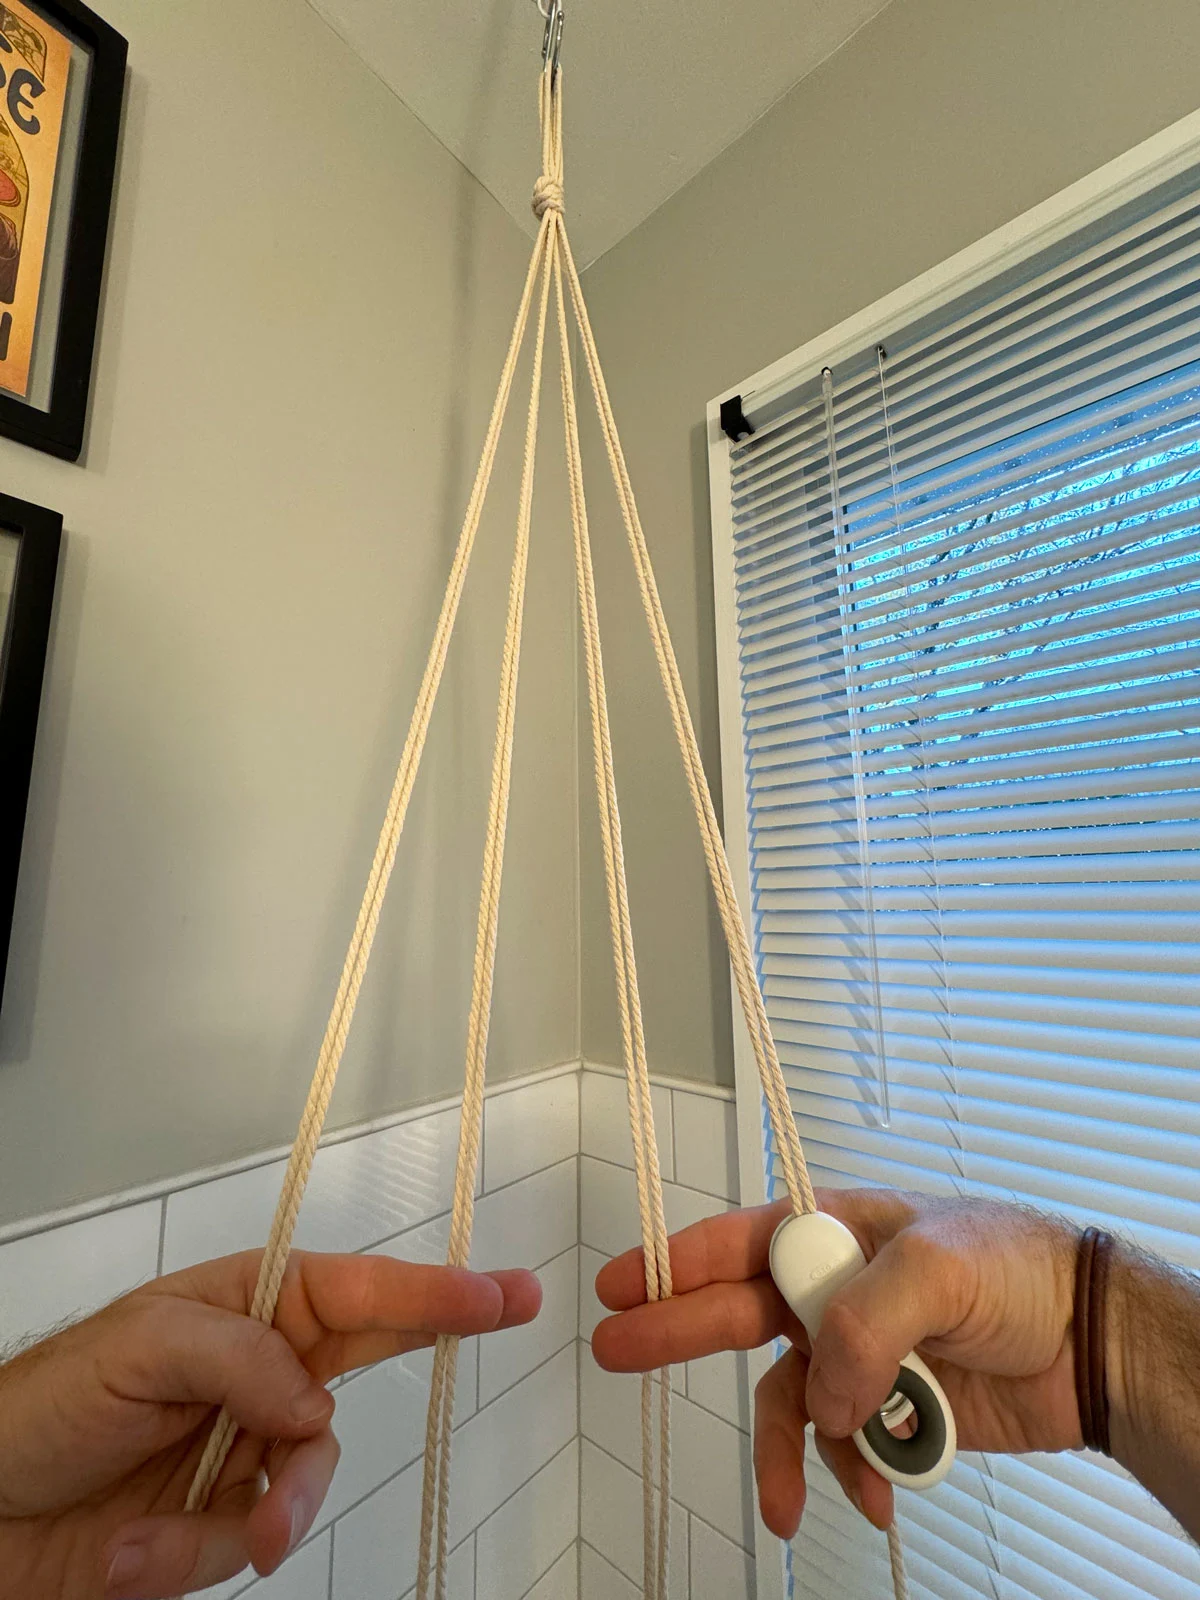
After I tied the 4 sets of 2 cords together, this is what it looks like. As you tie each knot, just make sure that they are at the same level so your hanger looks uniform.
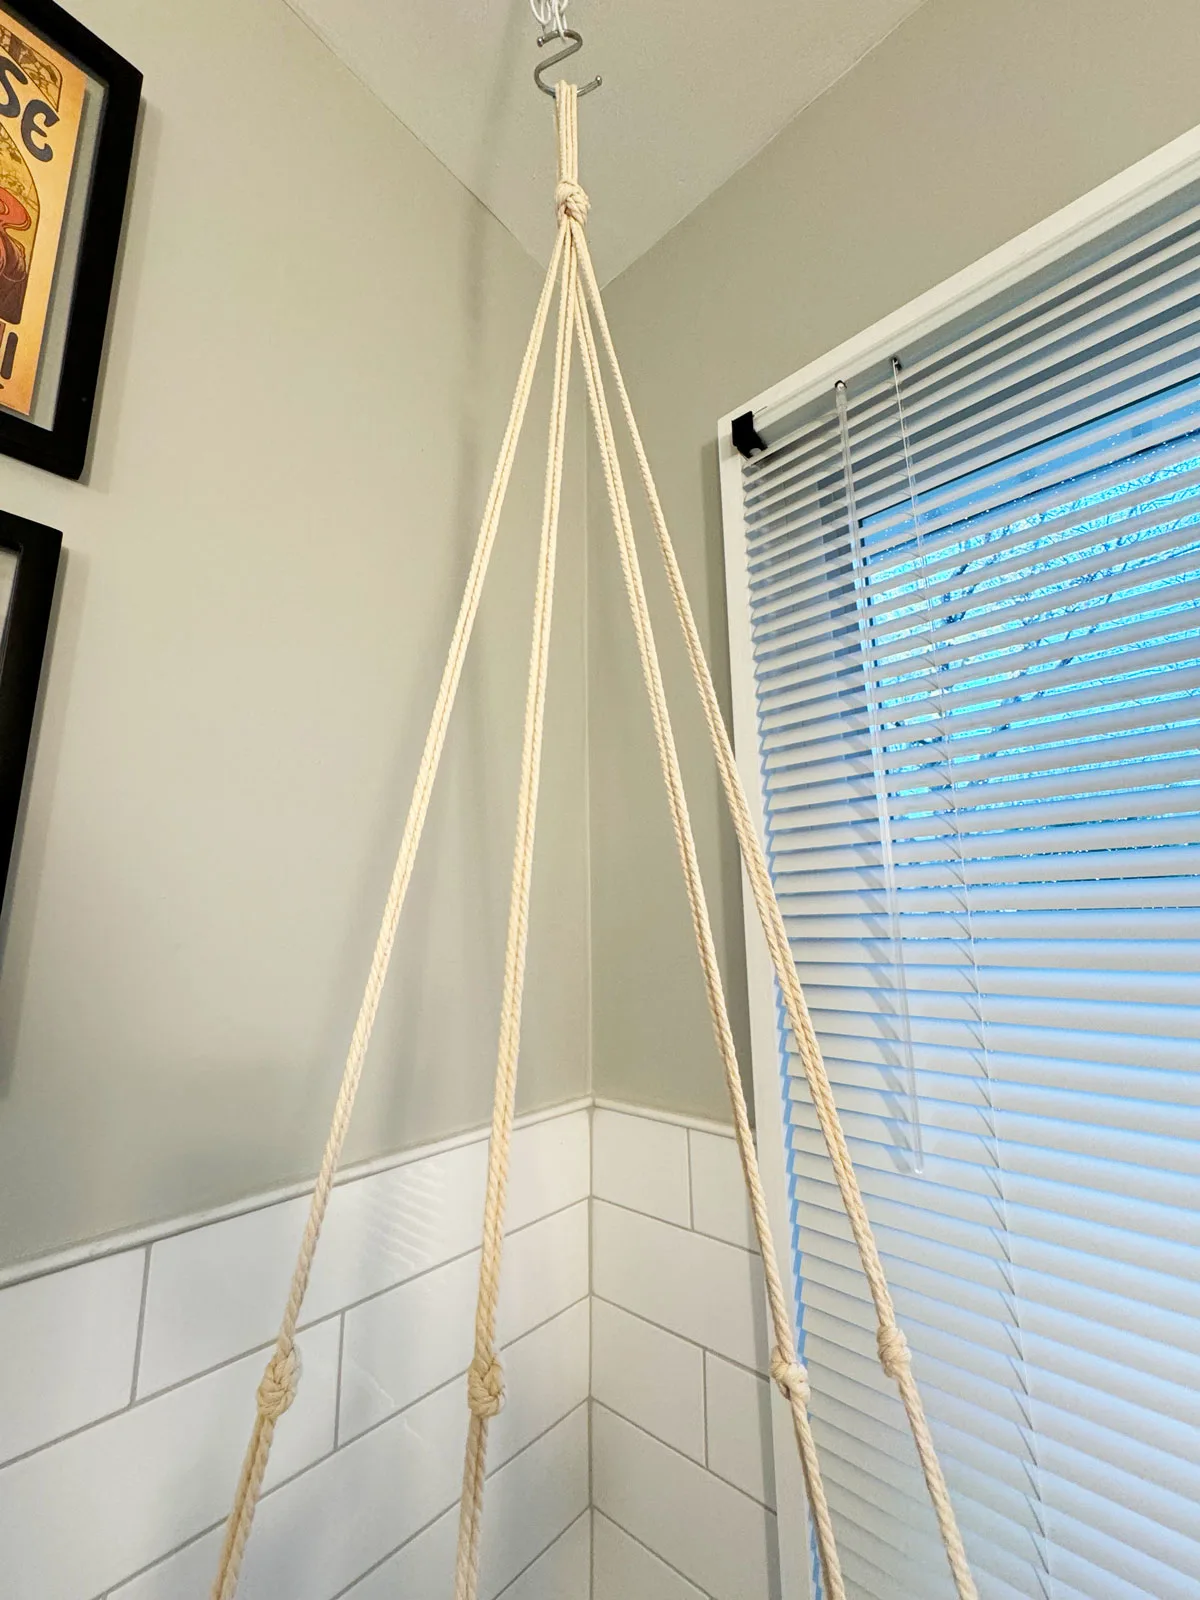
(Keep in mind that the top of your pot will be just a little above this initial set of 4 knots, so if you want the pot higher, go ahead and adjust where the knots are and you can make them less than 28 inches from the top.)
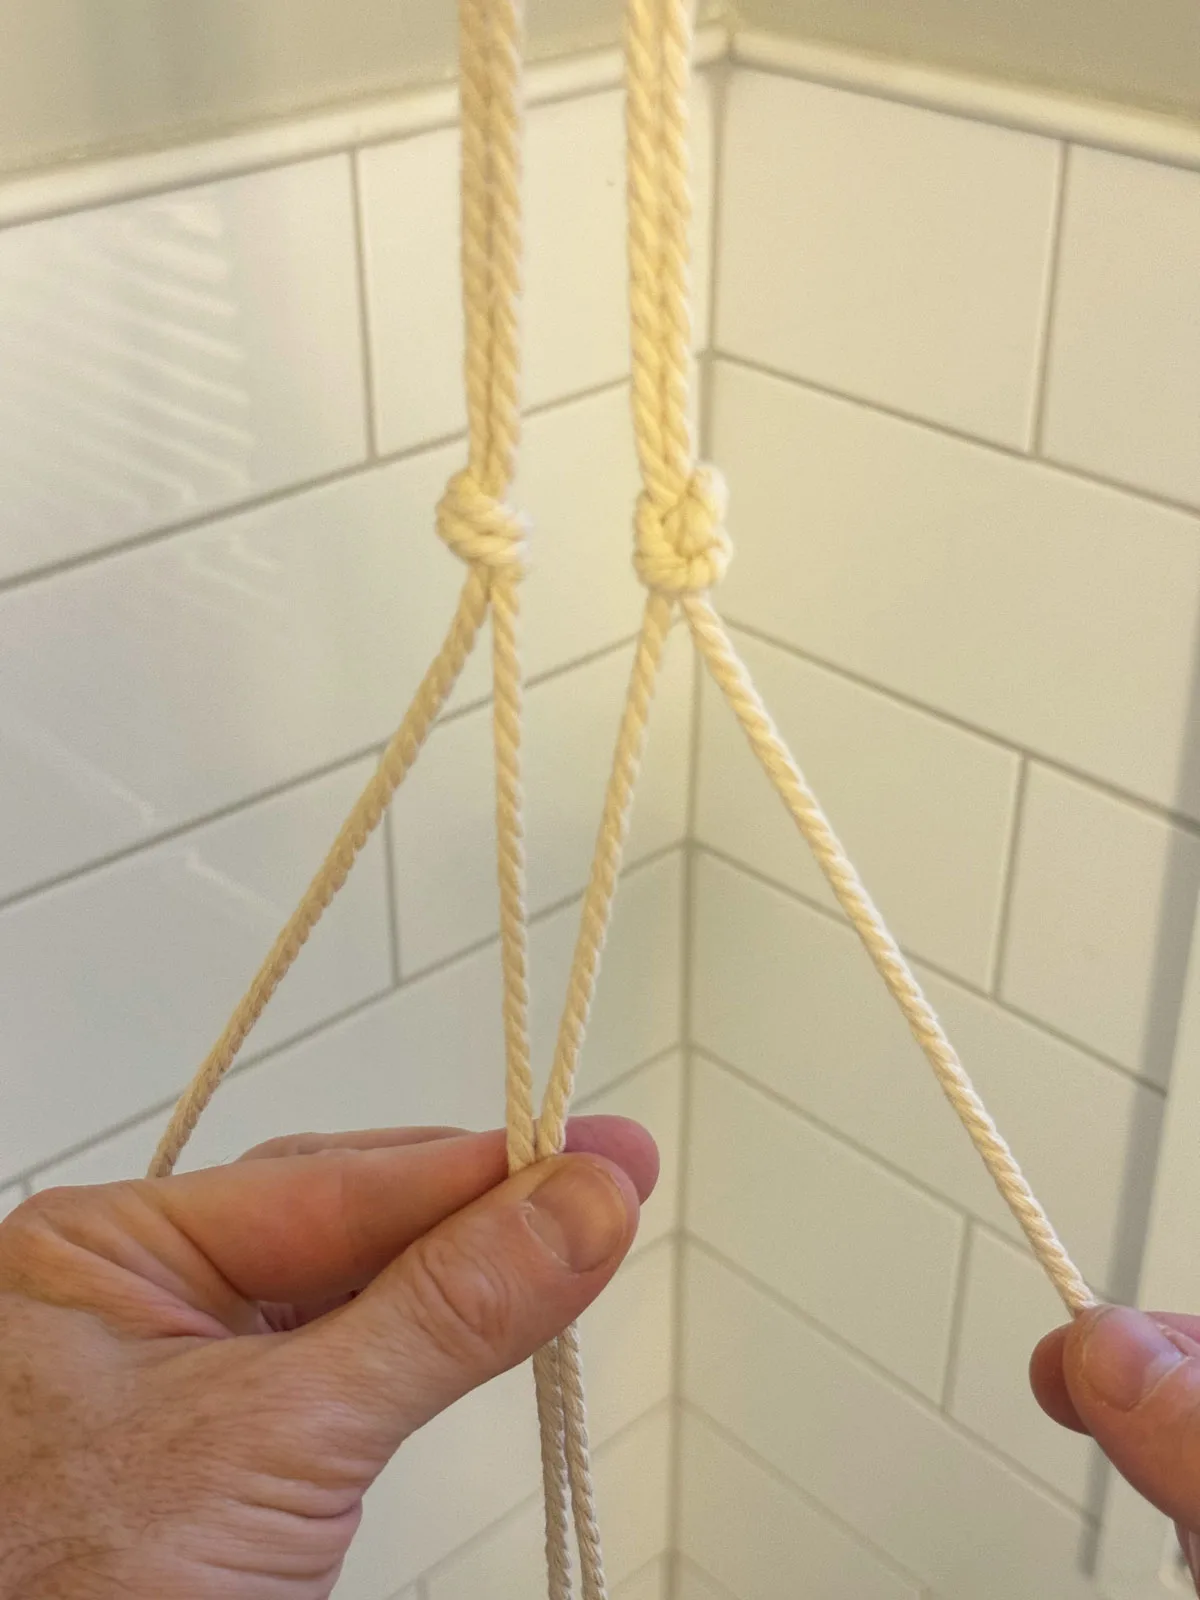
Next, you will tie 4 more knots below the ones that you’ve already done. Start by placing two of the knots that you already made, and place them next to each other. You’re going to take the two middle cords, like I show in the photo below, and tie a knot right there (indicated by my left thumb in the photo). Just make sure that the distance between the upper knots and the lower knots is LESS than the height of your pot.
Here is what it looks like after I’ve made the first of 4 lower knots.
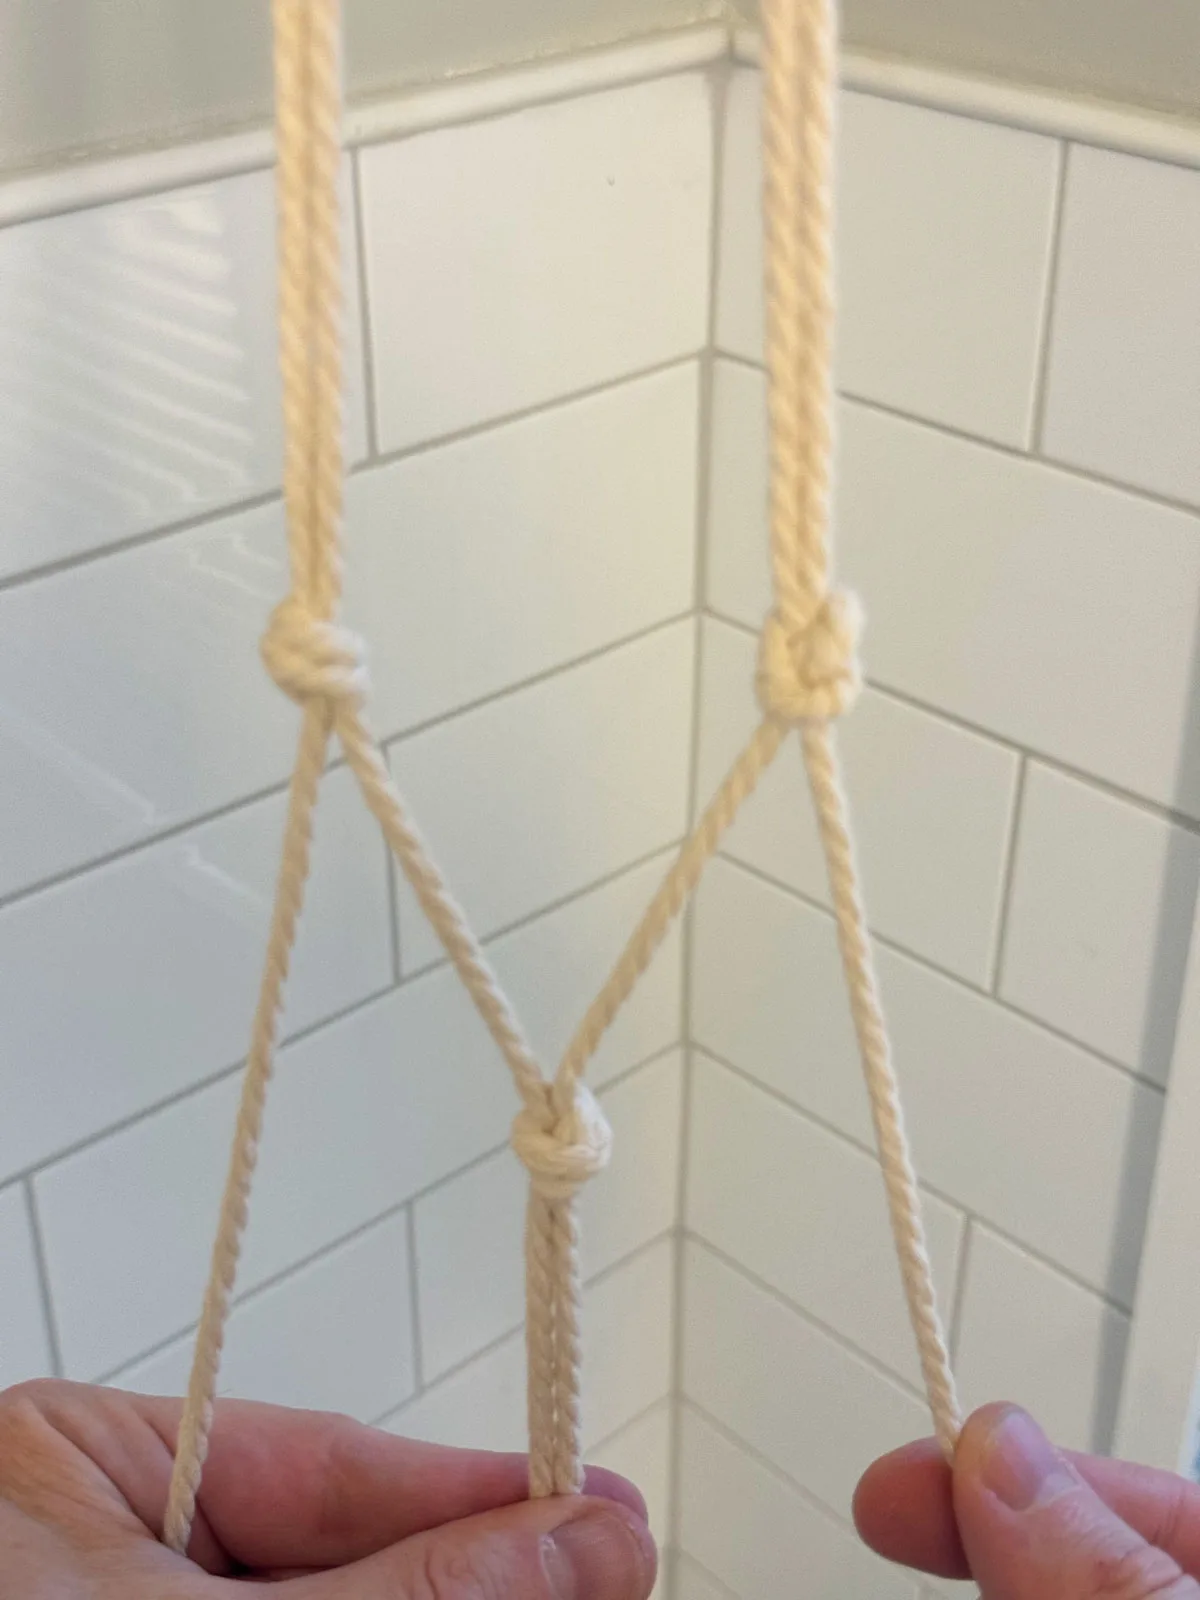
Next, bring over another pair of cords, and you’ll repeat the process. You’ll tie another lower knot (where my left thumb is in the photo below.
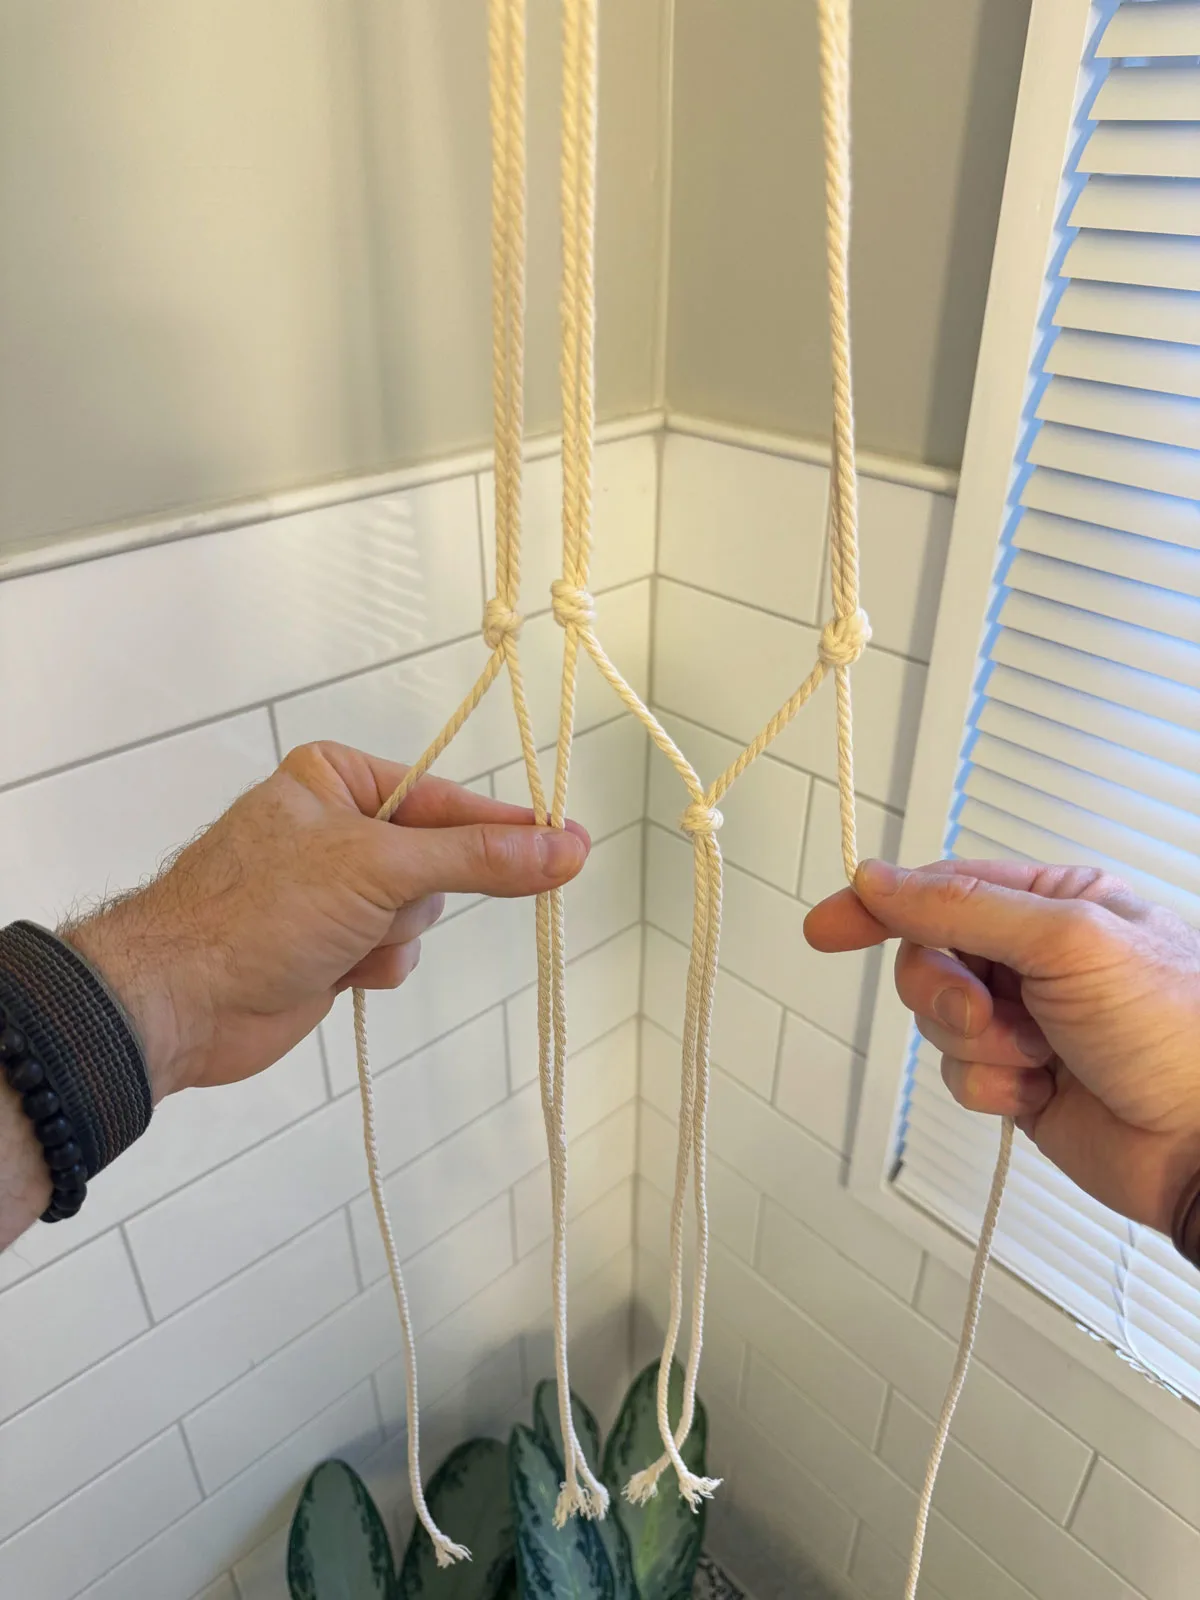
And now it looks like this!
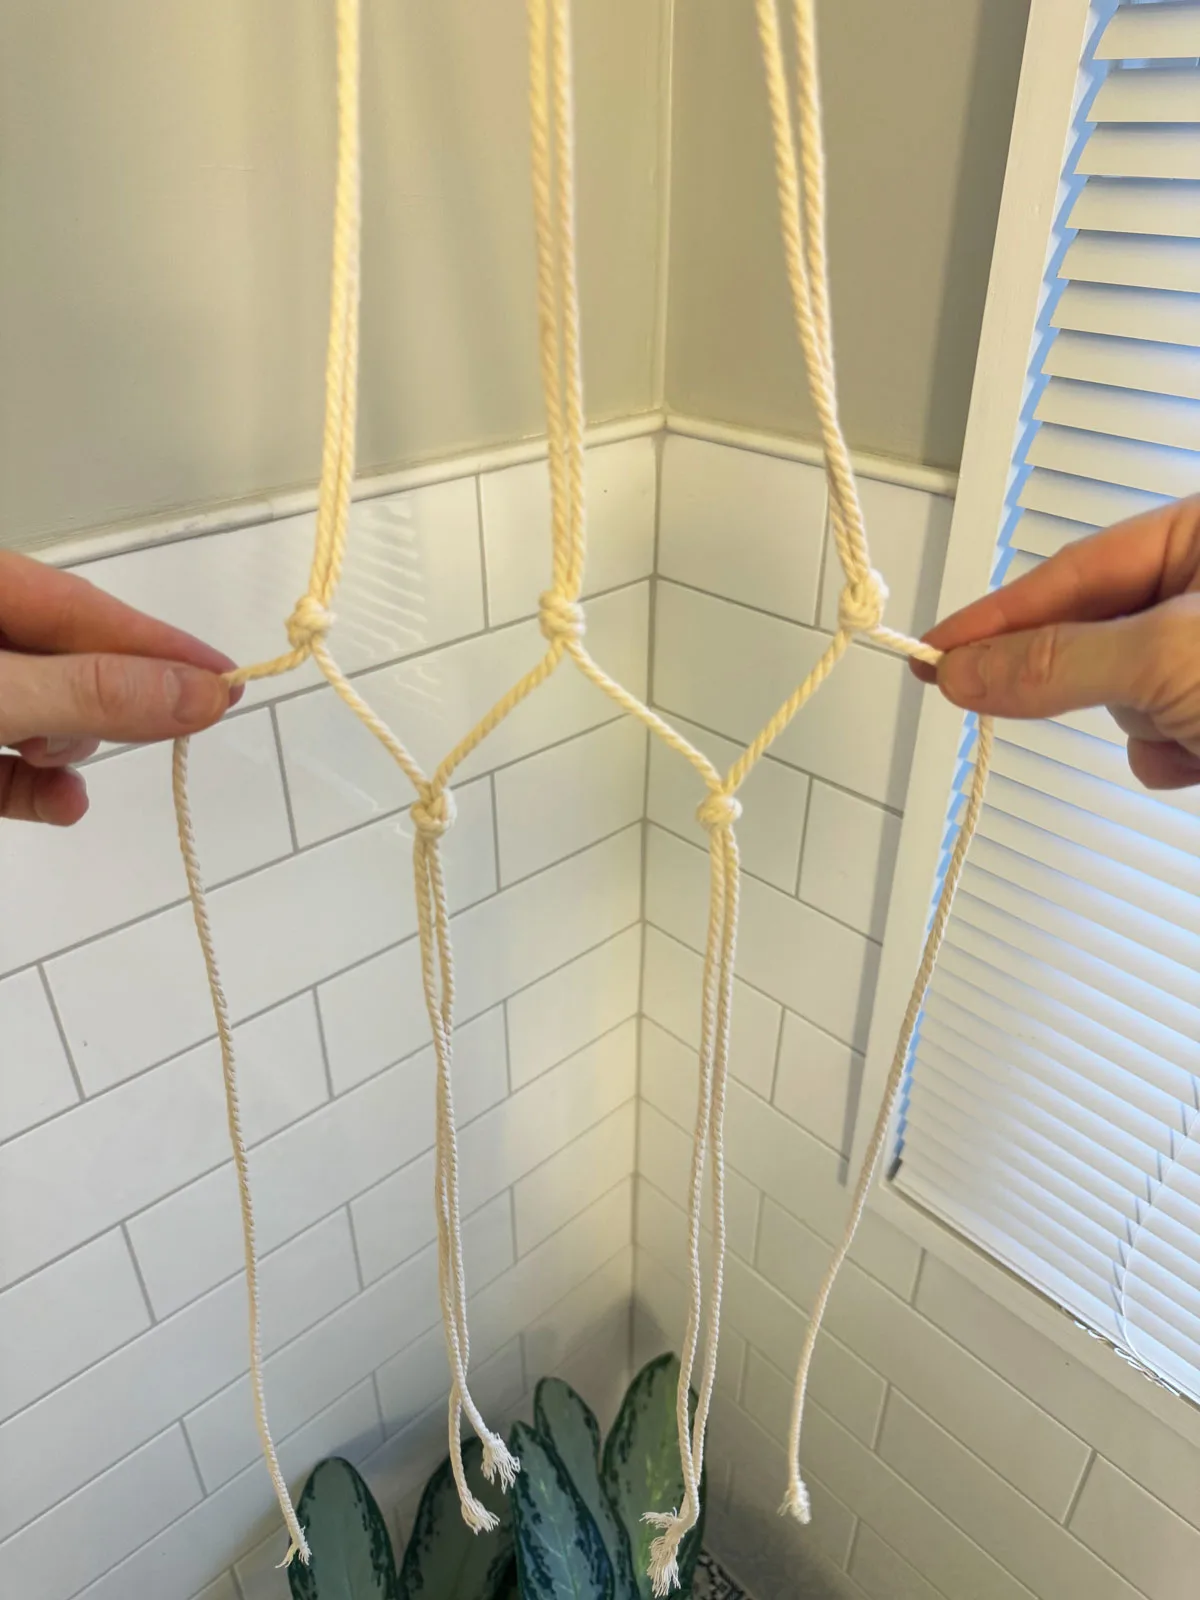
Repeat the process one more time, and you’ll tie a third lower knot (where my left thumb is), shown in the photo below.
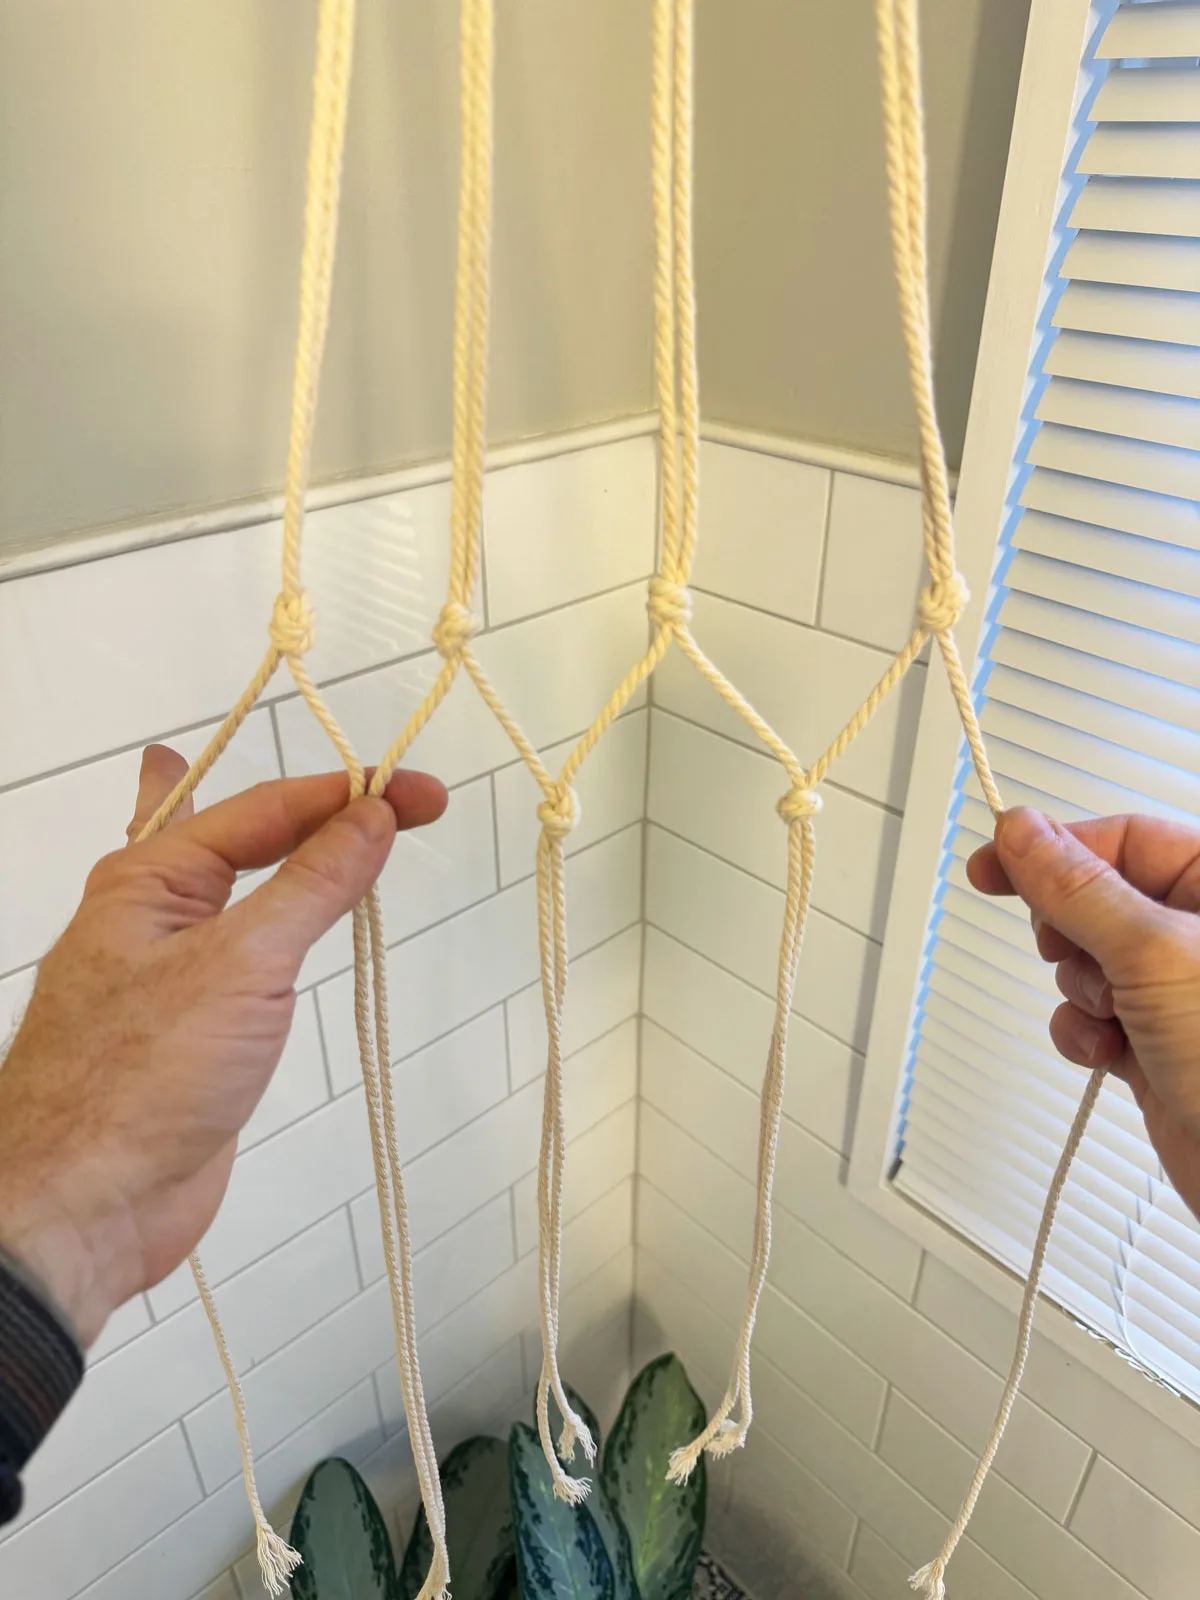
Now it should look similar to the photo below.
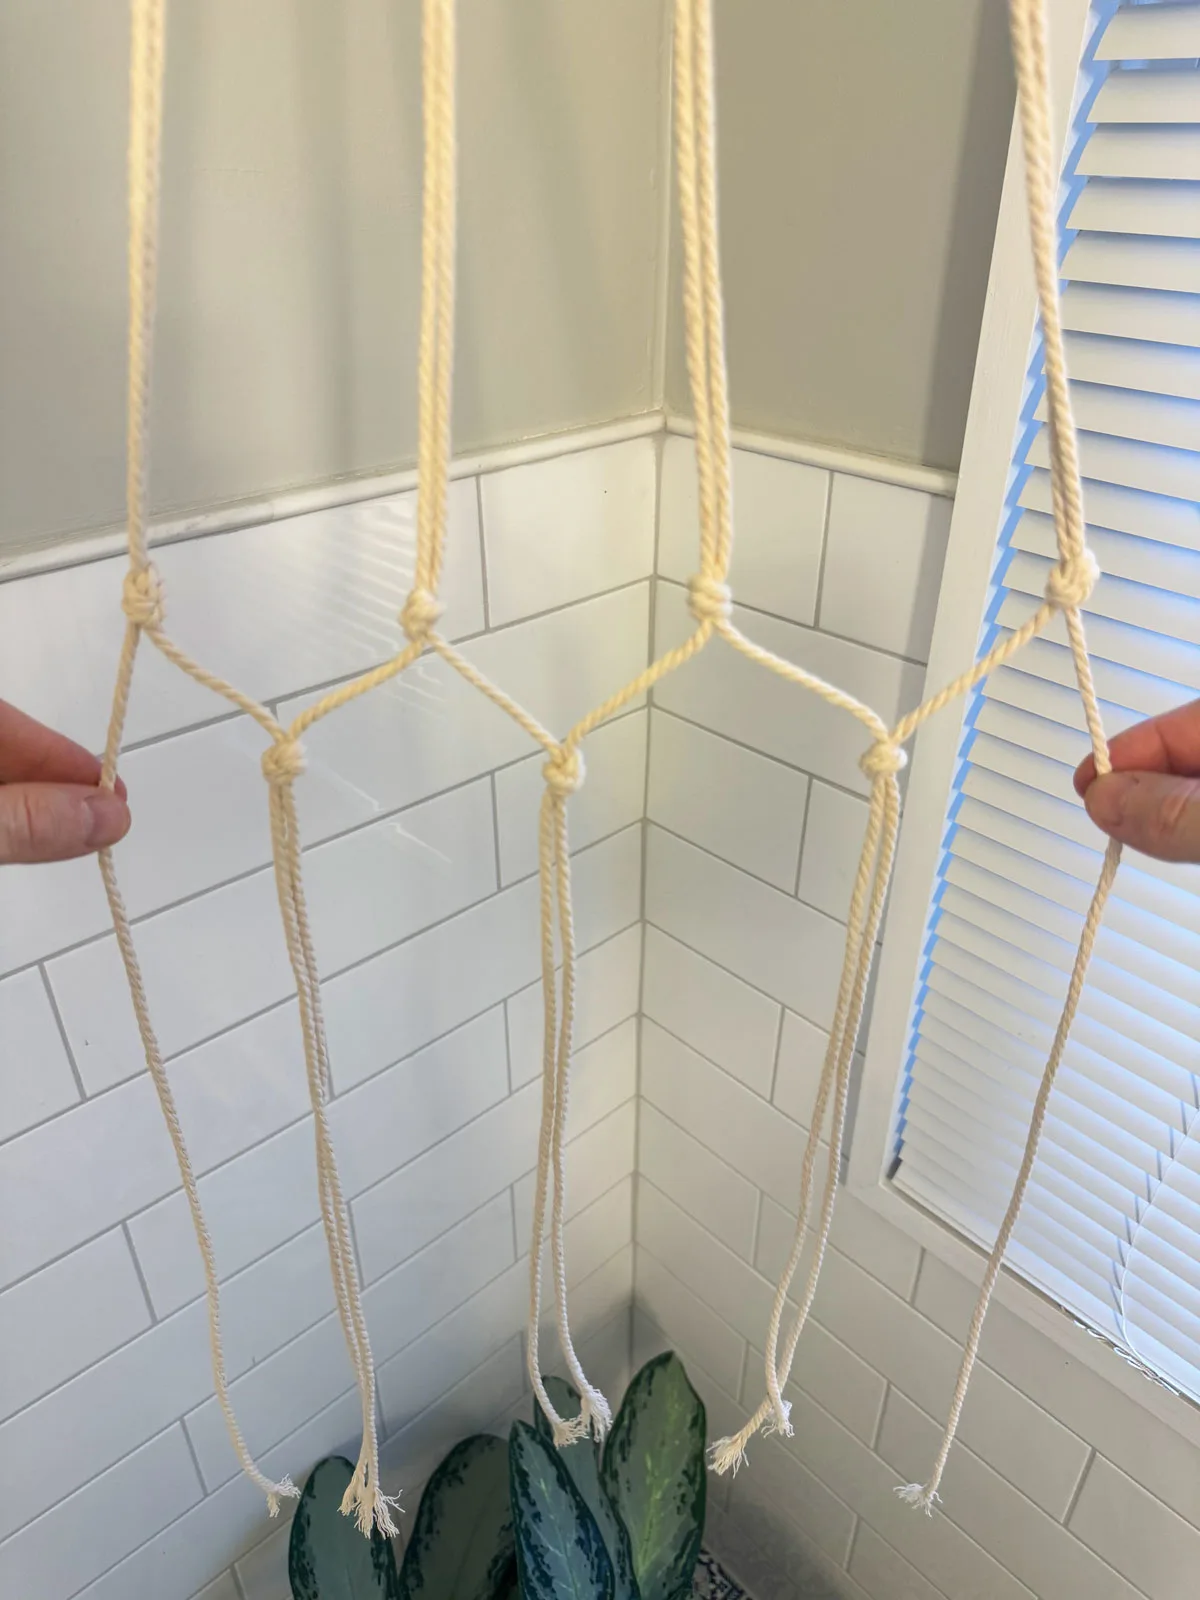
Lastly, take the two single cord that are left ( I’m holding them in each hand in the photo above, and bring them together and tie them into a single knot. Now you have closed the loop and it should look like the photo below.
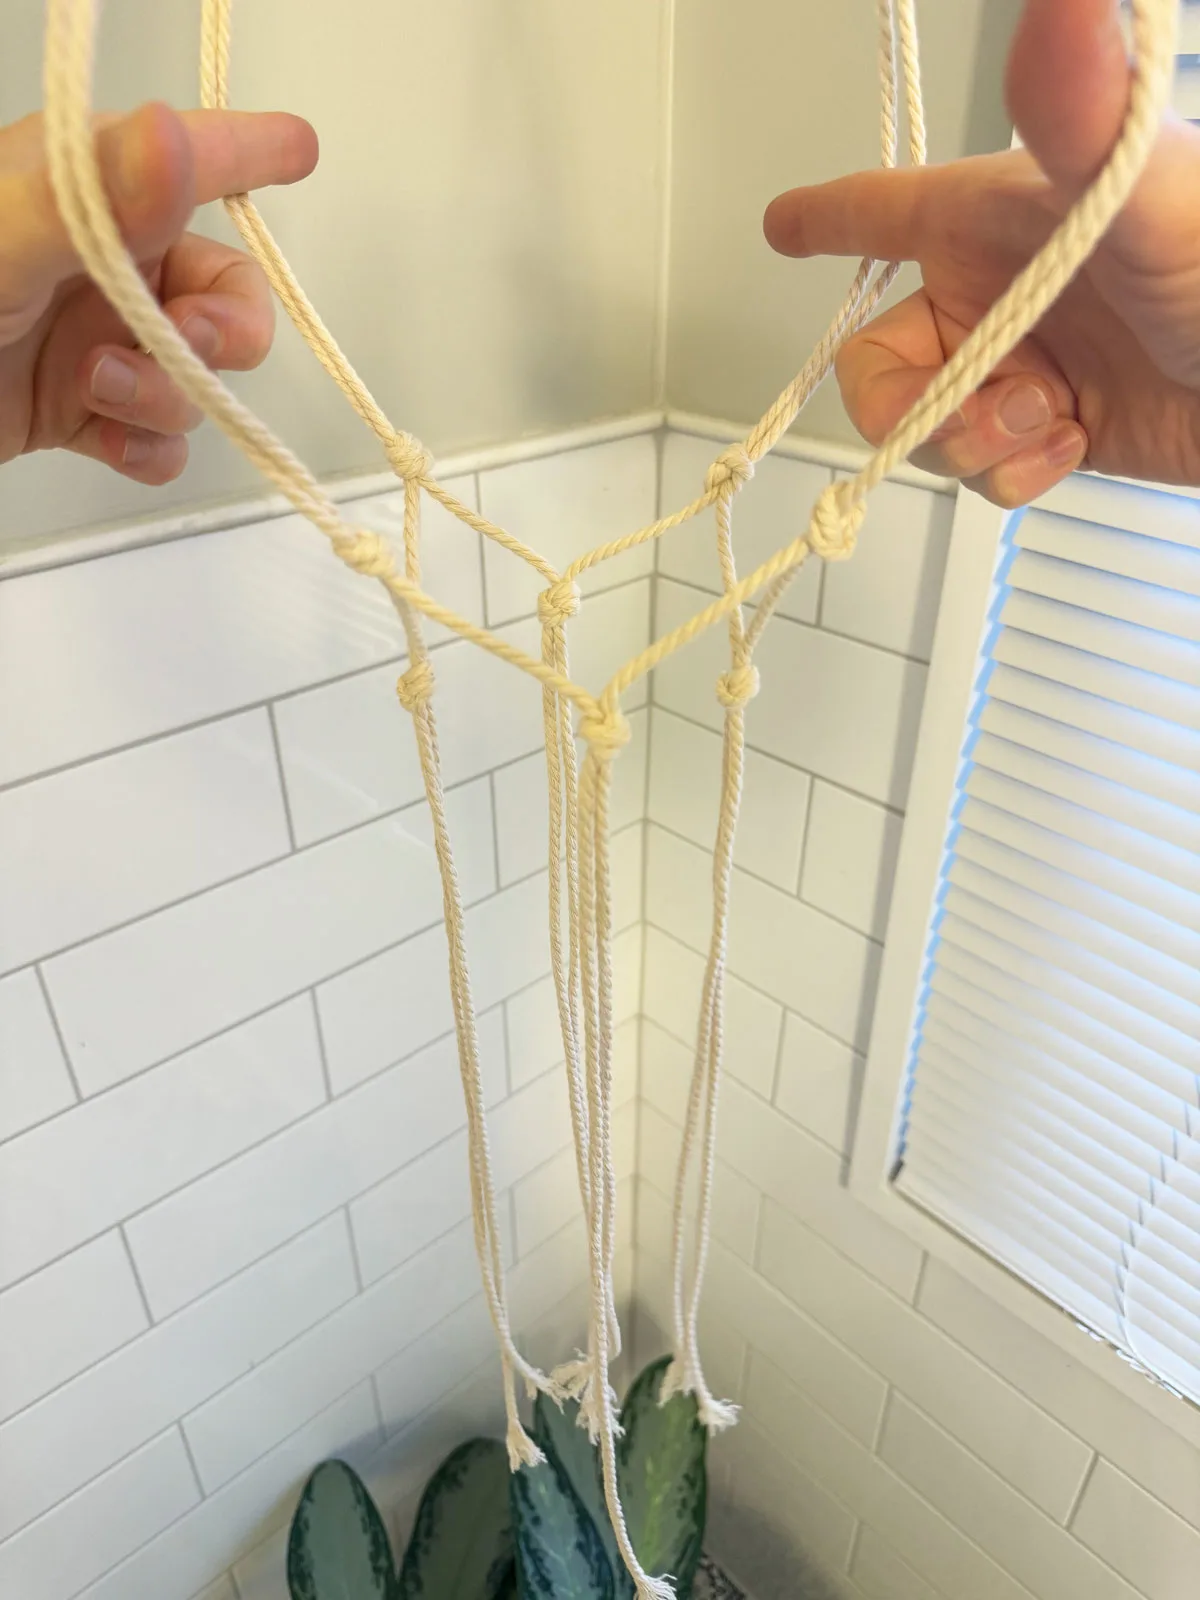
Next, go ahead and slip your pot through with one hand (I’m using a glass vase in this case), and with your other hand, grasp all of the cords below the pot (so the pot doesn’t fall through, and so you can judge where you want to make the final knot to hold the pot).
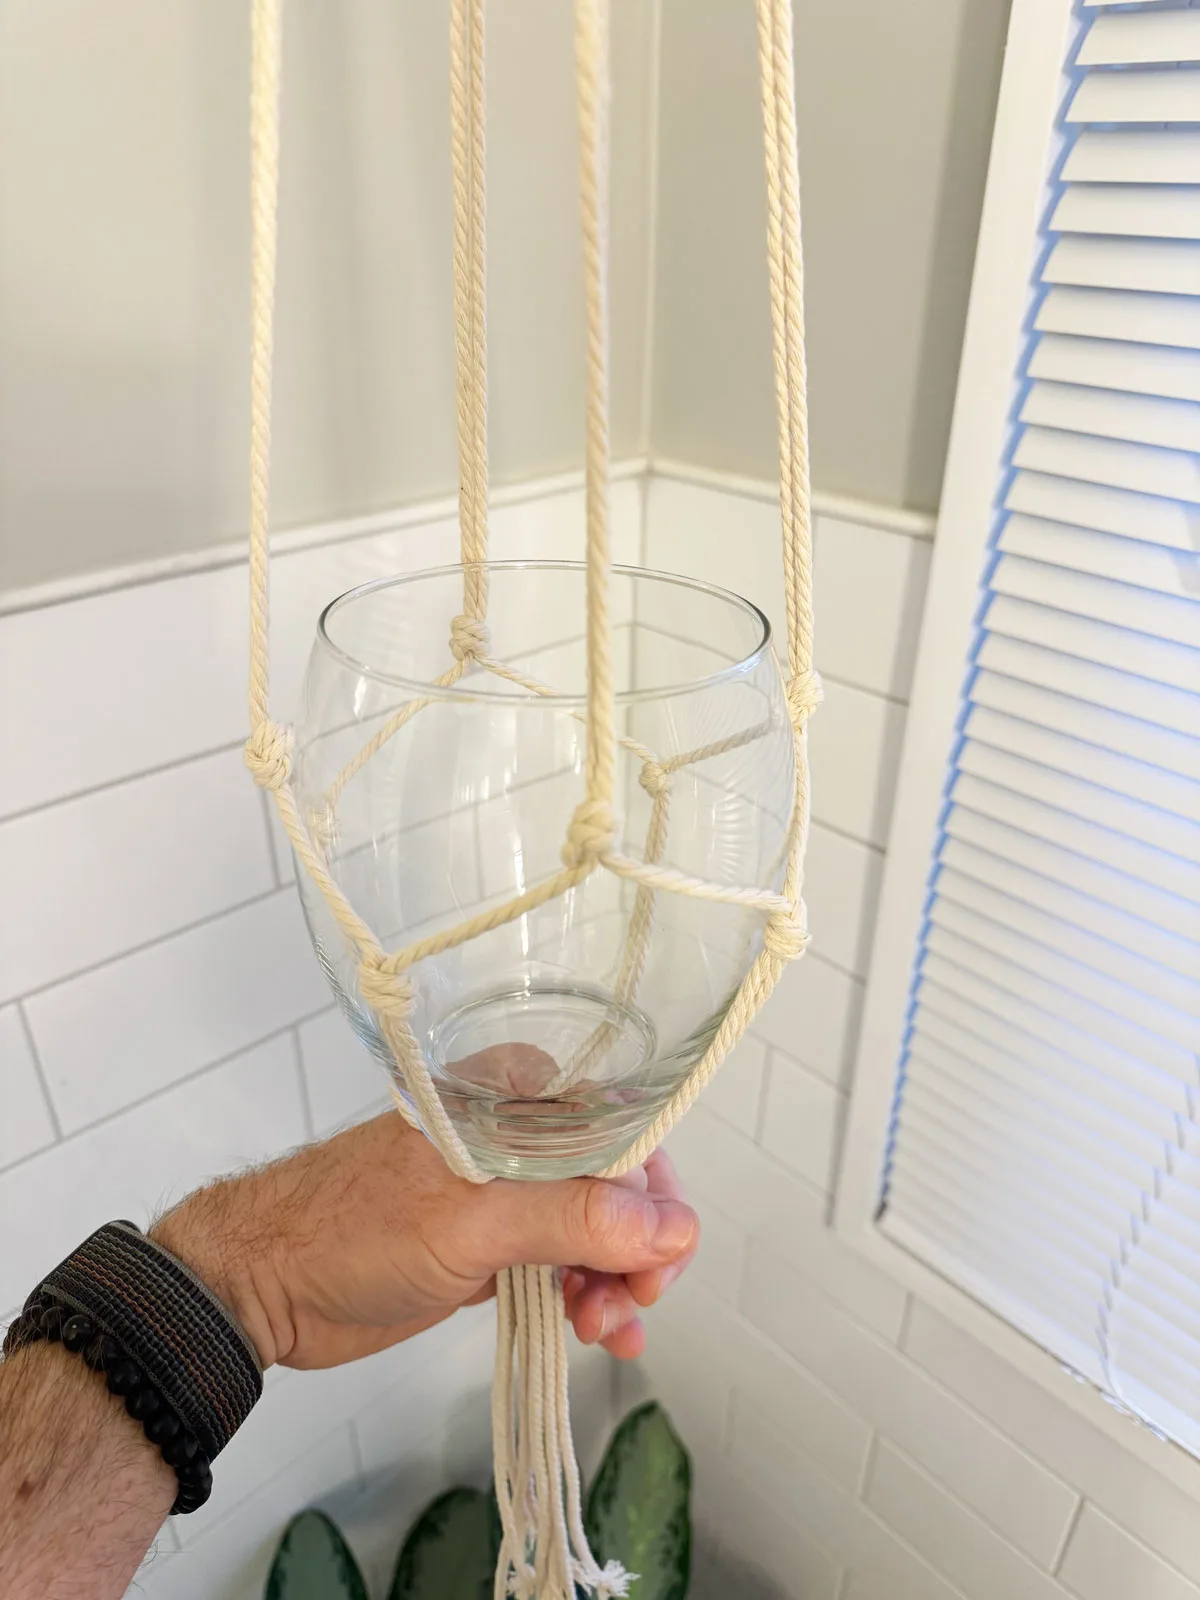
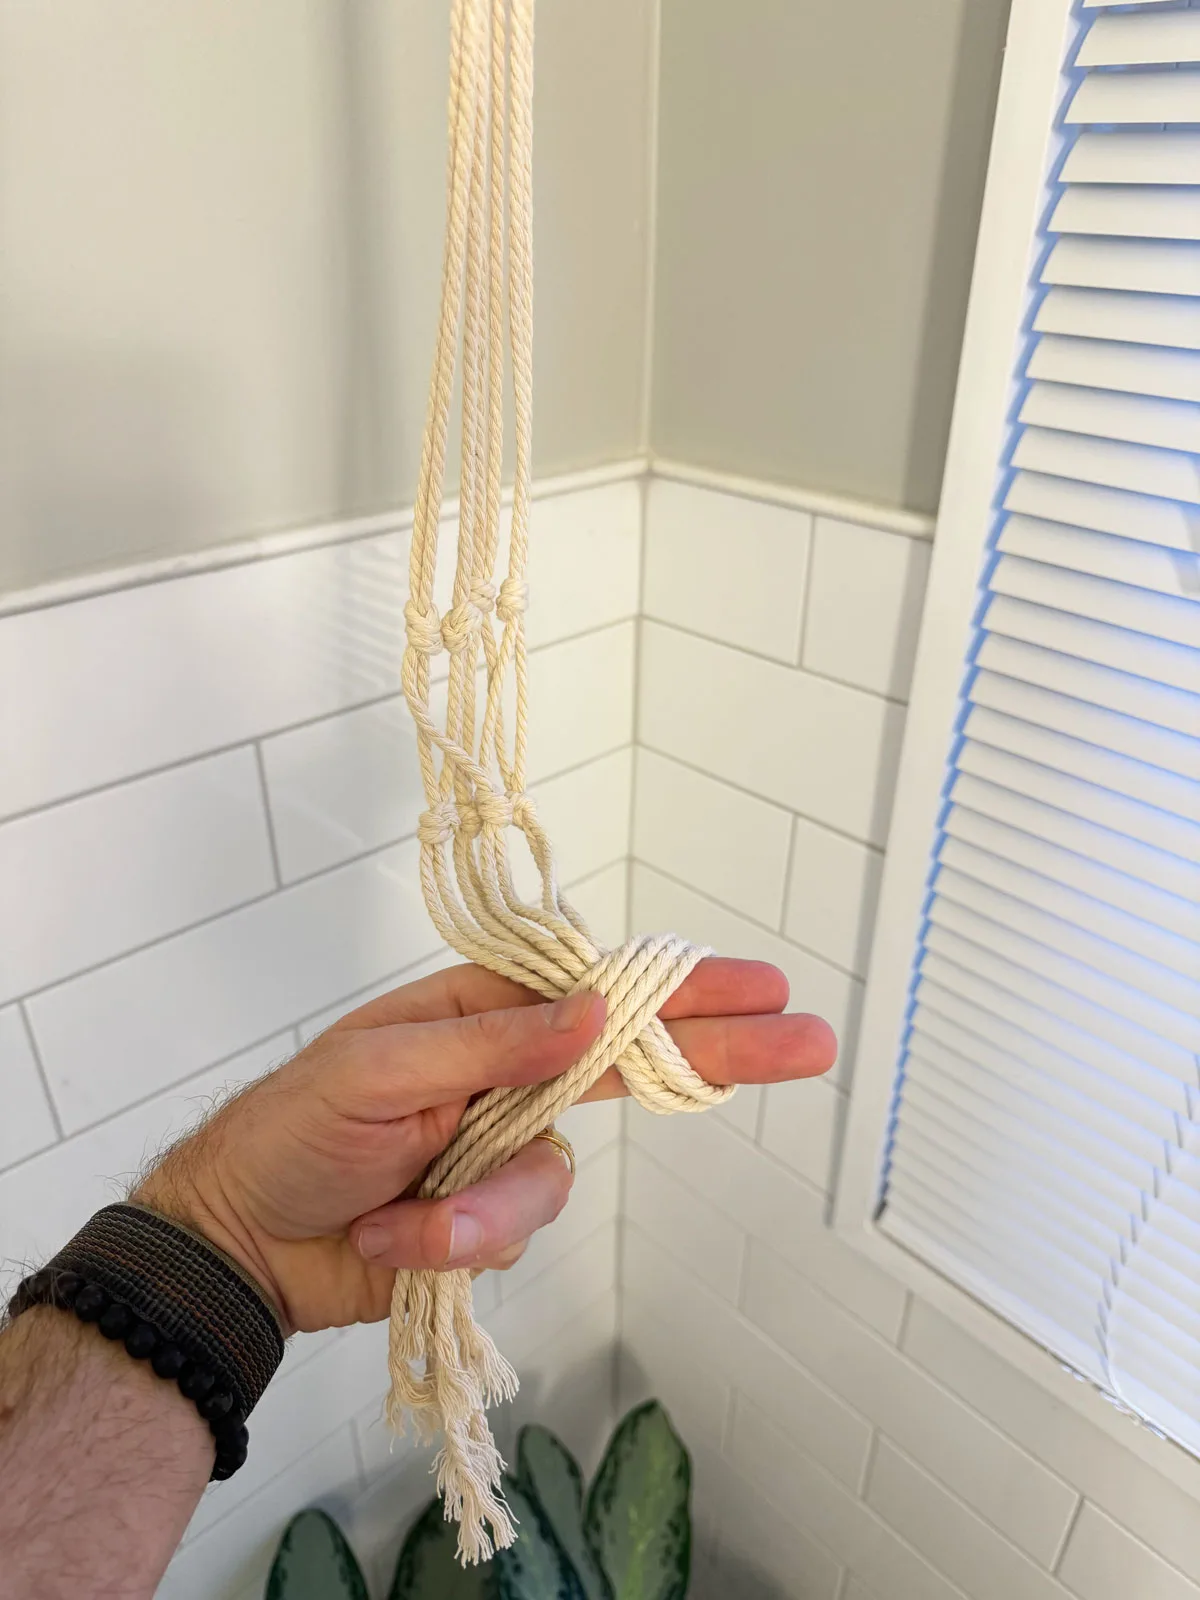
Remove the pot with one hand, but keep holding all the cords with your other hand. Then simply take all the cords together and tie one big knot where you wanted it.
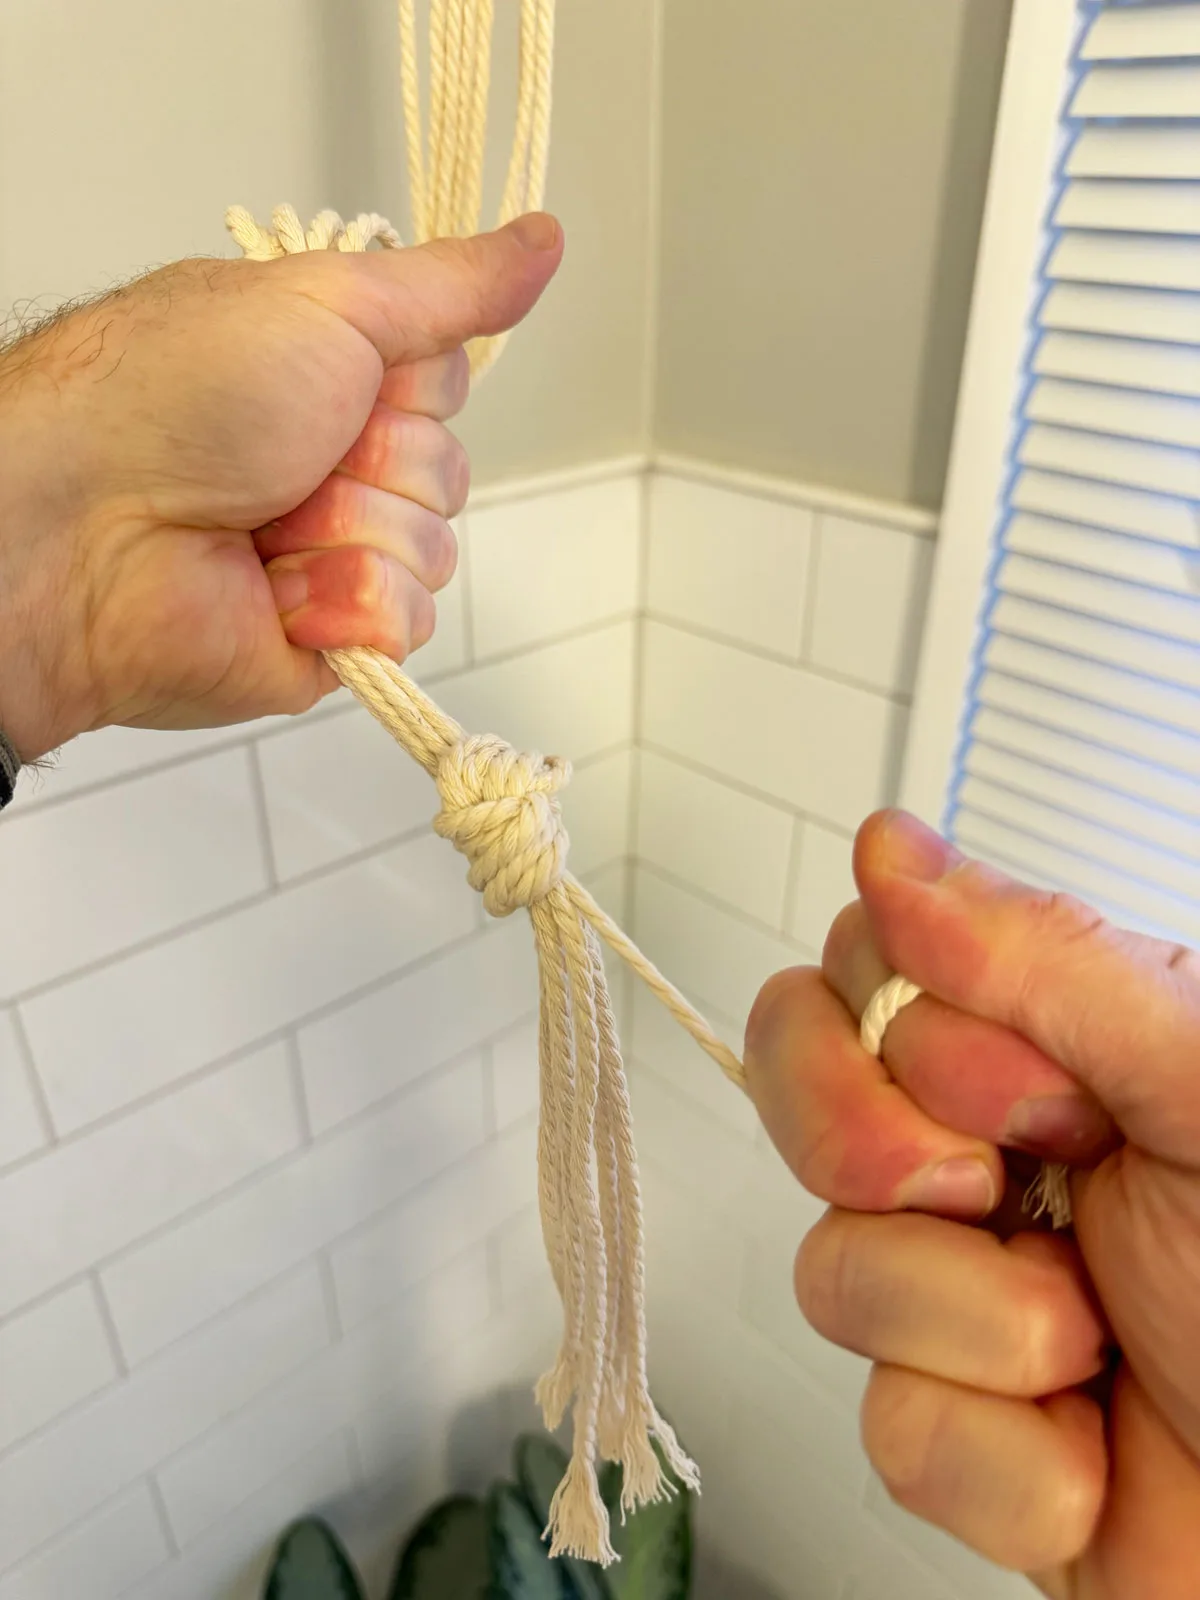
Pull the knot tightly, and then you may need to pull on each one of the lower cords to make the knot appear nice and clean.
Then slip your pot or vase in, and at this point you can trim the bottom tassel so that the cords are even.
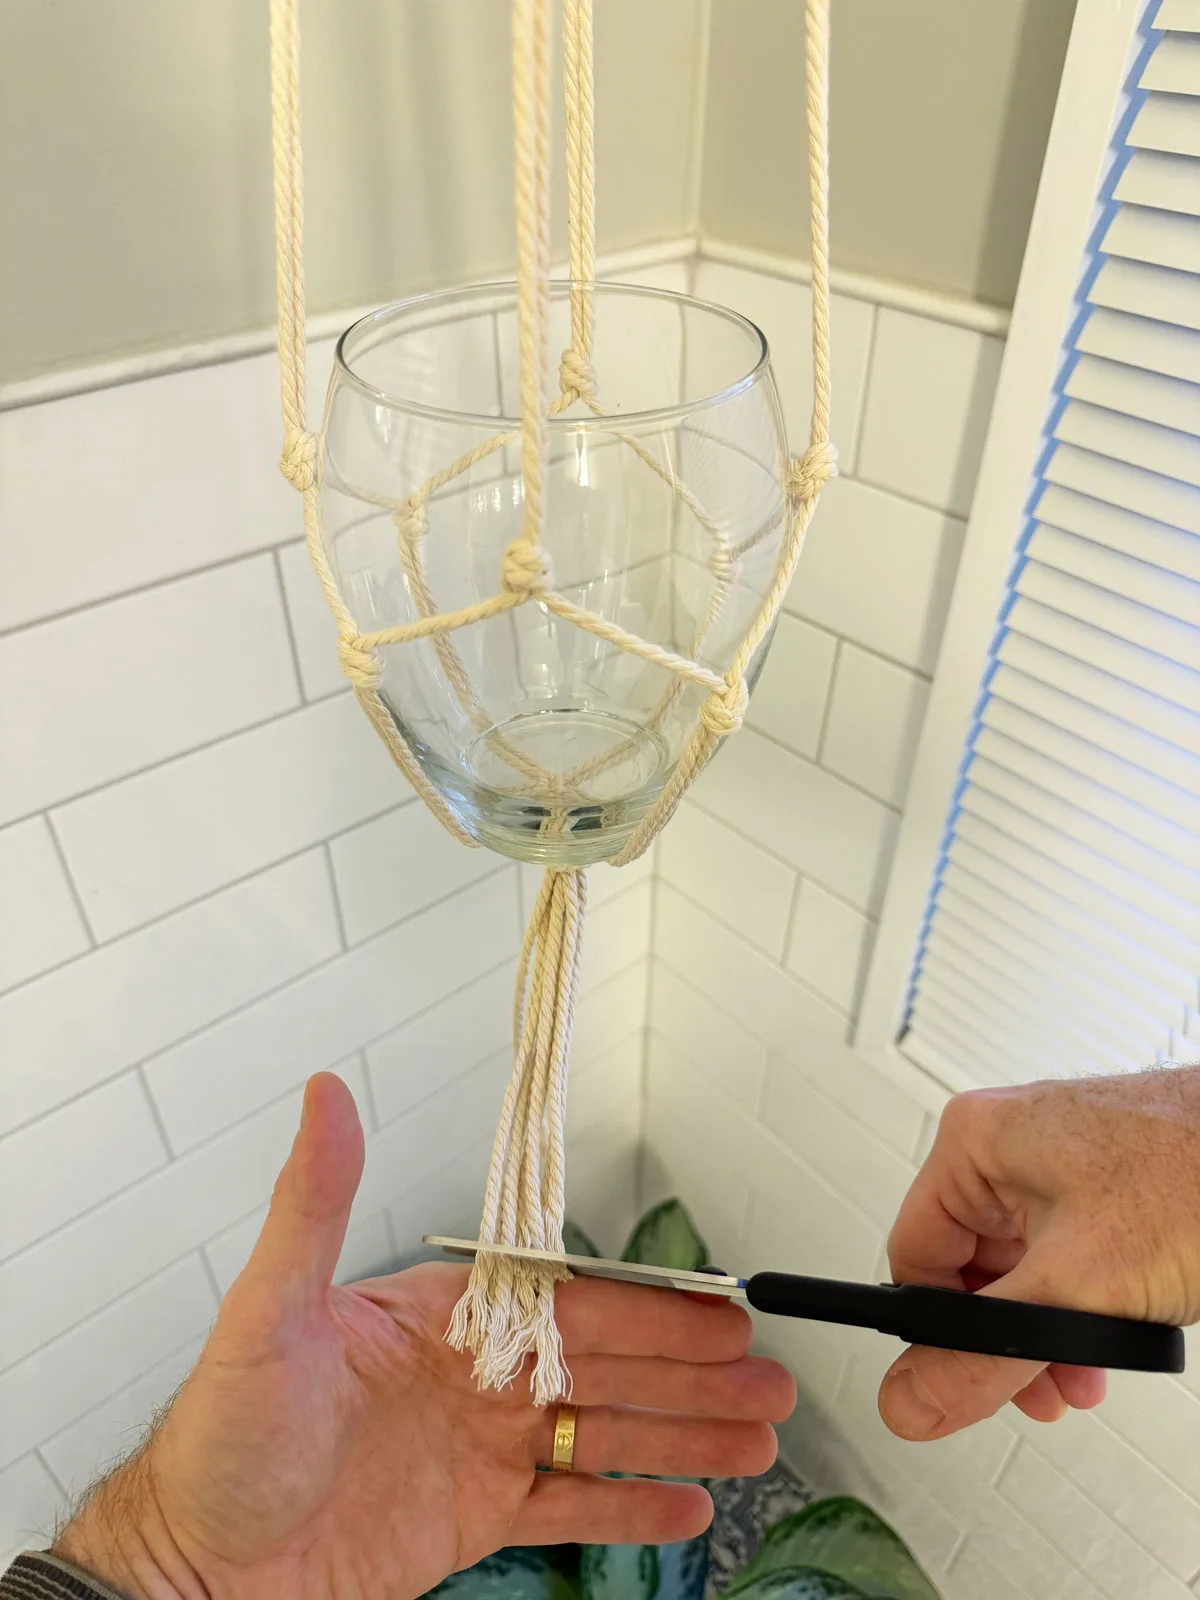
And here is the finished product! Super easy!
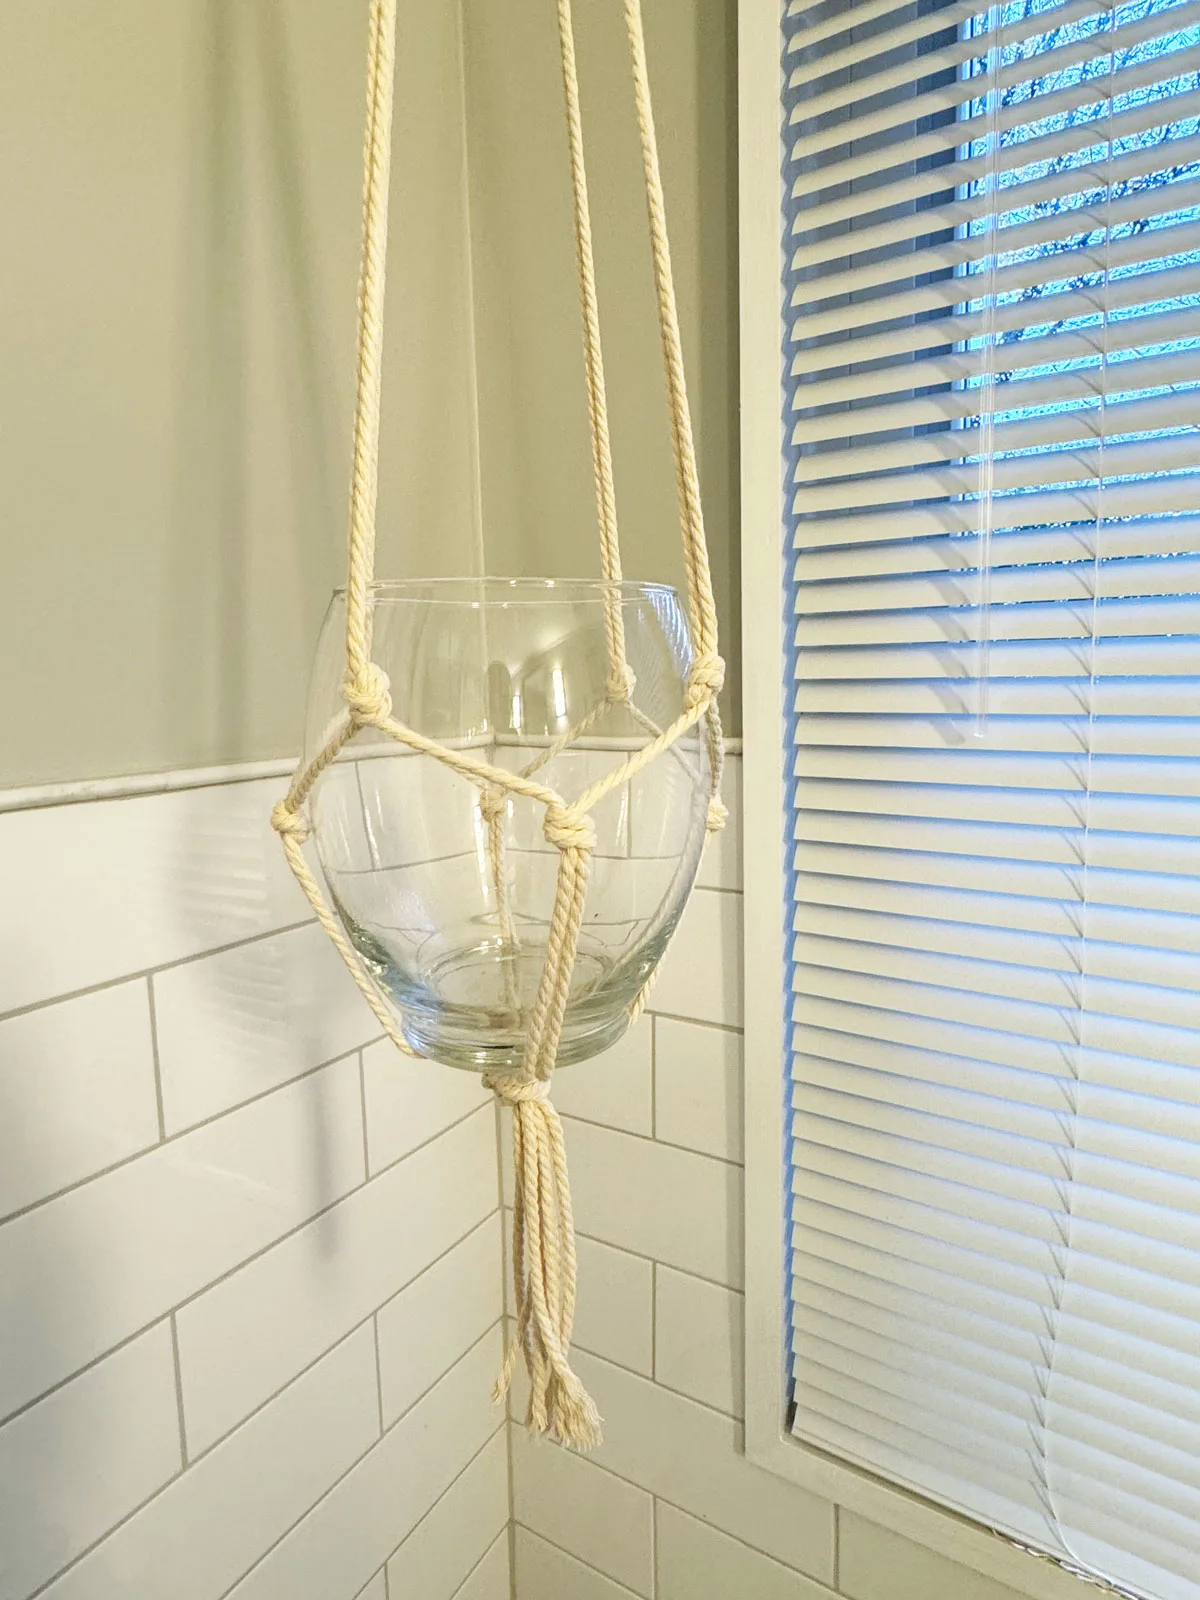
If you want a longer tassel at the bottom, you would simply just start tying the knots higher up. Feel free to experiment and make it your own!
If you need ideas on hanging houseplants, check out my blog posts on hanging succulents and hanging plants that don’t need direct sun.


Wendy Pritchett
Sunday 15th of December 2024
How tall are your ceilings? Ours are 9' and I want to make sure I have enough rope or jute to compensate. I am going to hand my Swiss cheese plant. It doesn't want to climb up the poles we put in it. I have it in an 11" ceramic pot. Hope I can put the plastic saucer in the macrame holder, too. Love your book and ideas. Thanks.
Raffaele Di Lallo
Monday 16th of December 2024
Glad you enjoy! Our ceilings vary in height, but some are 9'. Try making one and experiment!