Some of the links in this post may be affiliate links.
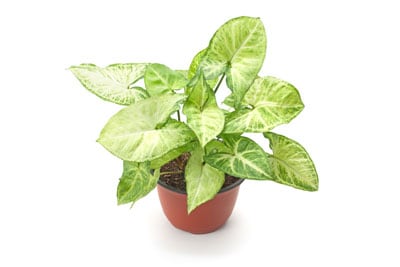
Looking for step-by-step instructions on how to propagate Syngonium albo? You’ve come to the right place. Propagating any Syngonium podophyllum, commonly known as arrowhead plant, is a cinch. Keep reading to learn the best way to propagate this fast-growing beauty, step-by-step, with helpful photos and diagrams.
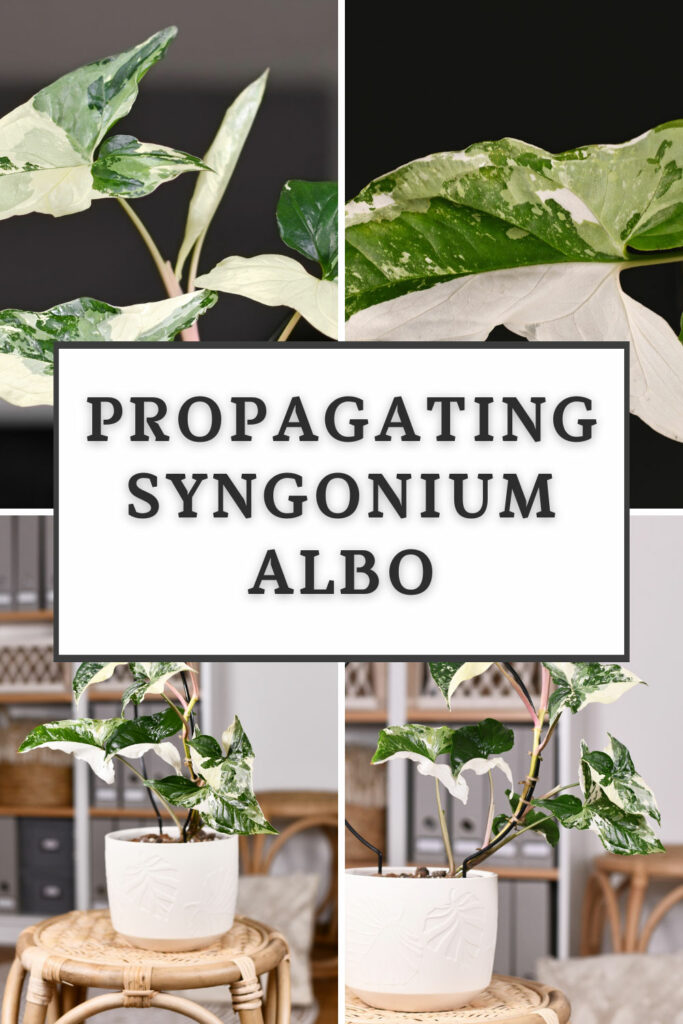
The natural habitat of Syngonium plants includes the jungles of Mexico, Central America, and South America, and belong to the Araceae family of plants (aroid family).
They make for wonderful indoor plants and are easily propagated using water propagation.
Table of Contents
HOW TO PROPAGATE SYNGONIUM ALBO
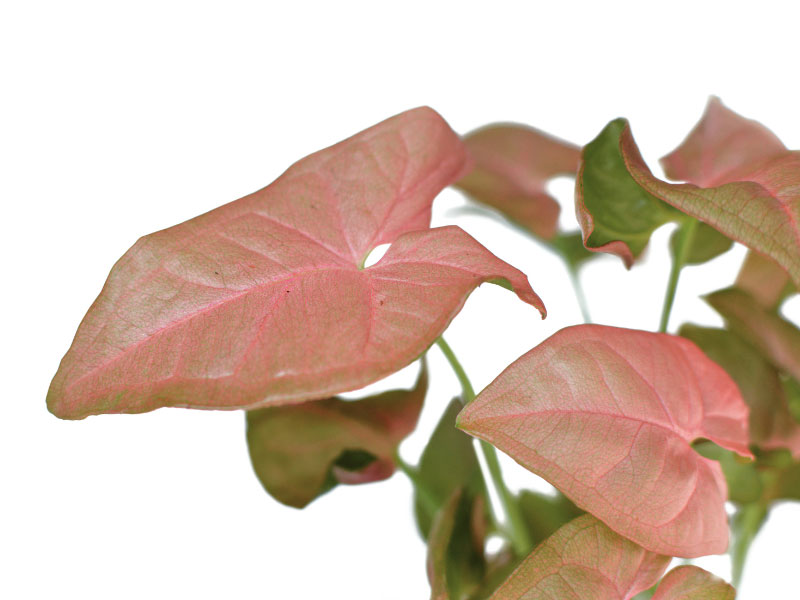
Whether you have a Syngonium albo variegatum or any of the Syngonium varieties, the steps to propagate are identical. Eventually, your Syngonium plants will grow long vines, and this makes it ideal to propagate.
Before we get into the steps, you may be wondering when the best time to propagate is. The answer is that you can really propagate at any time of year, but you will have much faster results if you propagate during the growing season (versus trying to propagate in the dark, short days of winter).
If you grow your plants under grow lights year-round, or in an area of the world with even daylight throughout the year, you can propagate at any time.
Late winter or early Spring is a great time to start to propagate, and you can continue throughout the summer months.
Once you pot up your plants, it will give them some time to grow a good root system and get established before the shorter days of fall and winter come.
Here are the simple steps to propagating your Syngonium albo plant.
1. Identify the nodes and make your cuttings
Understanding where to make your stem cuttings is the most important part in propagating your Syngonium. Check out the photo below of my plant.
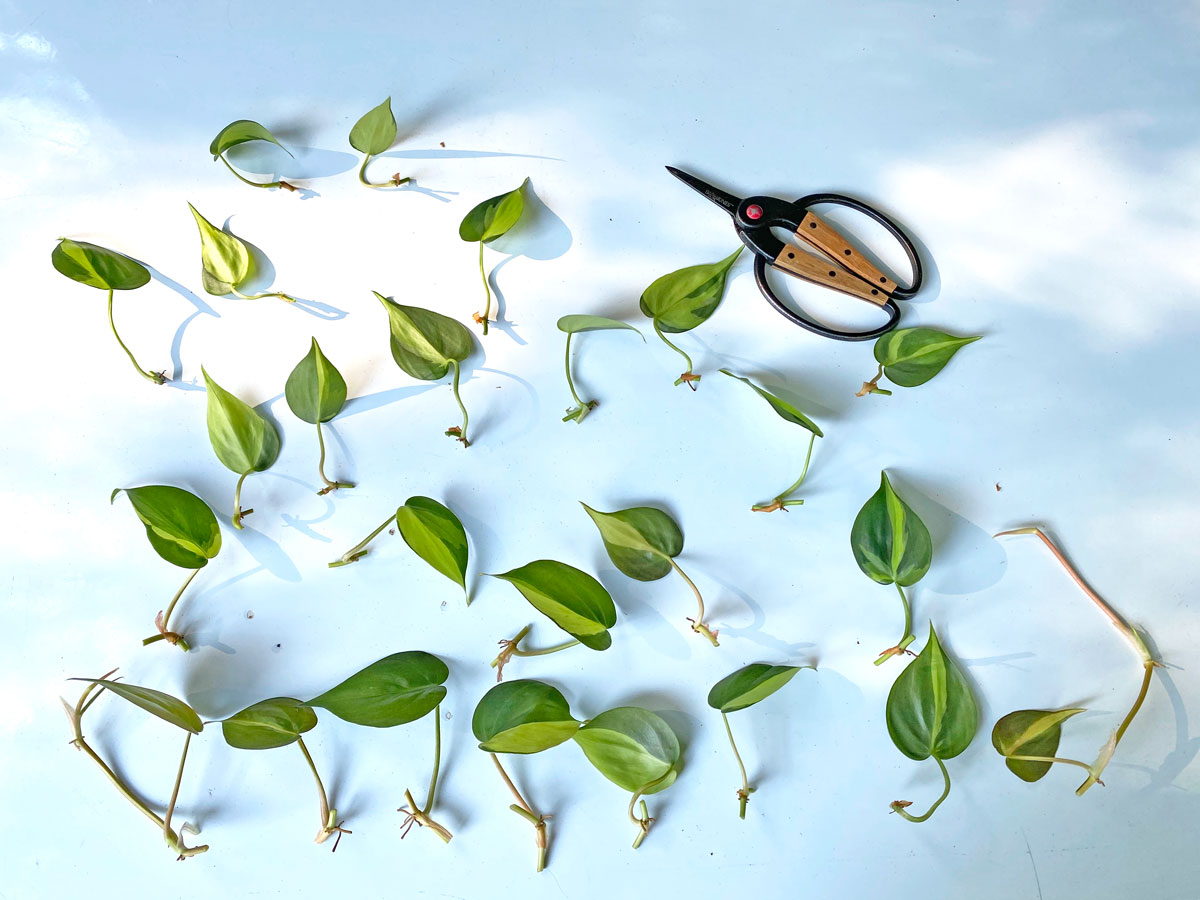
To make the most of your plant material, you can take single node cuttings where each cutting will form a vine. You would simply make each cutting by snipping your vine where the two red lines are.
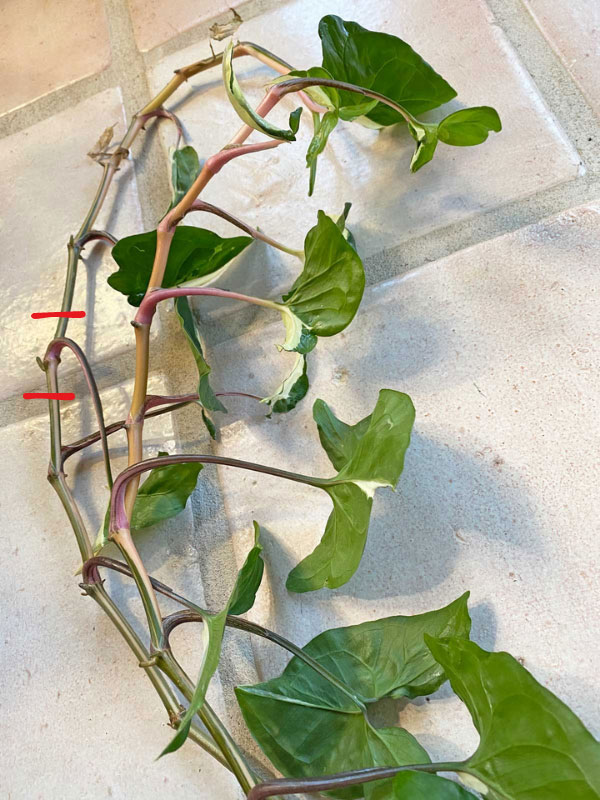
Now let me show you a diagram and explain the anatomy of the cutting. Once you understand this, things are a cinch.
In the photo below, you can clearly see the leaf on top, which is attached to the petiole. The petiole is simply the stalk that attaches the leaf to the plant’s stem or vine.
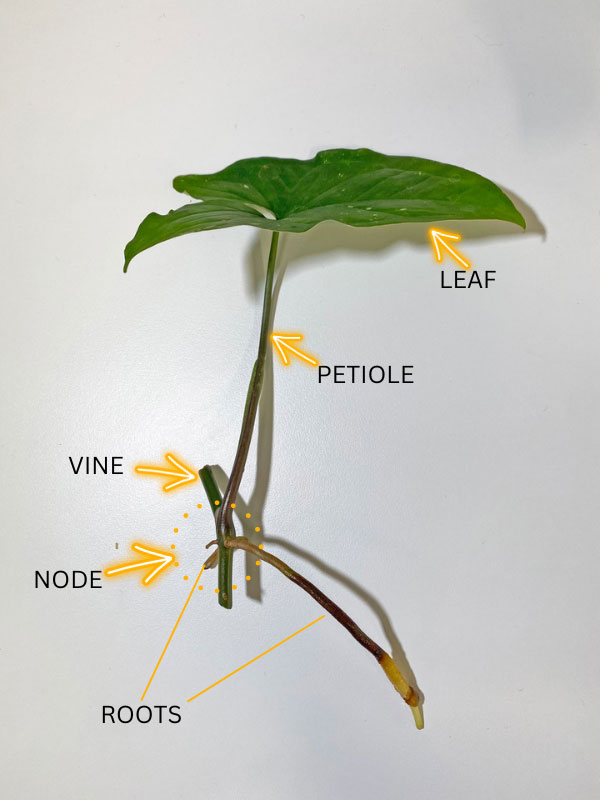
Where the petiole attaches onto the vine is where the node is located. The node is where new growth will occur. The roots will grow out of the node, and then the new vine will eventually grow out of there as well. You need to place this node in water to root.
In fact, as you can see in the photo, you can often already see the aerial roots on the vine. They’ll appear like little nubs. Once these are placed in water, they will continue to grow.
You can take cuttings that have multiple leaves and multiple nodes, but if you take single node cuttings, each cutting will form a vine, so you’ll get more vines that way.
2. Place your cuttings in water to root
Next, simply place your cuttings in a jar or vase of water, and make sure that the node is under water. Oftentimes, you will see new root growth in as short as a few days. If you already see little aerial roots, those will continue to grow at the tip.
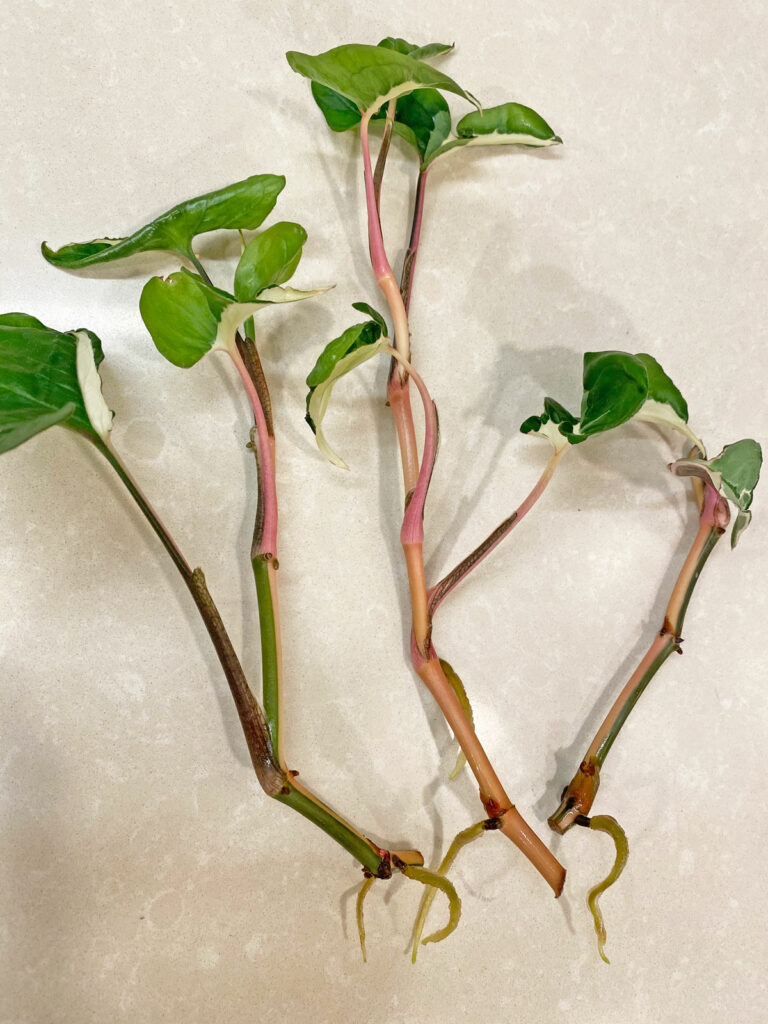
Place your propagation container right in front of a window, wherever you would normally grow your Syngonium plants.
Bright indirect light with no direct sun is fine, but make sure you’re immediately in front of a window. A few hours of direct sunlight (especially morning sun which is gentler), is good too.
You will get faster growth if you have good light and warmer temperatures.
Change your water about once a week to keep the water fresh and clean, and replenished with oxygen. If you see your water getting cloudy or dirty, change it more frequently.
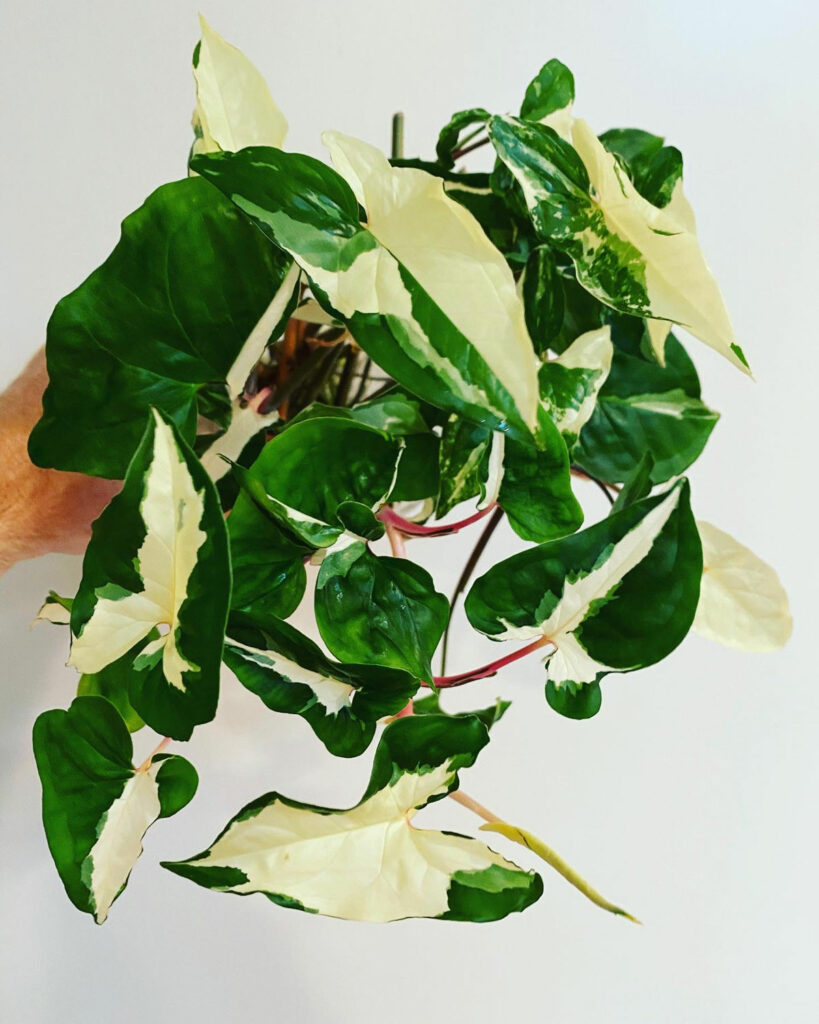
You don’t have to wait terribly long before potting up your cuttings. In fact, when your roots about 1-2 inches long, go ahead and pot up your cuttings.
If you wait too long and the roots get much longer than that, it may just take a little longer to transition to soil, but they should still be ok.
And if you love the water propagation method, don’t miss my guide on the best plants to propagate in water.
3. Pot up your young plants
Next, before you pot up your plants, you’ll need to decide how to you want to display your plants. Do you want to put your cuttings on your window sill? Do you want to make a hanging plant? Or do you maybe want to give your plant moss pole to climb?
Once you make this decision, go ahead and pot up your cuttings. Keep in mind that each cutting will produce a vine. If you want a bushier plant, use a few cuttings in each pot.
Pot size is important. It’s better to start with a small pot at first, and then go up in size when your plant is root bound. If you want to pot up one cutting, I’d recommend a 4-inch diameter pot and no bigger.
If you want to pot up 3-5 cuttings together, a 6 inch diameter pot should be good to start with.
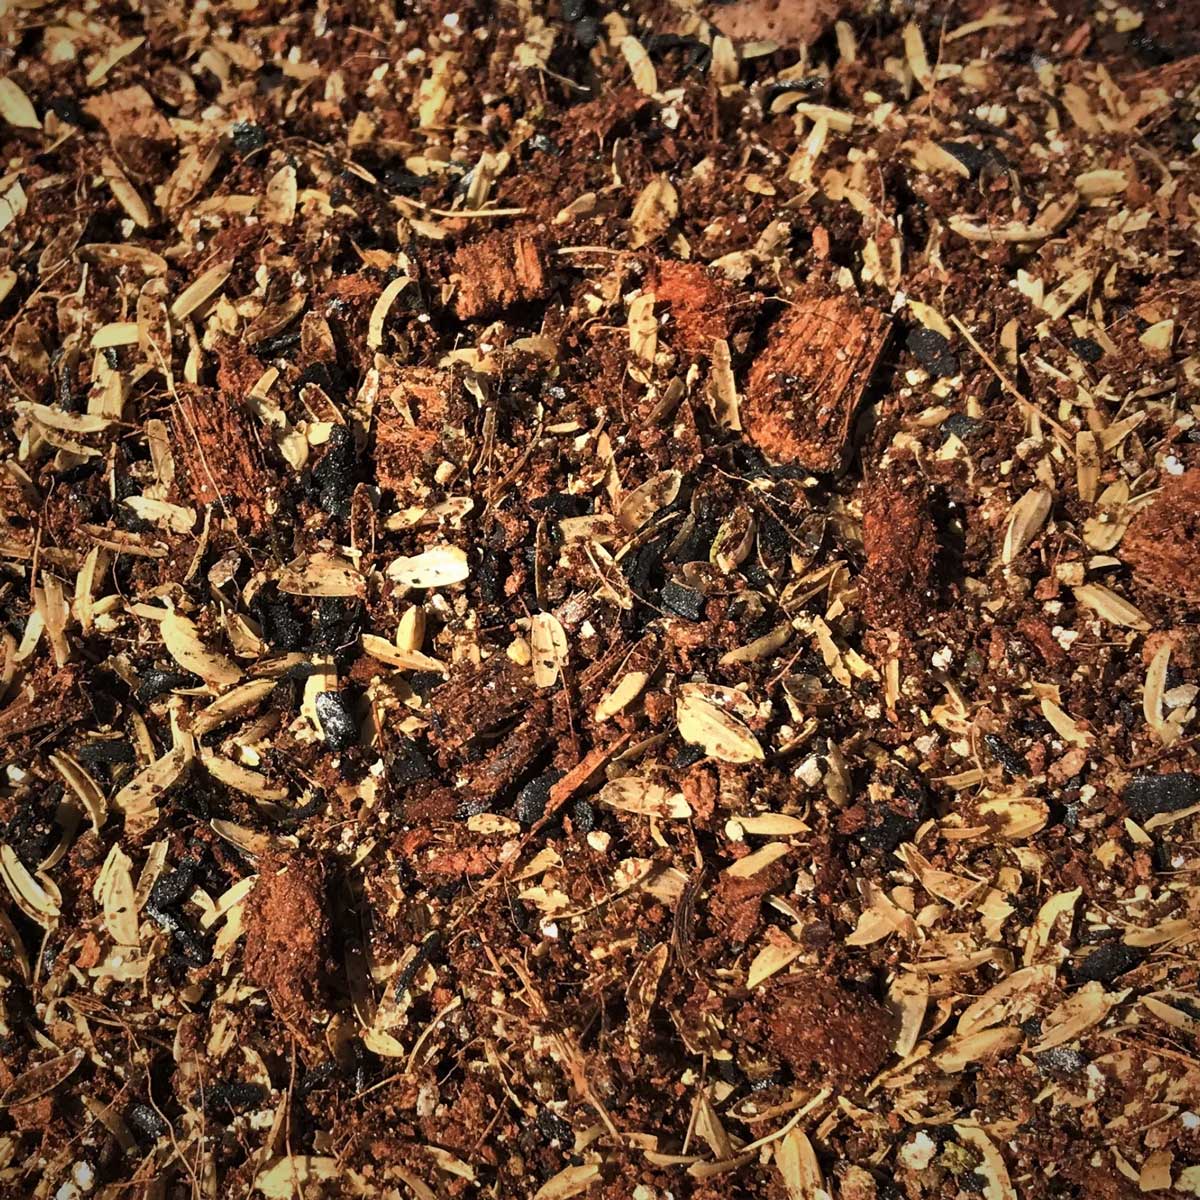
Make sure whatever pot you use has drainage holes, and it is important that you have a potting mix that has good drainage.
As far as a soil mix to use, I recommend reading through my post on 3 best Syngonium potting mixes.
When you plant the cuttings, make sure to bury both the node area under the soil (approximately an inch or so under the soil). After a few weeks, you should see new vines growing out of the soil.
SYNGONIUM ALBO CARE
Here are some care tips for your new plants after you have potted them up.
LIGHT
Variegated Syngonium plants need brighter light than non-variegated plants. An Eastern facing window with morning sun works beautifully, as does a Western facing window (afternoon sun).
Windows with no direct sun are also ok too. Windows with full sun all day are probably not ideal, but you can always diffuse excessive sun with blinds or shear curtains.
Avoid placing your plants too far away from a window as light intensity decreases dramatically even with short distances.
TEMPERATURE & HUMIDITY
These tropical plants enjoy warm temperatures and high humidity levels, but they will grow just fine with average indoor humidity and average room temperature.
Try and keep minimum temperatures no lower than 60°F (16°C). An ideal temperature range for these plants is 60-85°F (16-29°C).
WATERING & FERTILIZING
A good rule of thumb for watering is to wait until the top inch of your soil has dried out before watering again. When you do water, water thoroughly until excess water escapes the drainage holes.
Under no circumstances should you plant your cuttings into pots without drainage holes. It is too risky and an invitation for root rot to occur since excess water has nowhere to go.
As far as fertilizing goes, you can incorporate a slow-release fertilizer like Osmocote (link to Amazon), or use a good liquid fertilizer like Dyna-Gro Grow.
I hope you’ve enjoyed this post on how to propagate Syngonium albo. Have you propagated your plant? Comment below. I’d love to hear!
You may also enjoy my post on Syngonium care for more details.

